Introduction
You can install Exalate for Jira On-premise from the Atlassian Marketplace.
Install Exalate from the Marketplace
Steps to install the Exalate app from the marketplace.
- Log into your Jira instance as an admin.
- Click the admin drop-down and choose Manage Apps.

- Locate Exalate Jira Issue Sync & more.
- Click Free Trial to install the app.
We provide a free evaluation period of 30 days. The evaluation period can be extended twice until 90 days.
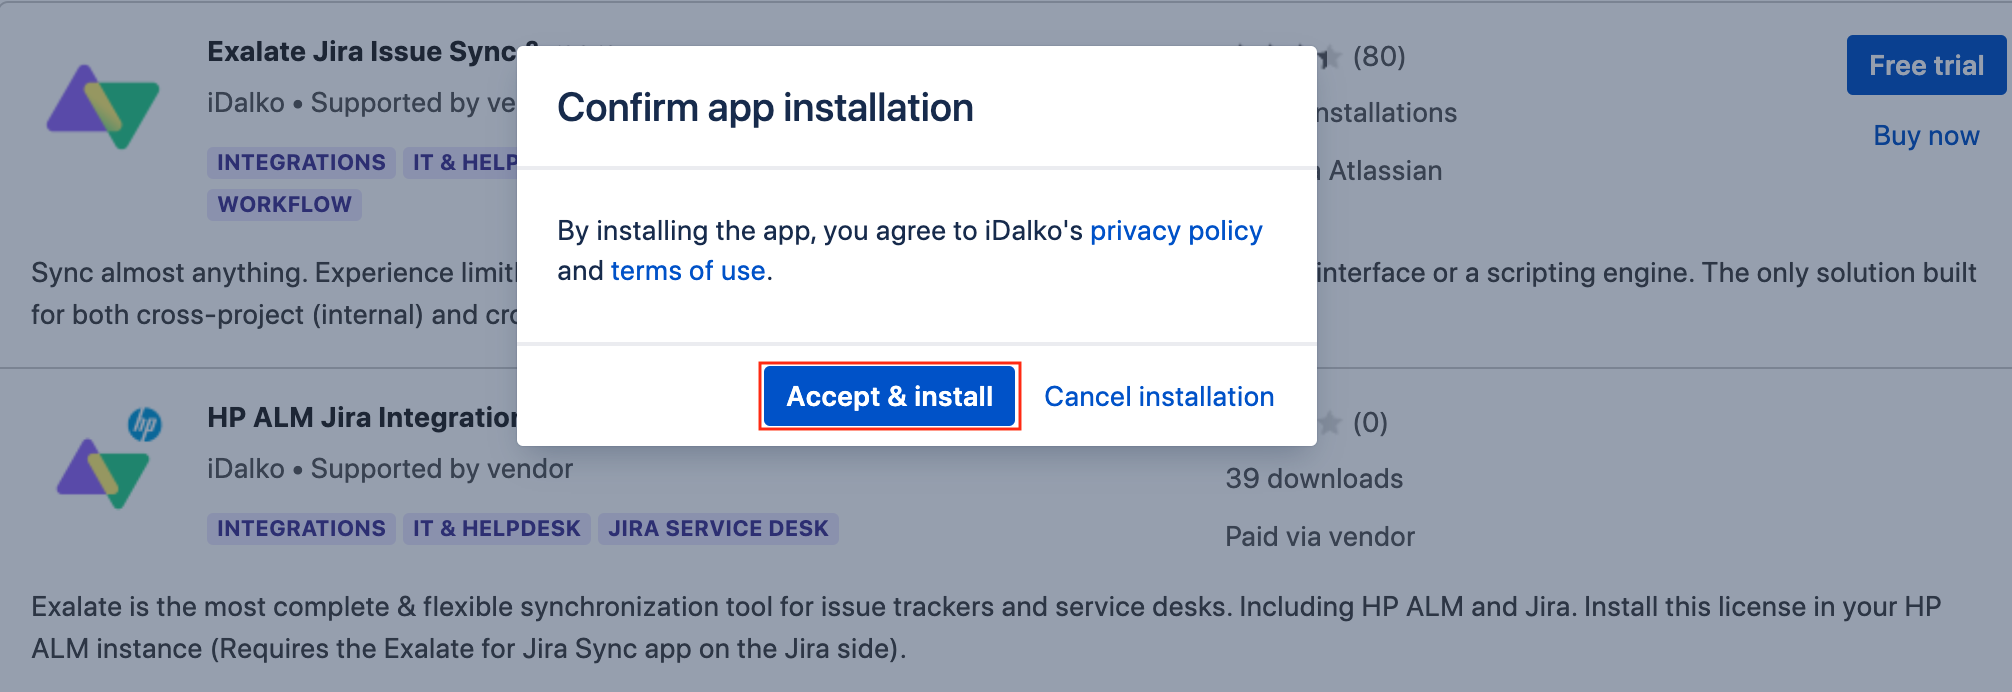
- Click Accept & install to confirm app installation and accept terms and agreements.

- Click Get License to generate a trial license.
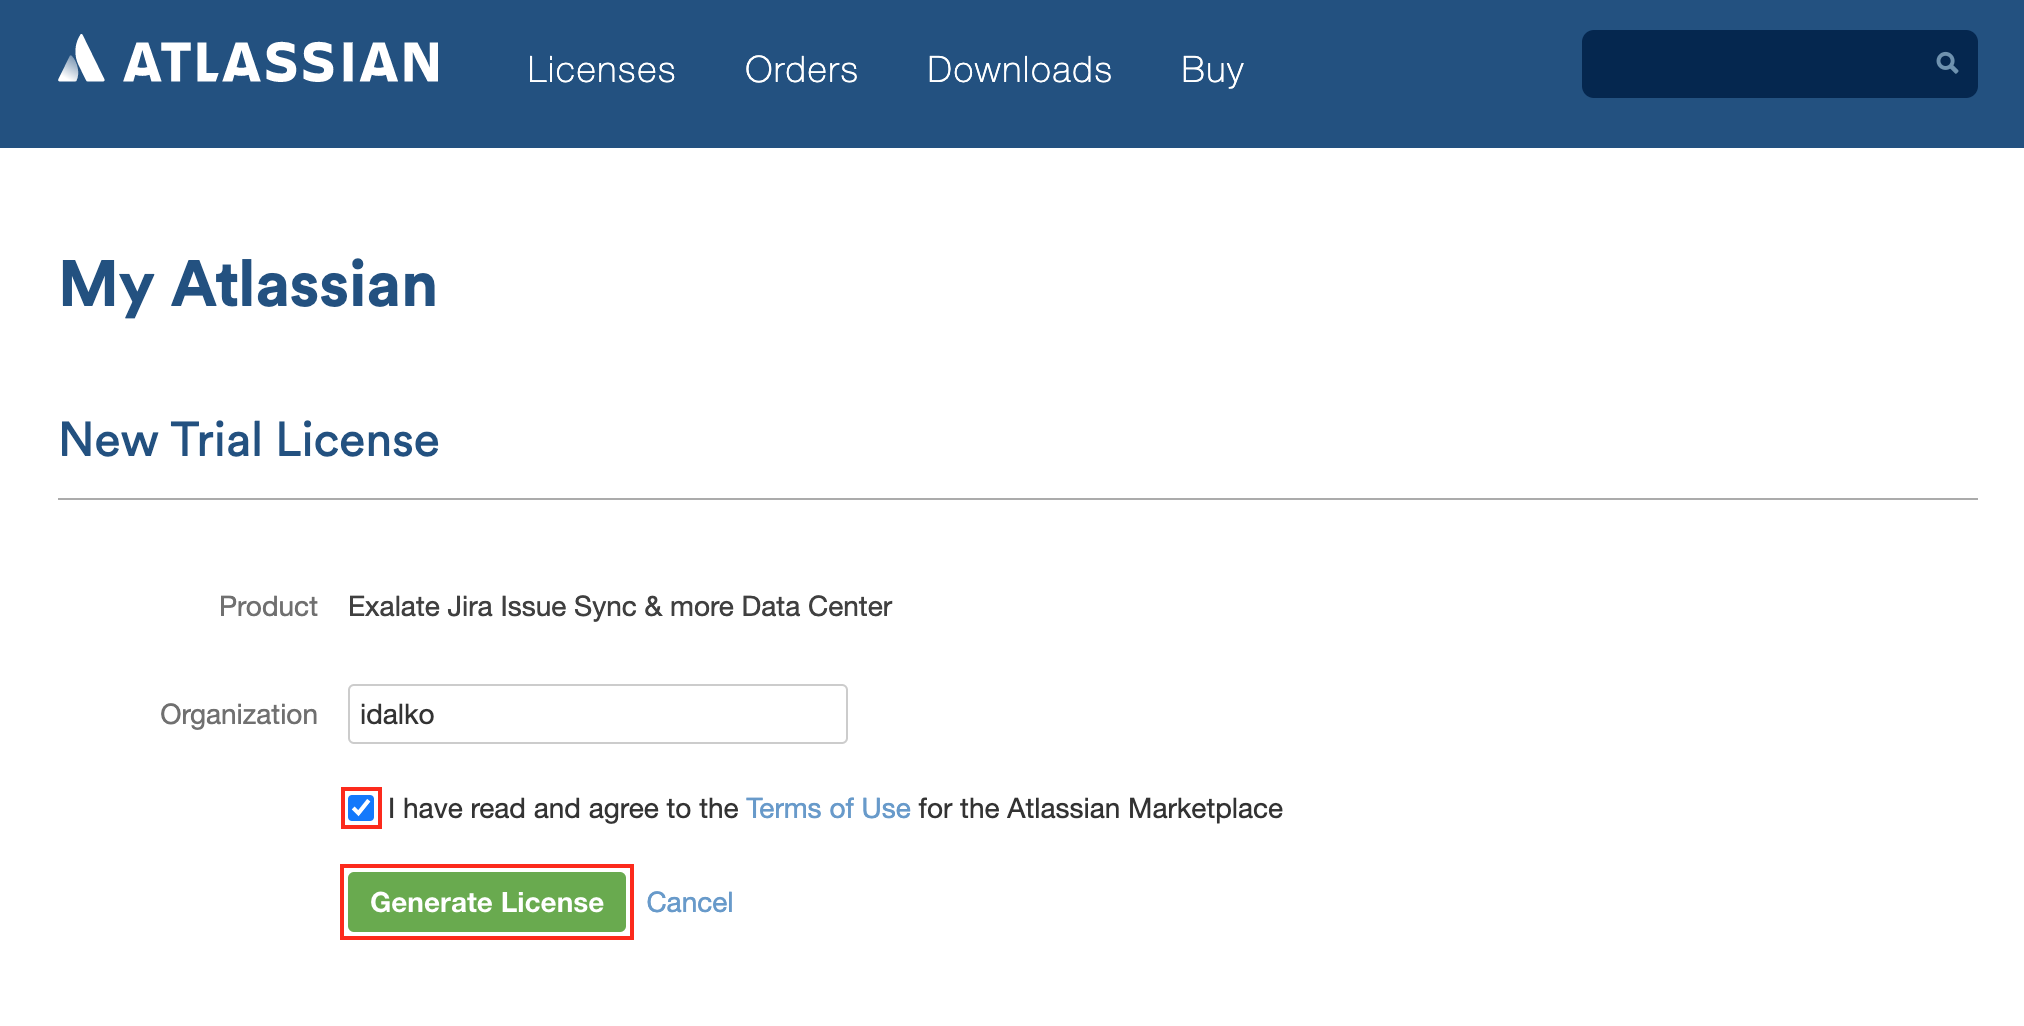
 You are redirected to the My Atlassian page where you should enter your organization name and agree to the Terms of Use for the Atlassian Marketplace
 - Click Generate License.

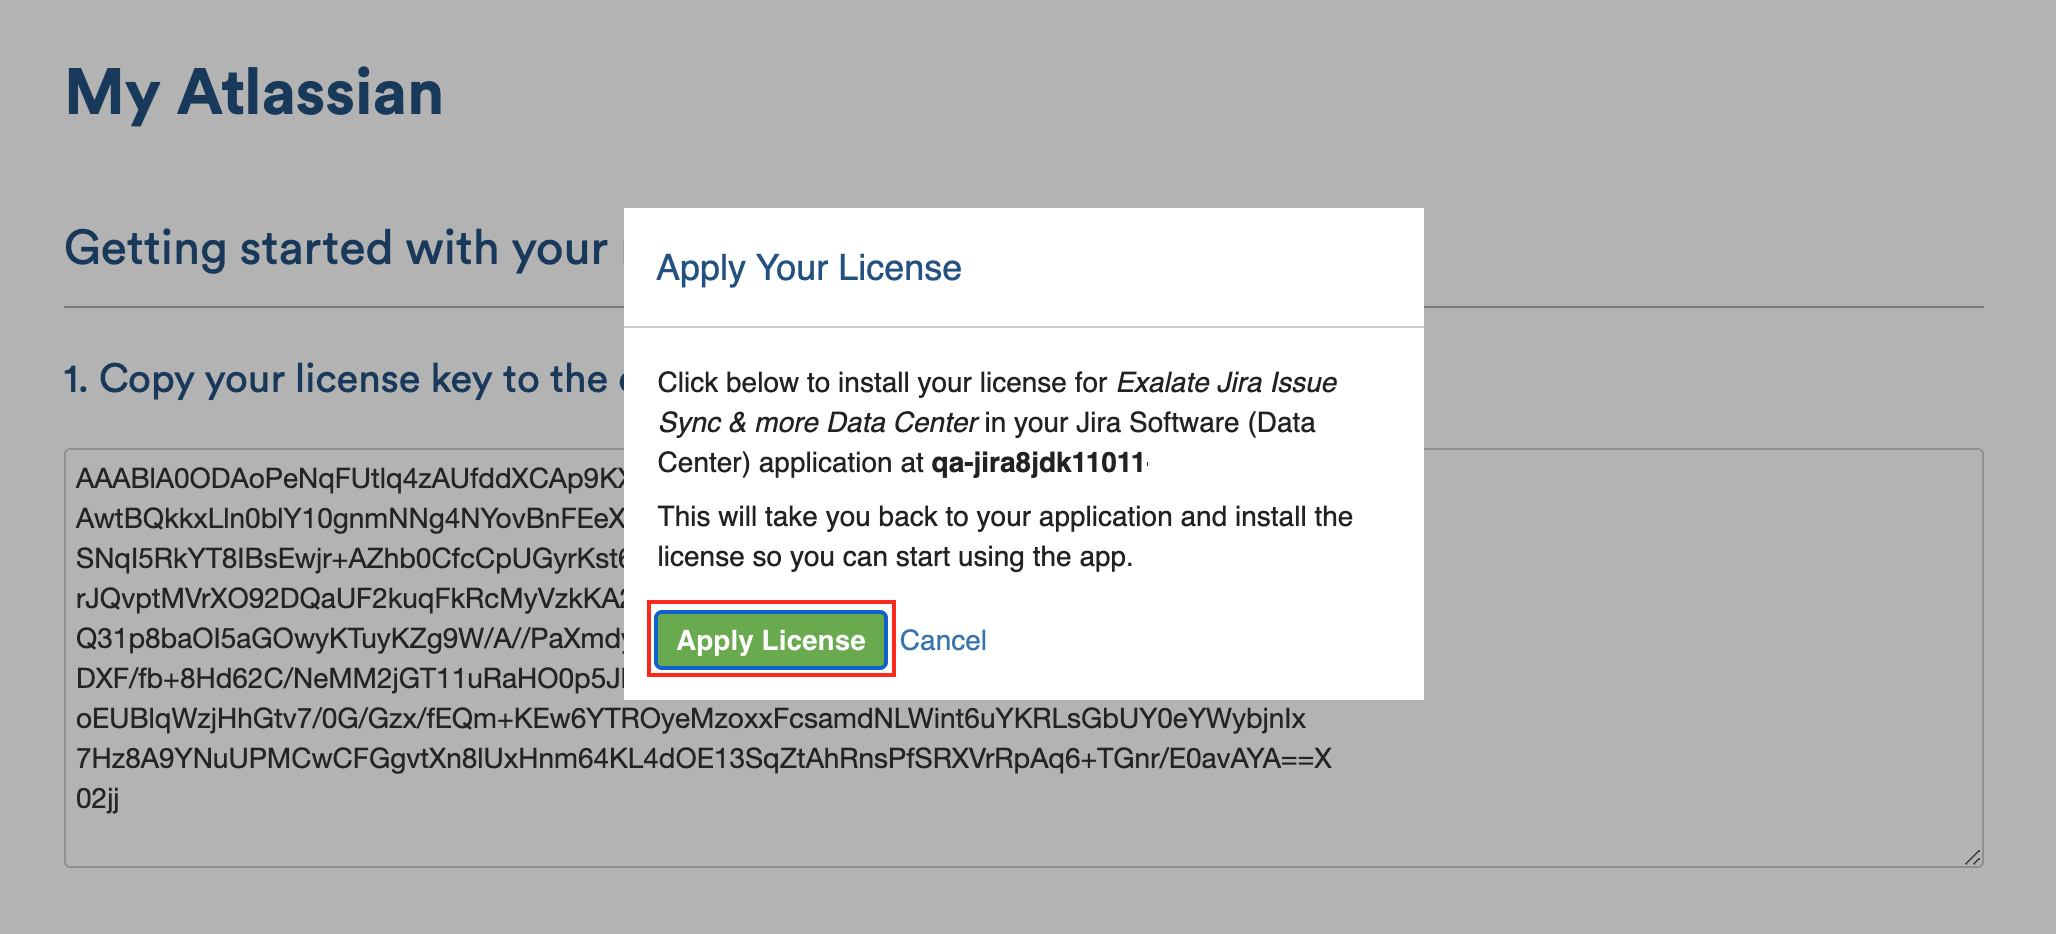
- Click Apply License.

- You're all set! Proceed to register Exalate on Jira on-premise.
Register Exalate with Jira On-premise
Note: If this is the first time you are installing Exalate, you have to go through a simple registration process before you can start using it.
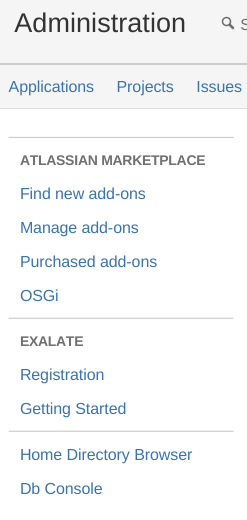
The first thing you need to do is to navigate to the Registration section from the administration menu on the left side:

The next thing you see after navigating to the Registration page would be a form, already filled with your JIRA data.
Before submitting the data, make sure you have read the EULA (End User License Agreement).
Please, notice that we do not sell or share your information with third parties. We only collect information to provide occasional product-related information such as new releases and security-related notices.

After reading the EULA, click Register. You will the following page and the add-on gets activated.

That's all it takes to start using Exalate within your company.
Configuring the Proxy User Permissions
By default, the proxy user is the user who installs Exalate.
To change the proxy user Navigate to General Settings -> Proxy User in the Exalate admin menu to set the proxy user.

In Jira on-premise, the proxy user needs to have the following permissions:
- Browse Project.
- Create issue.
- Edit issue.
- Link issue.
- Transition issue: change statuses (on issue transition).
- If comments are synchronized, the proxy user needs to add, edit, and delete a comment.
- If attachments are synchronized, the proxy user needs to add, and delete attachments.
- If work logs are synchronized, the proxy user needs to add, edit, and delete work logs.
- If security levels are synchronized, the proxy user needs to access the security levels.
- If you're using a trigger the proxy user must be able to search for issues
Note: Jira Service Management permissions: the proxy user needs to be a service desk agent.


 You are redirected to the My Atlassian page where you should enter your organization name and agree to the
