This article applies to Exalate Classic only. For New Exalate, refer to this documentation.
Introduction
You have two options for installation:
- install Exalate for GitHub from the marketplace.
- install Exalate for GitHub on docker.
Once the installation itself is done, the next two steps are:
- generate a personal access token to log into the Exalate admin console.
- configure proxy user permissions.
Note: Exalate can be installed on Github Cloud and GitHub Enterprise Cloud.
Install Exalate from the Marketplace
Exalate for GitHub is available on the marketplace.
You can install Exalate for organizations or user accounts and grant access to repositories. The app is hosted on our server.
Note: To install Exalate, you need to be an organization owner or have admin permissions in a repository.
1. Go to the Marketplace and search for "exalate".
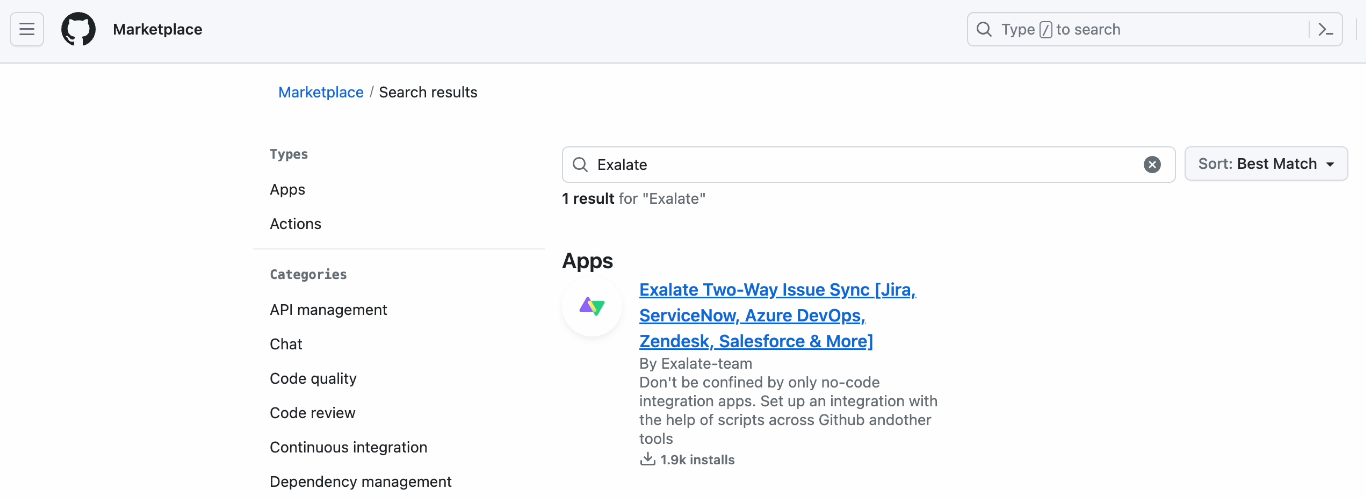
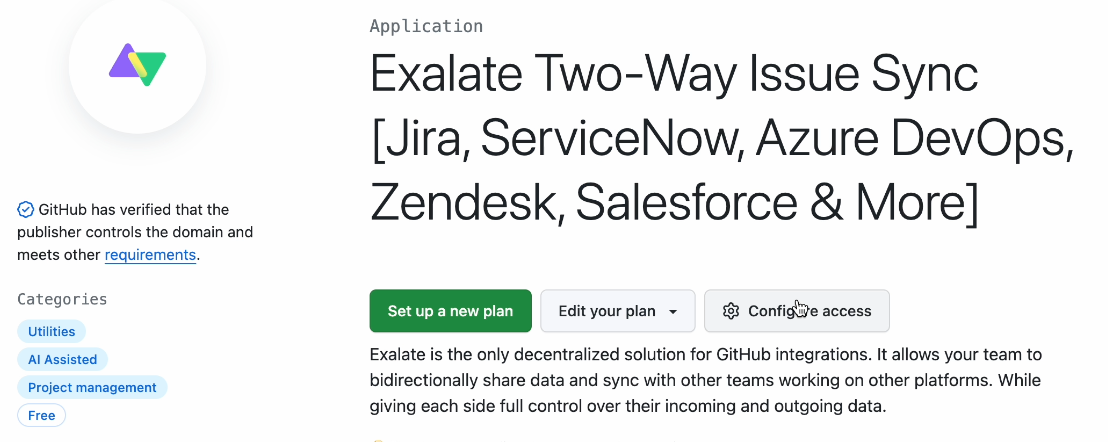
2. Click Set up a new plan
3. Scroll down and search for the account to associate with Exalate.
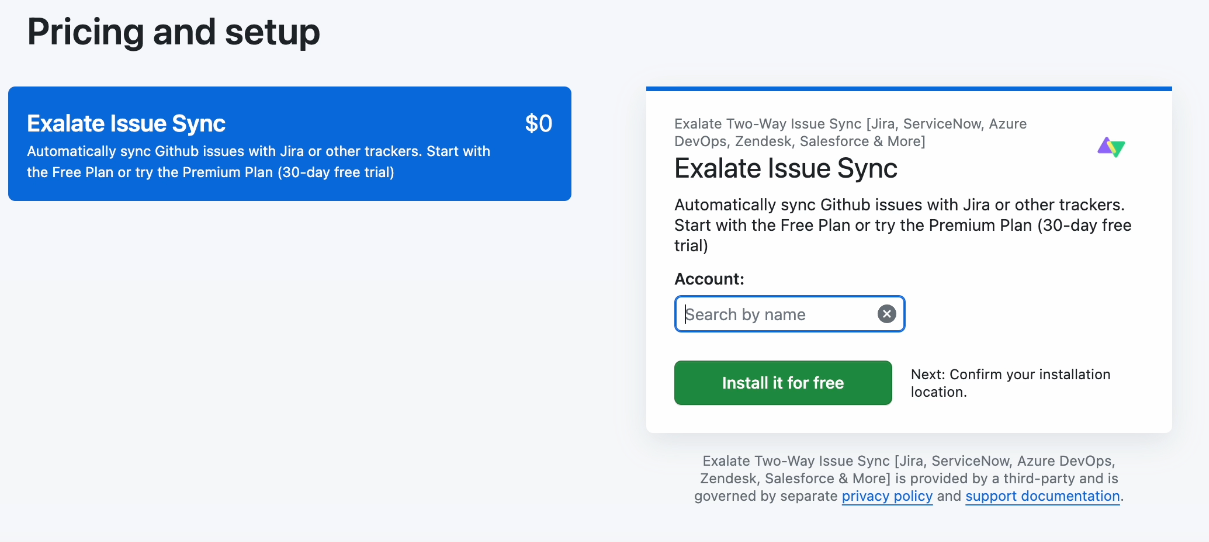
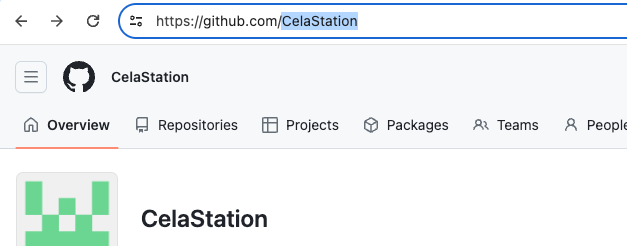
In Account, you can either install Exalate for your entire account, or enter the name of a specific organization within your GitHub account. For our example, we enter the name of an organization we created.
You can search for an organization by name, or go to your GitHub instance and copy it:
4. When done click Install it for free.
5. Now review your order and associate your billing information with your organization.
 6. Click Save when done.
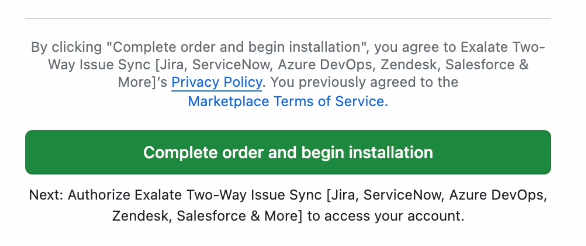
7. Click Complete order and begin the installation.
8. On the next screen click Install.

Note: By default, Exalate is installed on the account that is currently logged in. If you wan to change to a different one, click Cancel and follow the prompts to select a different one.
Note: After clicking Install, you are redirected to the Exalate admin console. We recommend saving the link to easily access Exalate in the future.
9. On the Registration page fill out the required fields.

10. Click Agree and submit.
11. An email confirmation is sent to the email you specified for your account. With this info Exalate:
- Verifies your instance.
- Activates an evaluation license.
- Makes an admin account to receive error notifications.
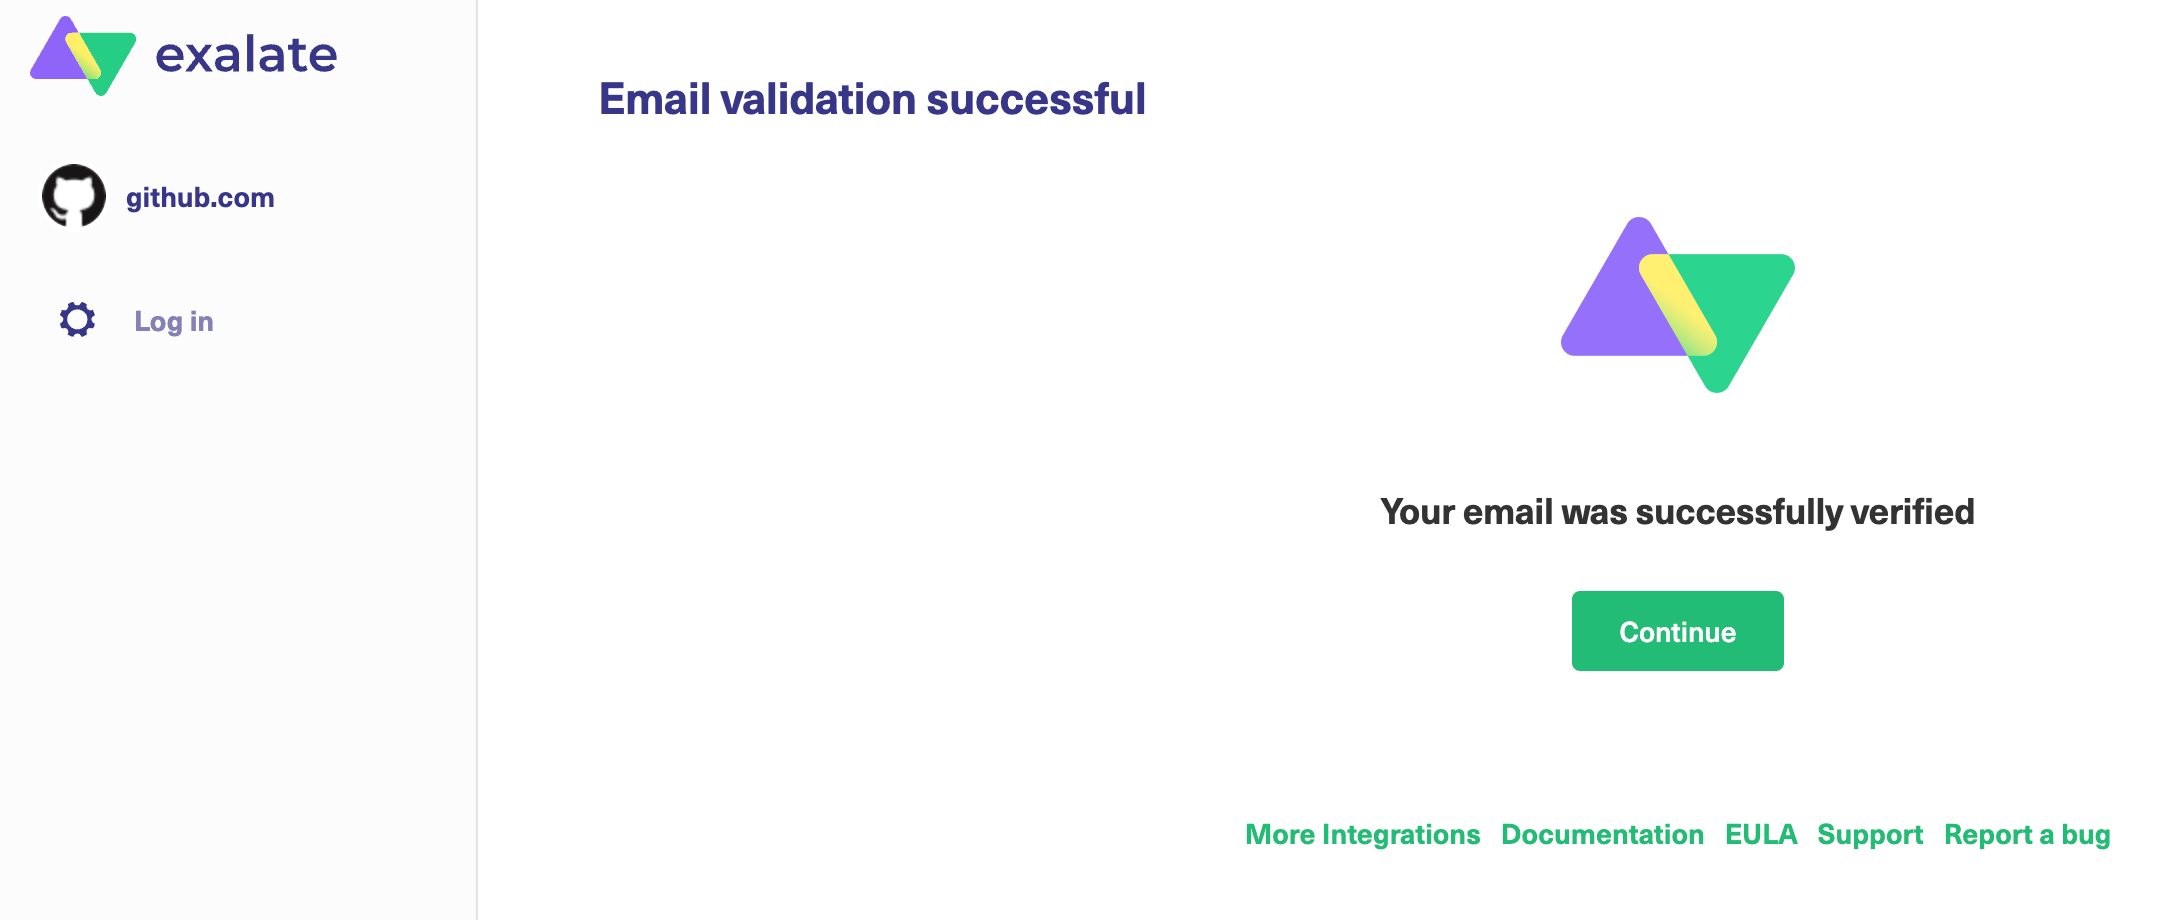
12. Open your email and click Verify Exalate instance.

13. After the validation is successful you are redirected back to the Exalate console. Click Continue to go on to the Registration page.
14. To login to the Exalate console, enter your personal access token in the Token field.

How to Generate a Personal Access Token
Note: You need a Personal Access Token to log in to Exalate for GitHub.
1. Log in to your GitHub account.
The GitHub user must be an organization member or have admin access to a repository where Exalate is installed.
Note: The user account that wishes to access the Exalate dashboard needs to have organization visibility set to Public.
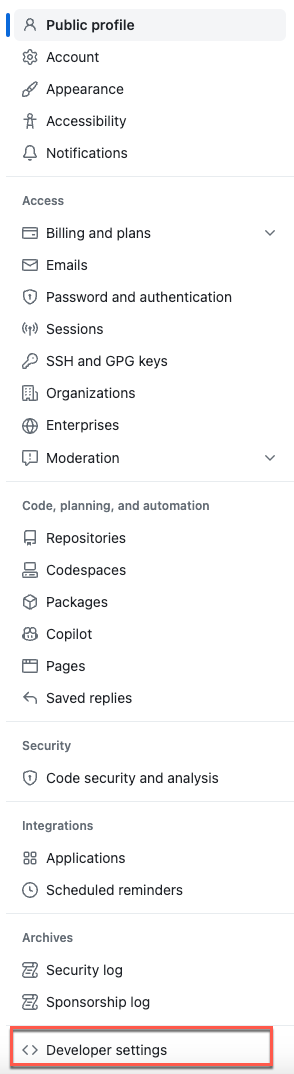
2. In GitHub, go to to Settings > Developer settings.
3. Select Personal access tokens > Tokens (classic)
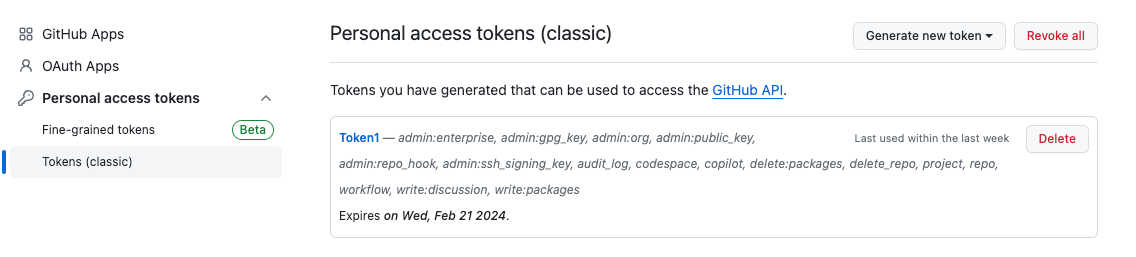 4. Click Generate new token to generate a new access token. Select the scopes or permissions you'd like to grant this token. To use your token to access repositories from the command line, select repo.

Once the token has been generated, you can now use it to log in to your Exalate admin console.
Important: Make sure to save the token, because you can access it only once.
Note: Starting from version 5.1.4 we apply security improvements involving migration to OAuth for the Exalate application for Github.
Configuring Proxy User Permissions
By default, Exalate for GitHub proxy user is the repository admin or the organization owner, who is installing Exalate.
Proxy user permissions in GitHub
The proxy user has the same permissions as an admin or an organization owner in GitHub.
Note: For more information about user permissions, please read these GitHub Docs articles:
Install Exalate for GitHub on Docker
Learn more about How to install Exalate for GitHub on docker
Video Tutorial