This article applies to Exalate Classic only. For New Exalate, refer to this documentation.
By default, Exalate sets the Zendesk instance's admin as the Proxy user during installation. However, you can change the Proxy user if required.
Note: Exalate requires a dedicated Zendesk admin as a Proxy user.
You may choose one of the following options:
Option 1 (Login as an Admin User)
1. Login with the new Zendesk admin account required to be the Proxy user.
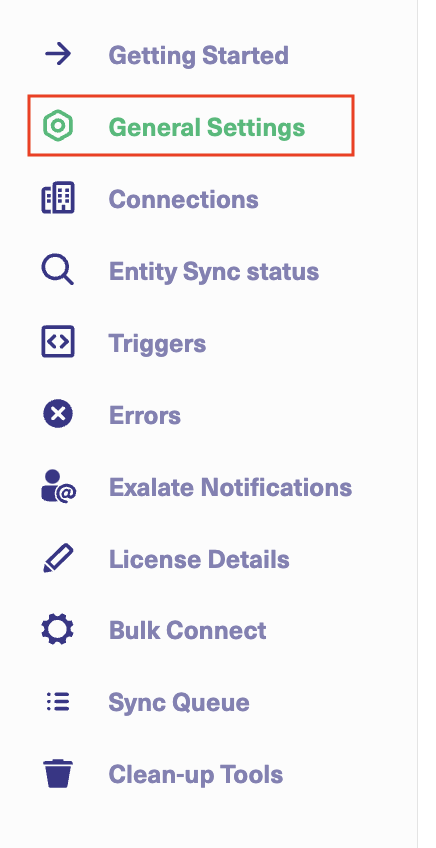
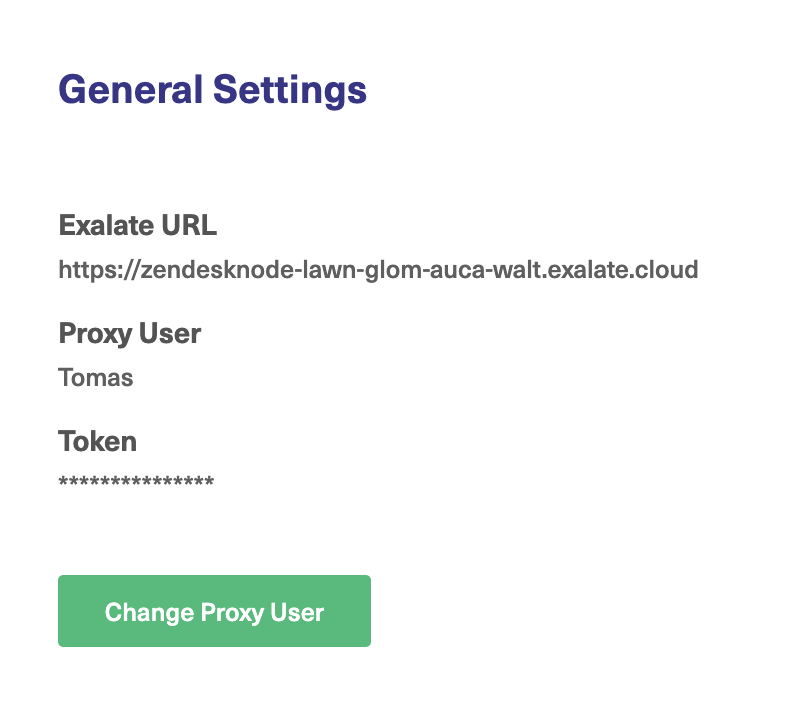
2. Access Exalate, and click General Settings in the Exalate Menu Panel.
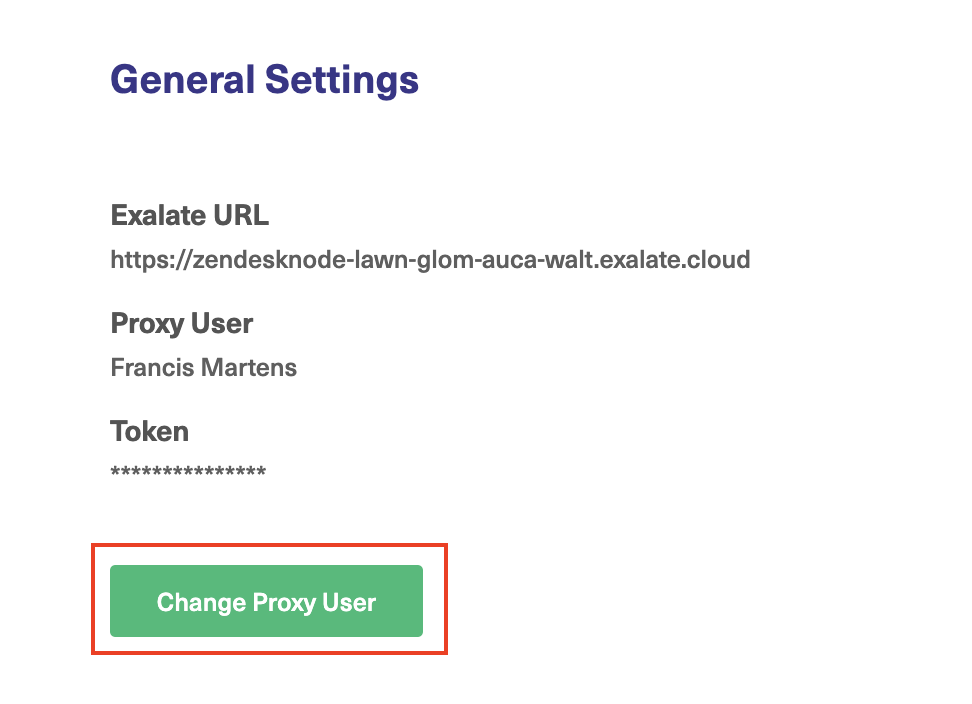
3. Click Change Proxy User.
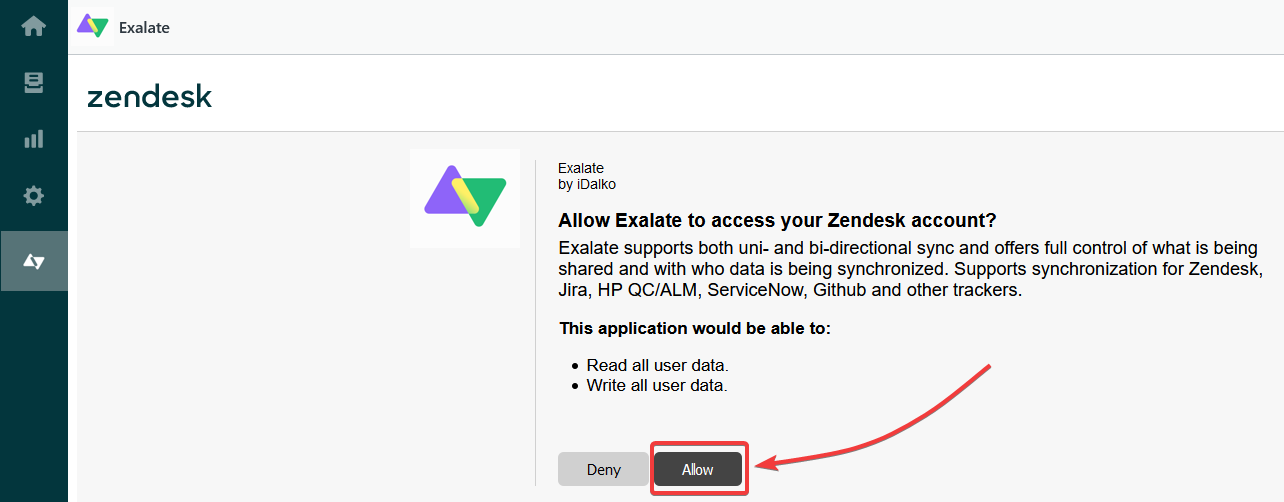
4. Click Allow to complete the new Proxy user change.
Exalate now refreshes the Proxy user. You can confirm it by checking under the General Settings tab.

Option 2 (Impersonate as an Admin User)
Note: There is a feature available within Zendesk that allows Admins, those with full "Administrator" roles to impersonate any user (including other administrators) except for the account owner. The account owner can impersonate other Administrators, but not vice-versa.
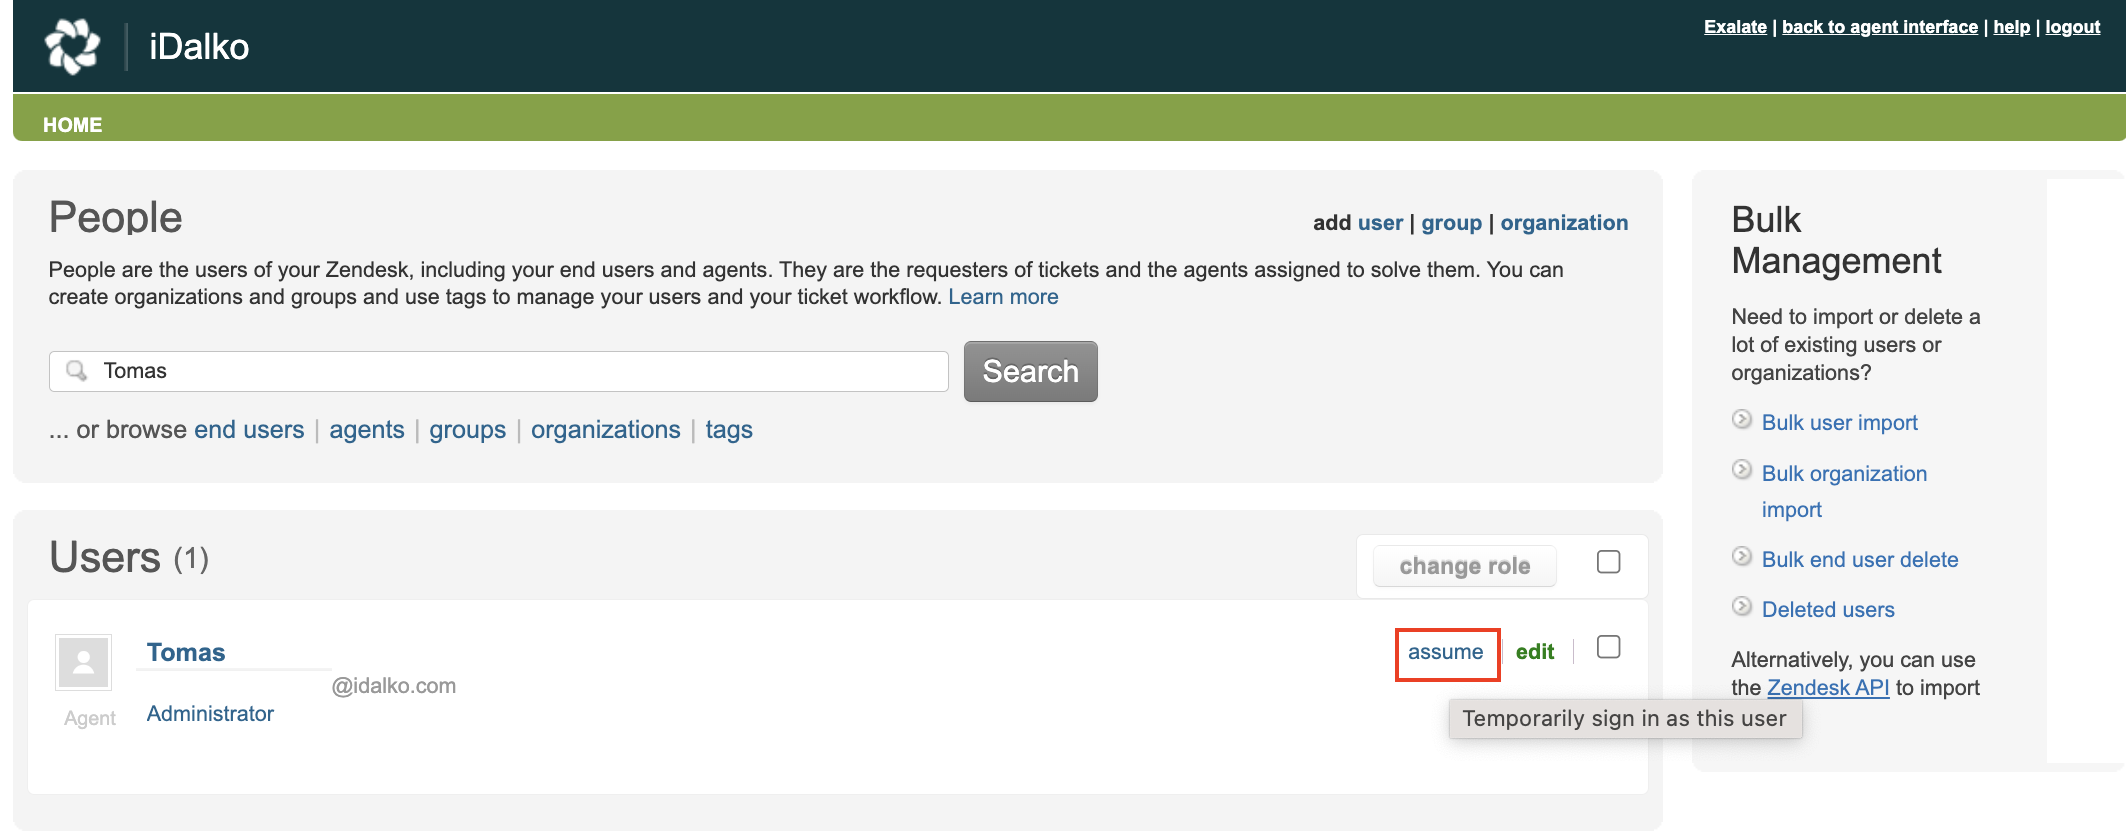
1. To impersonate an admin user, visit: https://subdomain.zendesk.com/users
2. Search for the new admin account required to be the Proxy user, hover over it and click assume.
3. Access Exalate, and click General Settings in the Exalate Menu Panel.
4. Click Change Proxy User.
5. Click Allow to complete the new Proxy user change.
Exalate refreshes the Proxy user, you can confirm it by going to the General Settings tab.
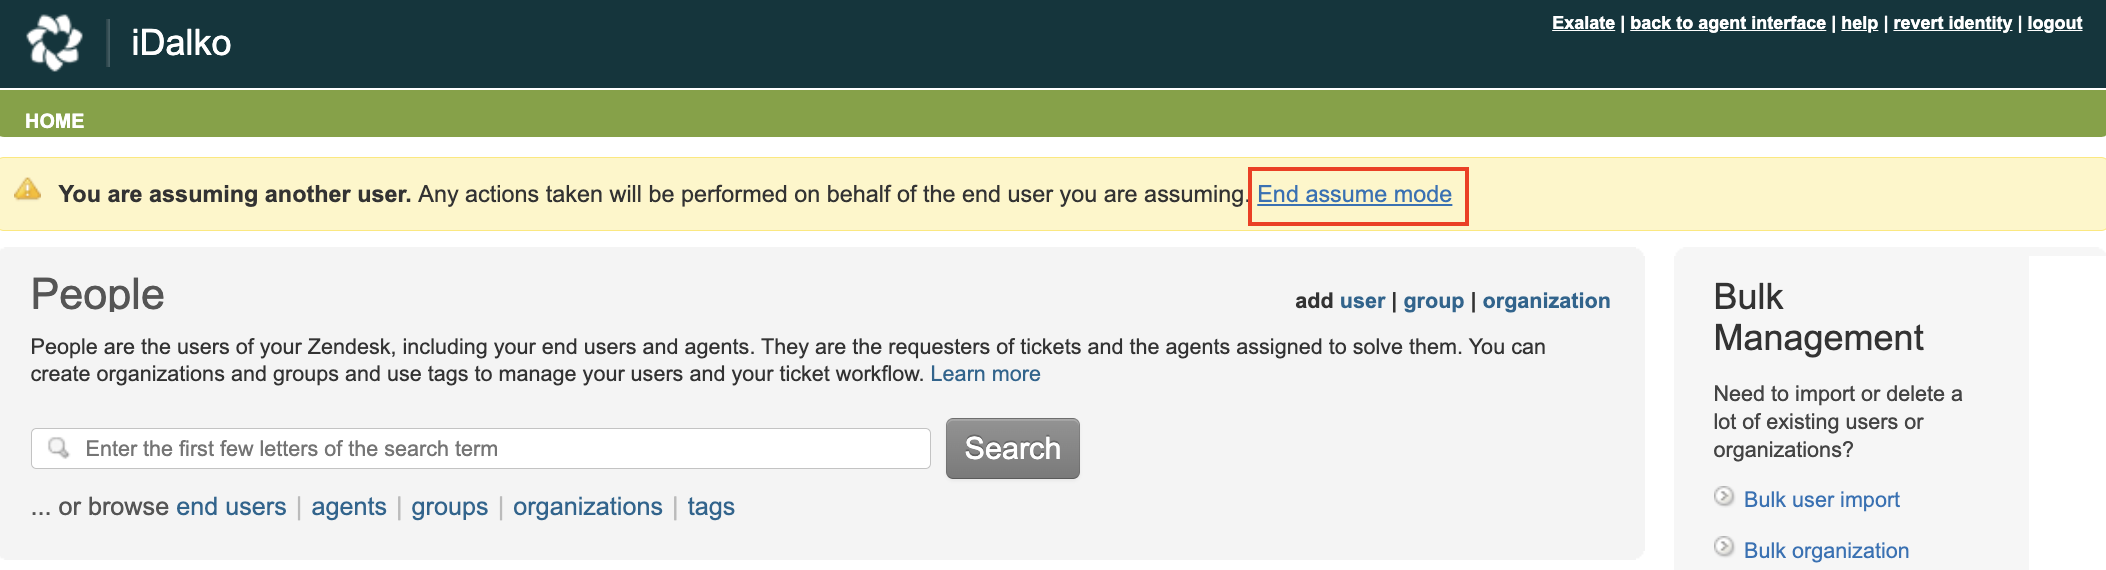
 6. To finish impersonation, go back to: https://subdomain.zendesk.com/users and click End assume mode.