This article applies to Exalate Classic only. For New Exalate, refer to this documentation.
Exalate Operation
Note: This operation is used for the manual synchronization of entities.
An entity is an information unit in every task management system that can be synced with the help of Exalate. For example, here are the most common entities for each task management system that can be synced with the help of Exalate:
- Jira Cloud: issues, epics.
- Jira on-premise/ Datacenter: issues, epics.
- Azure DevOps (Server & Service): work items, epics.
- GitHub: issues, pull requests.
- Monday.com: tasks
- Salesforce: objects, like cases, opportunities, tasks, accounts, etc.
- ServiceNow: incidents, stories, epics, etc.
- Zendesk: tickets
- Freshdesk: tickets
- Freshservice: tickets
- Asana: tasks, projects
To Exalate an entity means to put the entity under sync or synchronize it to the destination instance.
Note: For more information, read How to connect entities from the sync panel.
Below you can find detailed information on how to use the Exalate Operation in every task management system.
Jira Cloud Manual Sync
Manual synchronization in Jira Cloud happens via the Exalate button in the Sync Status Panel present under the issue view.
Note: The Sync Status Panel is available under the specific entity (i.e, issue, work item, tickets, Cases, etc) view in Jira, Zendesk, Azure DevOps, and Salesforce.
For other platforms like GitHub, ServiceNow, Freshdesk, Freshservice, including Jira, Zendesk, Azure DevOps, and Salesforce, this button is available under the Exalate admin console in the Entity Sync Status tab.
Exalate the Issue from Jira
- Create an issue in Jira.
Open the issue.
There is an Exalate Sync Panel under every issue view. Open it.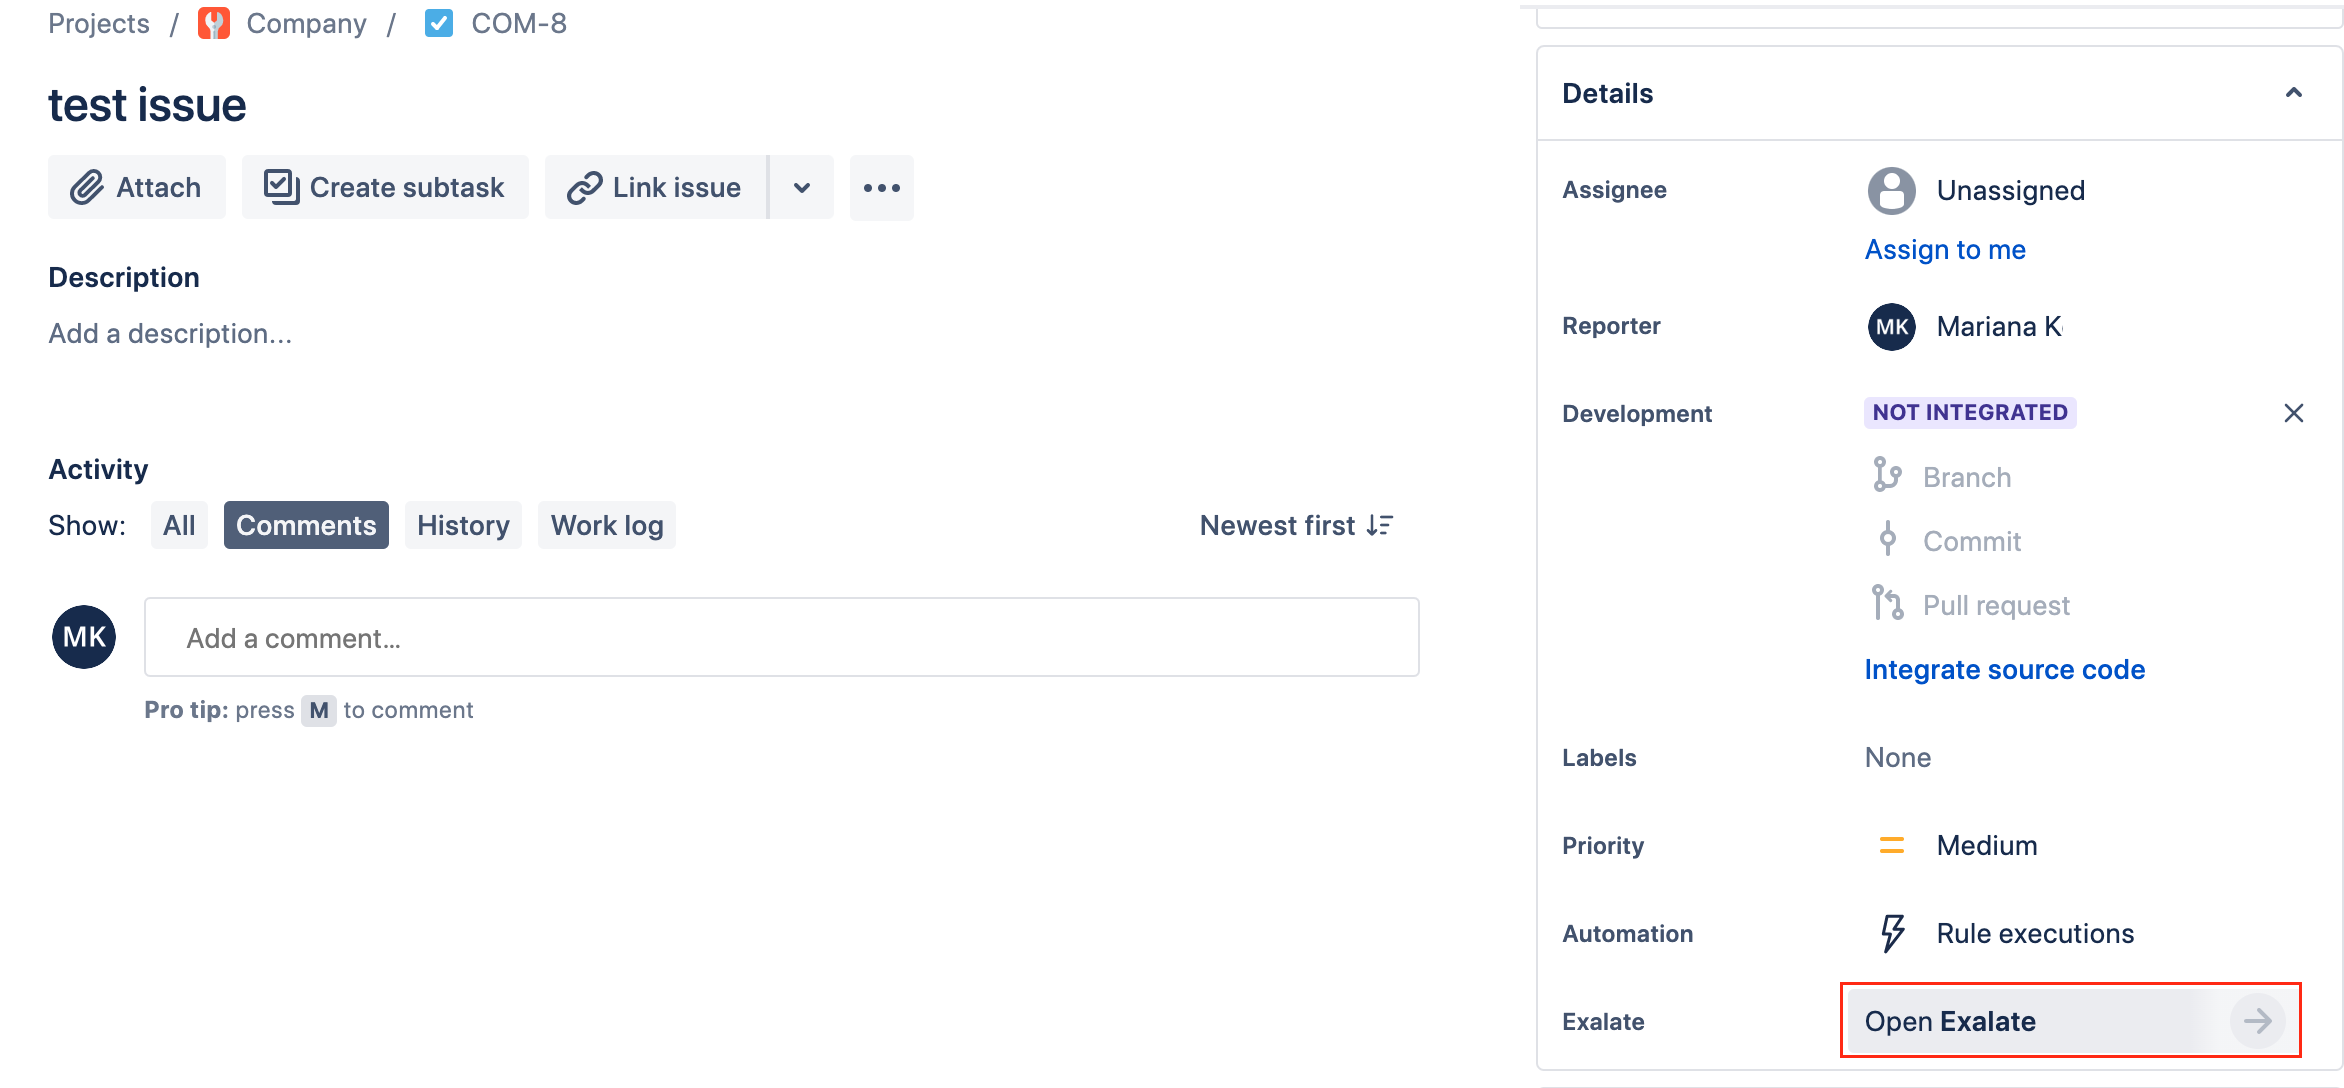

- Exalate the Issue
You can see 2 buttons on the Exalate panel: Exalate & Connect.
Exalate allows you to synchronize & create a new entity on the destination instance.
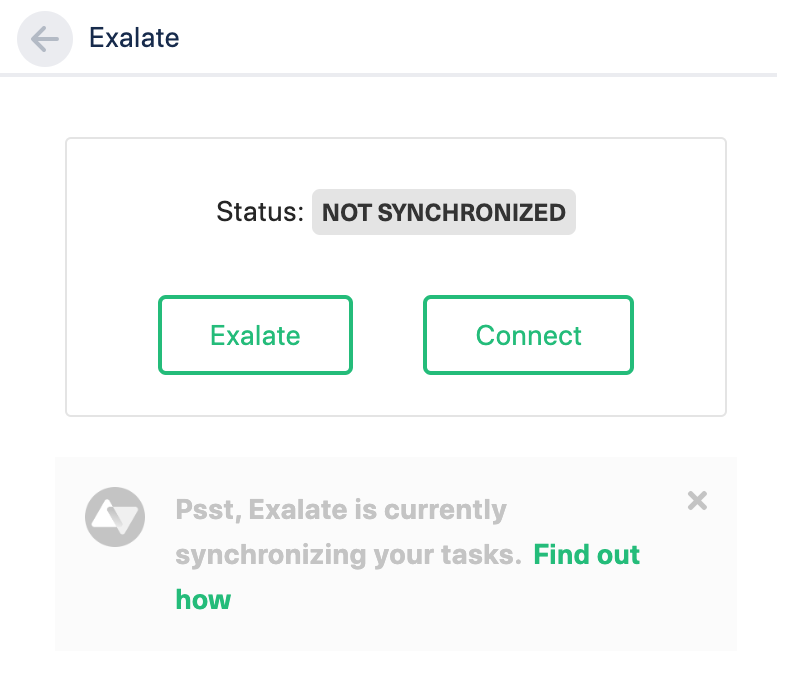
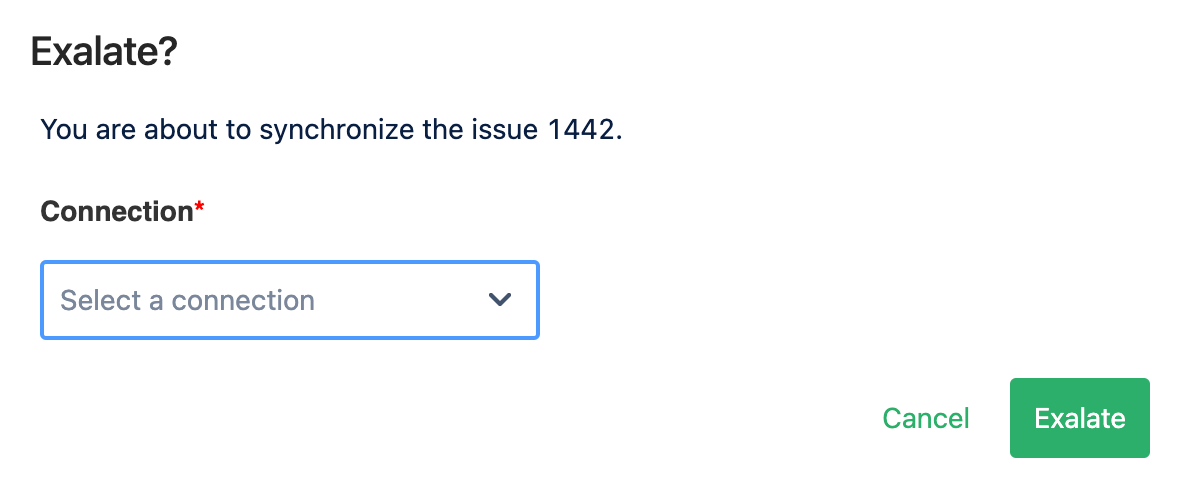
Connect allows you to connect 2 existing entities present in both instances.- To Exalate an issue, click the Exalate button.
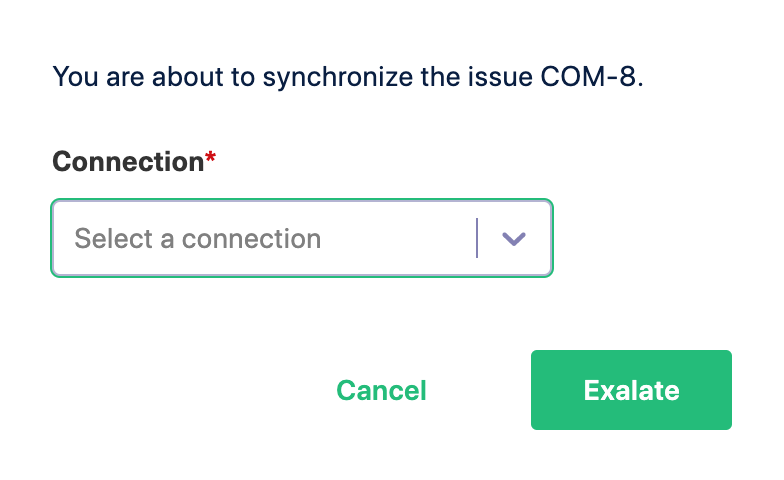
- Choose the name of the Connection you have created.
- Click Submit.


You are able to see the progress of the synchronization within the Exalate Sync Status panel. This status is also visible in the Entity Sync status tab on the Exalate admin panel.
Jira On-premise Manual Sync
Manual synchronization in Jira On-premise happens via the Exalate button in the Sync Status Panel present under the issue view.
Note: The Sync Status Panel is available under the specific entity (i.e, issue, work item, tickets, Cases, etc) view in Jira, Zendesk, Azure DevOps, and Salesforce.
For other platforms like GitHub, ServiceNow, Freshdesk, Freshservice, including Jira, Zendesk, Azure DevOps, and Salesforce, this button is available under the Exalate admin console in the Entity Sync Status tab.
Exalate the Issue from Jira
- Create an issue in Jira.
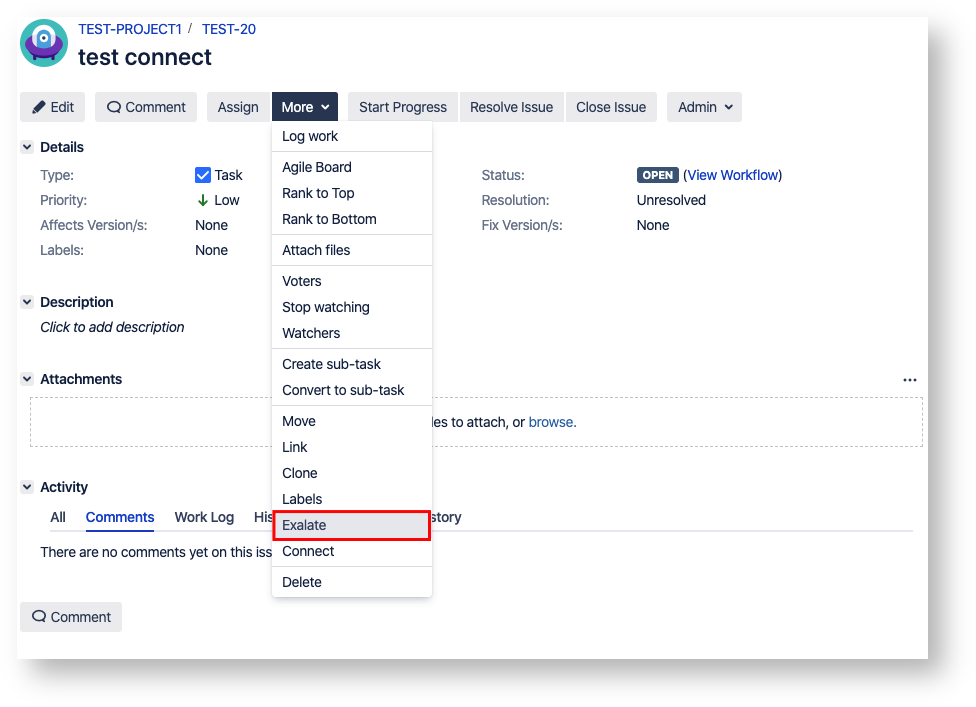
Open the issue. - The Exalate issue operation is located under Moretab on the issue view
- Exalate the Issue
You can see 2 buttons on the Exalate panel: Exalate & Connect.
Exalate allows you to synchronize & create a new entity on the destination instance.
Connect allows you to connect 2 existing entities present in both instances.- To Exalate an issue, click the Exalate button.
- Choose the name of the Connection you have created.
- Click Submit.


You are able to see the progress of the synchronization within the Exalate panel. This status is also visible in the Entity Sync status tab on the Exalate admin panel.
Azure DevOps Manual Sync (Server & Service)
Manual synchronization in Azure DevOps happens via the Exalate button in the Sync Status Panel present under the work item view.
For other platforms like GitHub, ServiceNow, Freshdesk, Freshservice, including Jira, Zendesk, Azure DevOps, and Salesforce, this button is available under the Exalate admin console in the Entity Sync Status tab.
Exalate the Work Item from Azure DevOps
- Create a work item in Azure DevOps
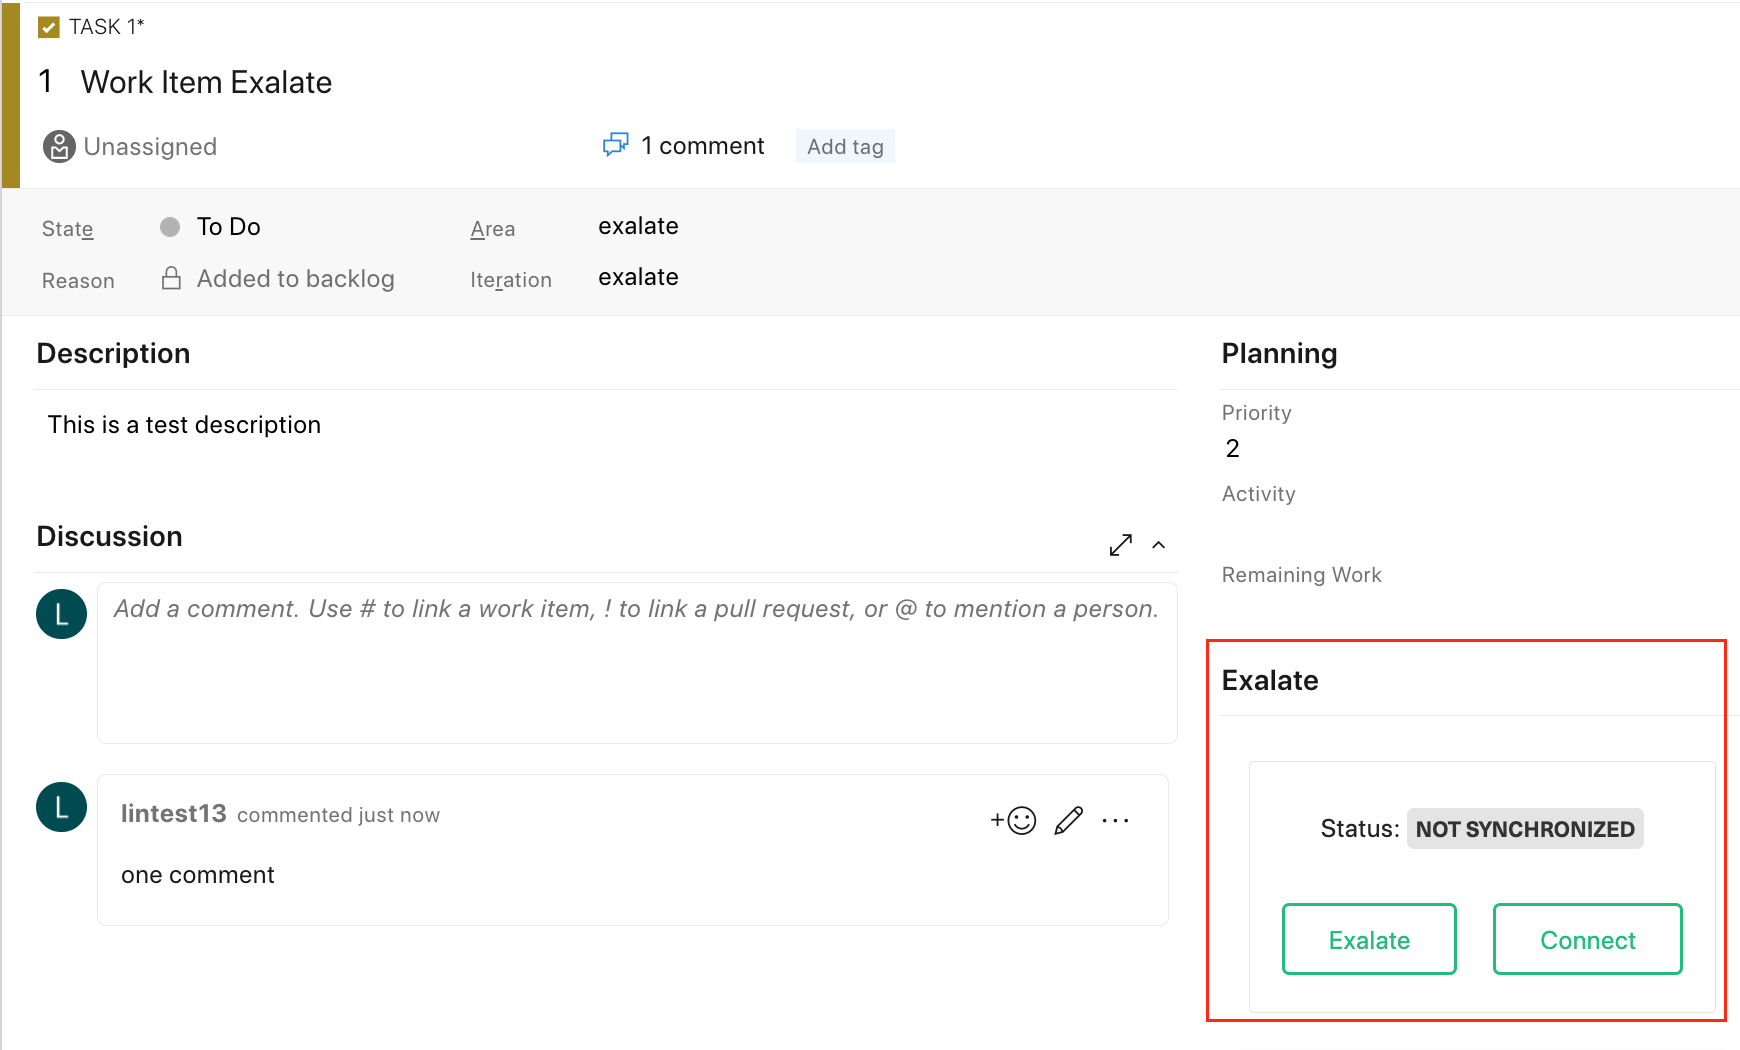
- Exalate the Issue
You can see 2 buttons on the Exalate panel: Exalate & Connect.
Exalate allows you to synchronize & create a new entity on the destination instance.
Connect allows you to connect 2 existing entities present in both instances.- To Exalate an issue, click the Exalate button.
- Choose the name of the Connection you have created.
- Click Submit.

You are able to see the progress of the synchronization within the Exalate panel. This status is also visible in the Entity Sync status tab on the Exalate admin panel.
GitHub Manual Sync
Manual synchronization in GitHub happens via the Exalate button in the Entity Sync Status Panel present under the Exalate admin console.
Note: The Sync Status Panel is available under the specific entity (i.e, issue, work item, tickets, Cases, etc) view in Jira, Zendesk, Azure DevOps, and Salesforce.
For other platforms like GitHub, ServiceNow, Freshdesk, Freshservice, including Jira, Zendesk, Azure DevOps, and Salesforce, this button is available under the Exalate admin console in the Entity Sync Status tab.
Exalate the Issues from GitHub
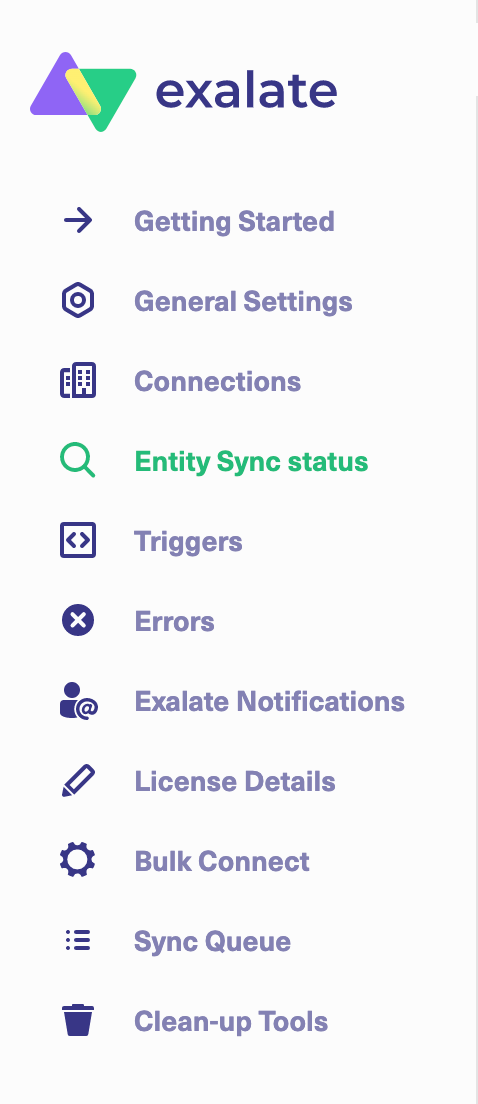
- Go to the Entity Sync status tab in the Exalate admin console.
- This sync panel provides a view of the status of the entity under sync. You can also find the remote entity link in there if it is available.
Select the repository from a drop-down list.
Enter the Entity URN. Then click on the Search button.
In case the entity is already under synchronization, you see the entity status and the remote issue link in case it's available.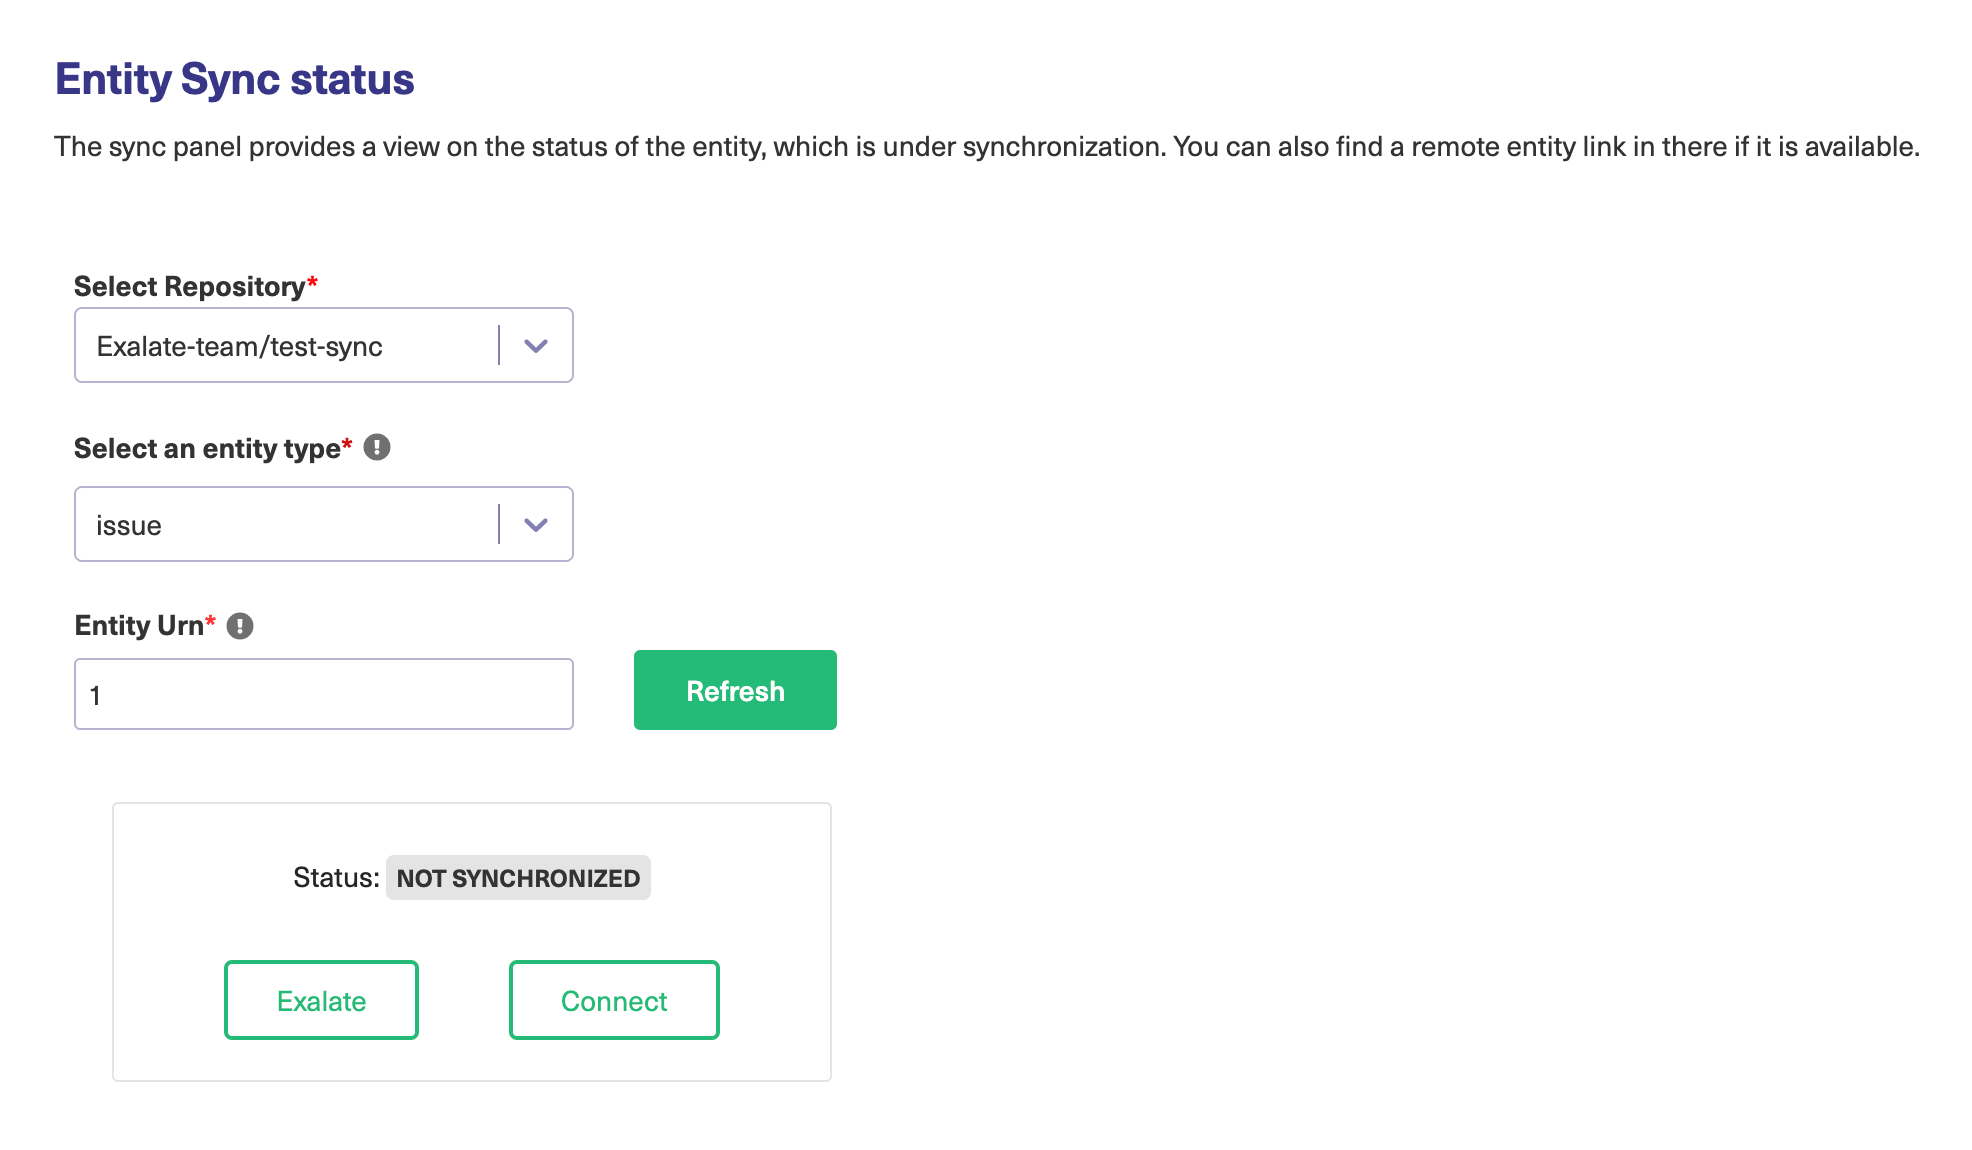
- Exalate the Issue
You can see 2 buttons at the bottom on the Exalate panel: Exalate & Connect. If the entity is not synchronized the following status is displayed.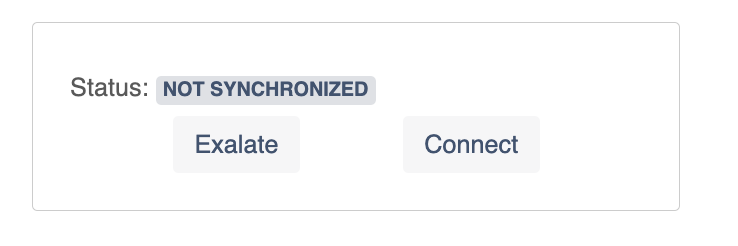
Exalate allows you to synchronize & create a new entity on the destination instance.
Connect allows you to connect 2 existing entities present in both instances.- To Exalate an issue, click the Exalate button.
- Choose the name of the Connection you have created.
- Click Submit.


You are able to see the progress of the synchronization within the panel.
Salesforce Manual Sync
Manual synchronization in Salesforce happens via the Exalate button in the Sync Status Panel present under the Salesforce Object view.
Note: The Sync Status Panel is available under the specific entity (i.e, issue, work item, tickets, Cases, etc) view in Jira, Zendesk, Azure DevOps, and Salesforce.
For other platforms like GitHub, ServiceNow, Freshdesk, Freshservice, including Jira, Zendesk, Azure DevOps, and Salesforce, this button is available under the Exalate admin console in the Entity Sync Status tab.
Exalate the Entities from Salesforce
- Open the particular Salesforce entity.
There is an Exalate panel under the entity view.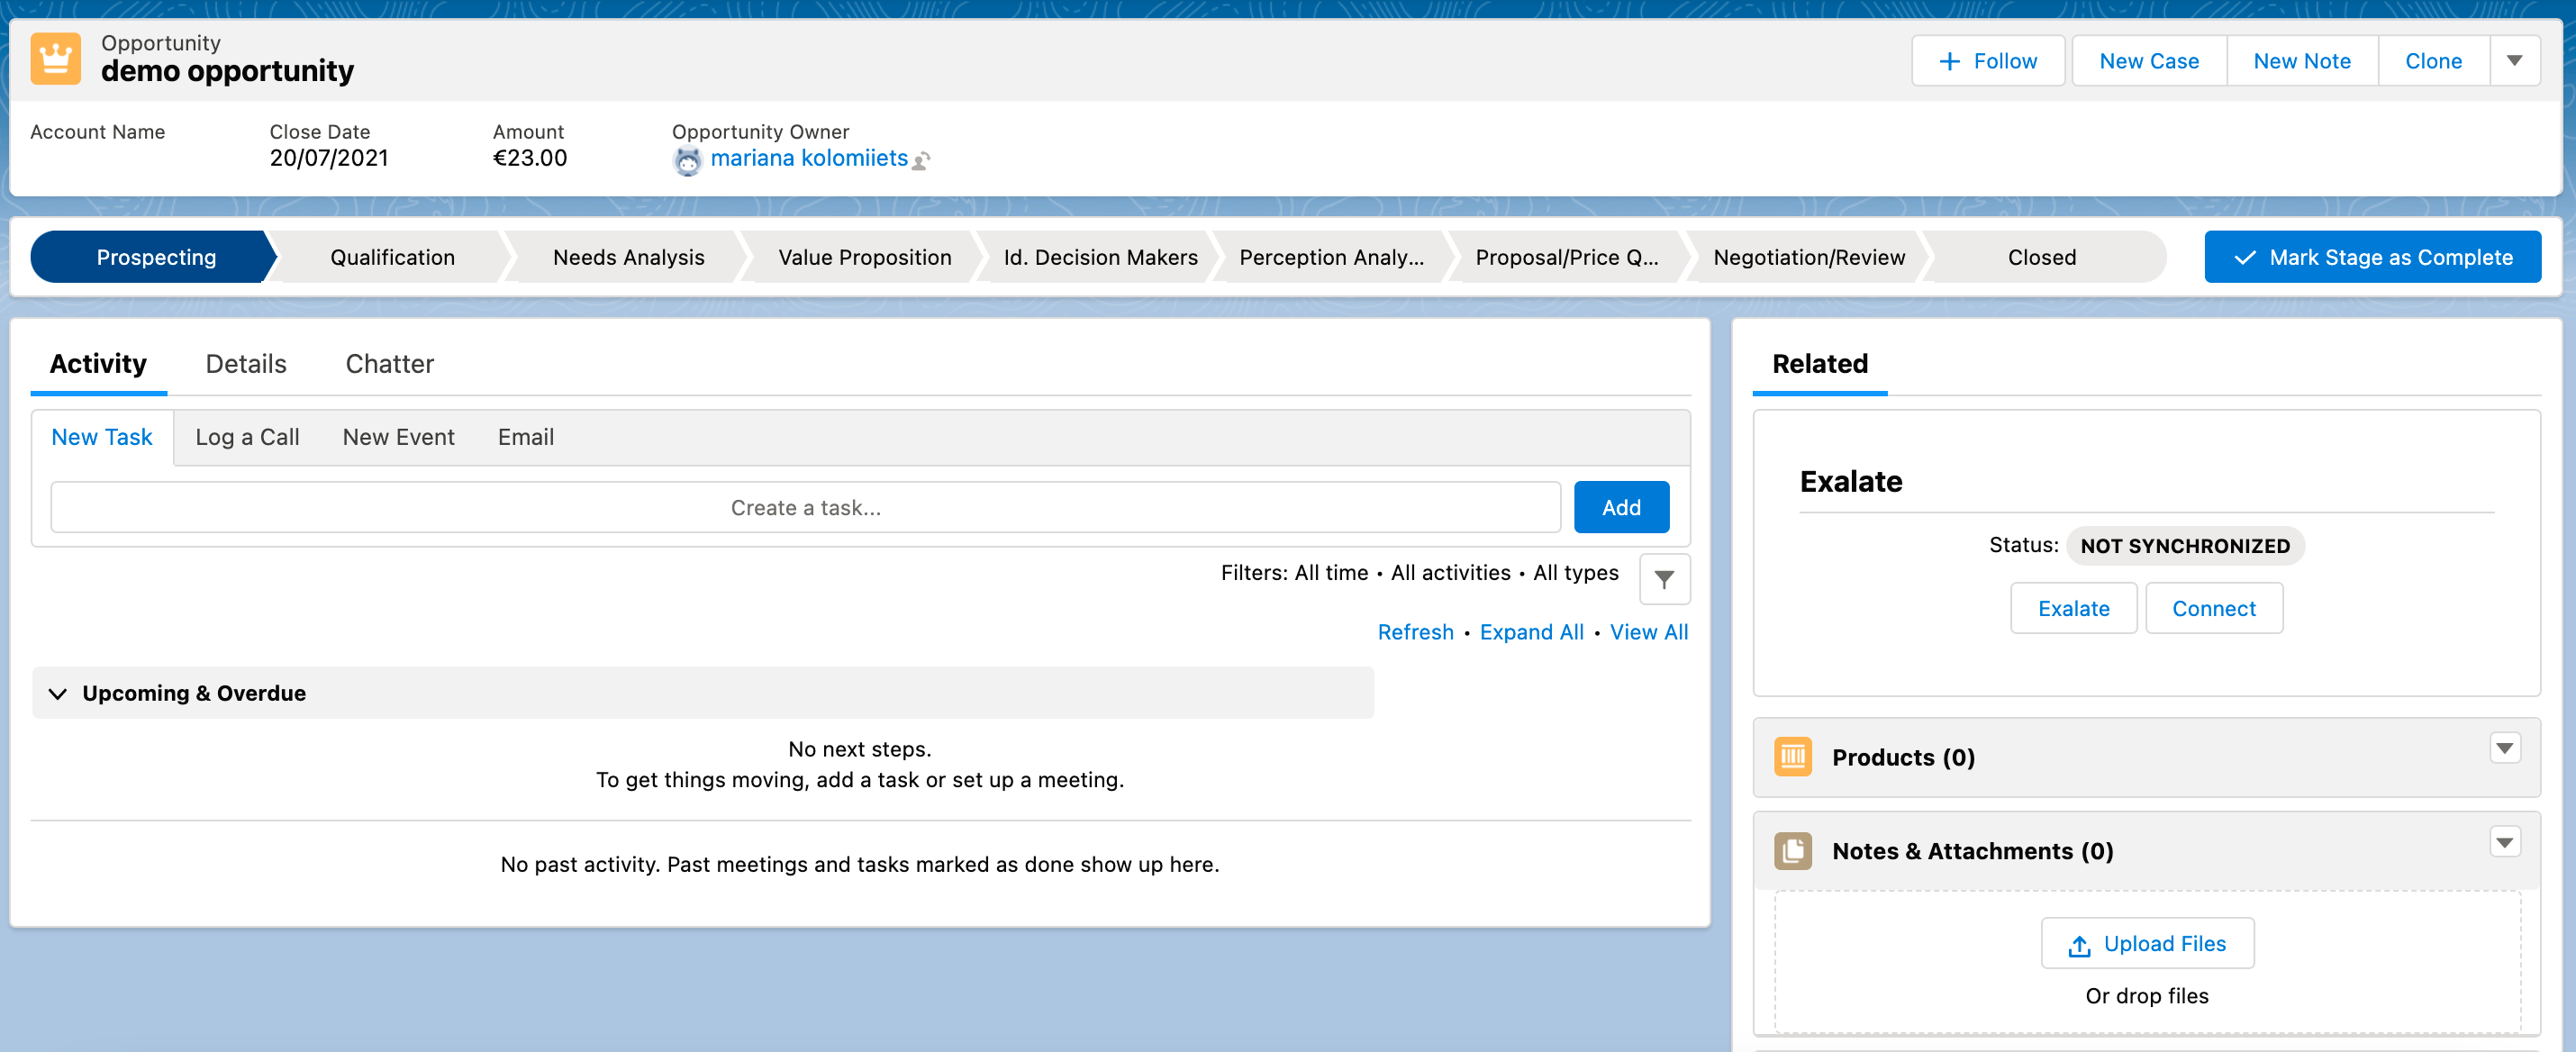
Learn how to add the sync panel to Salesforce entity views.
- Exalate the Entity
You can see 2 buttons at the bottom of the Exalate panel: Exalate & Connect. If the entity is not synchronized the following status is displayed.
Exalate allows you to synchronize & create a new entity on the destination instance.
Connect allows you to connect 2 existing entities present in both instances.- To Exalate an entity, click the Exalate button.
- Choose the name of the Connection you have created.
- Click Submit.

You are able to see the progress of the synchronization within the panel in the form of sync statuses.
ServiceNow Manual Sync
Manual synchronization in ServiceNow happens via the Exalate button in the Entity Sync Status Panel present under the Exalate admin console.
Note: The Sync Status Panel is available under the specific entity (i.e, issue, work item, tickets, Cases, etc) view in Jira, Zendesk, Azure DevOps, and Salesforce.
For other platforms like GitHub, ServiceNow, Freshdesk, Freshservice, including Jira, Zendesk, Azure DevOps, and Salesforce, this button is available under the Exalate admin console in the Entity Sync Status tab.
Exalate the entities from ServiceNow
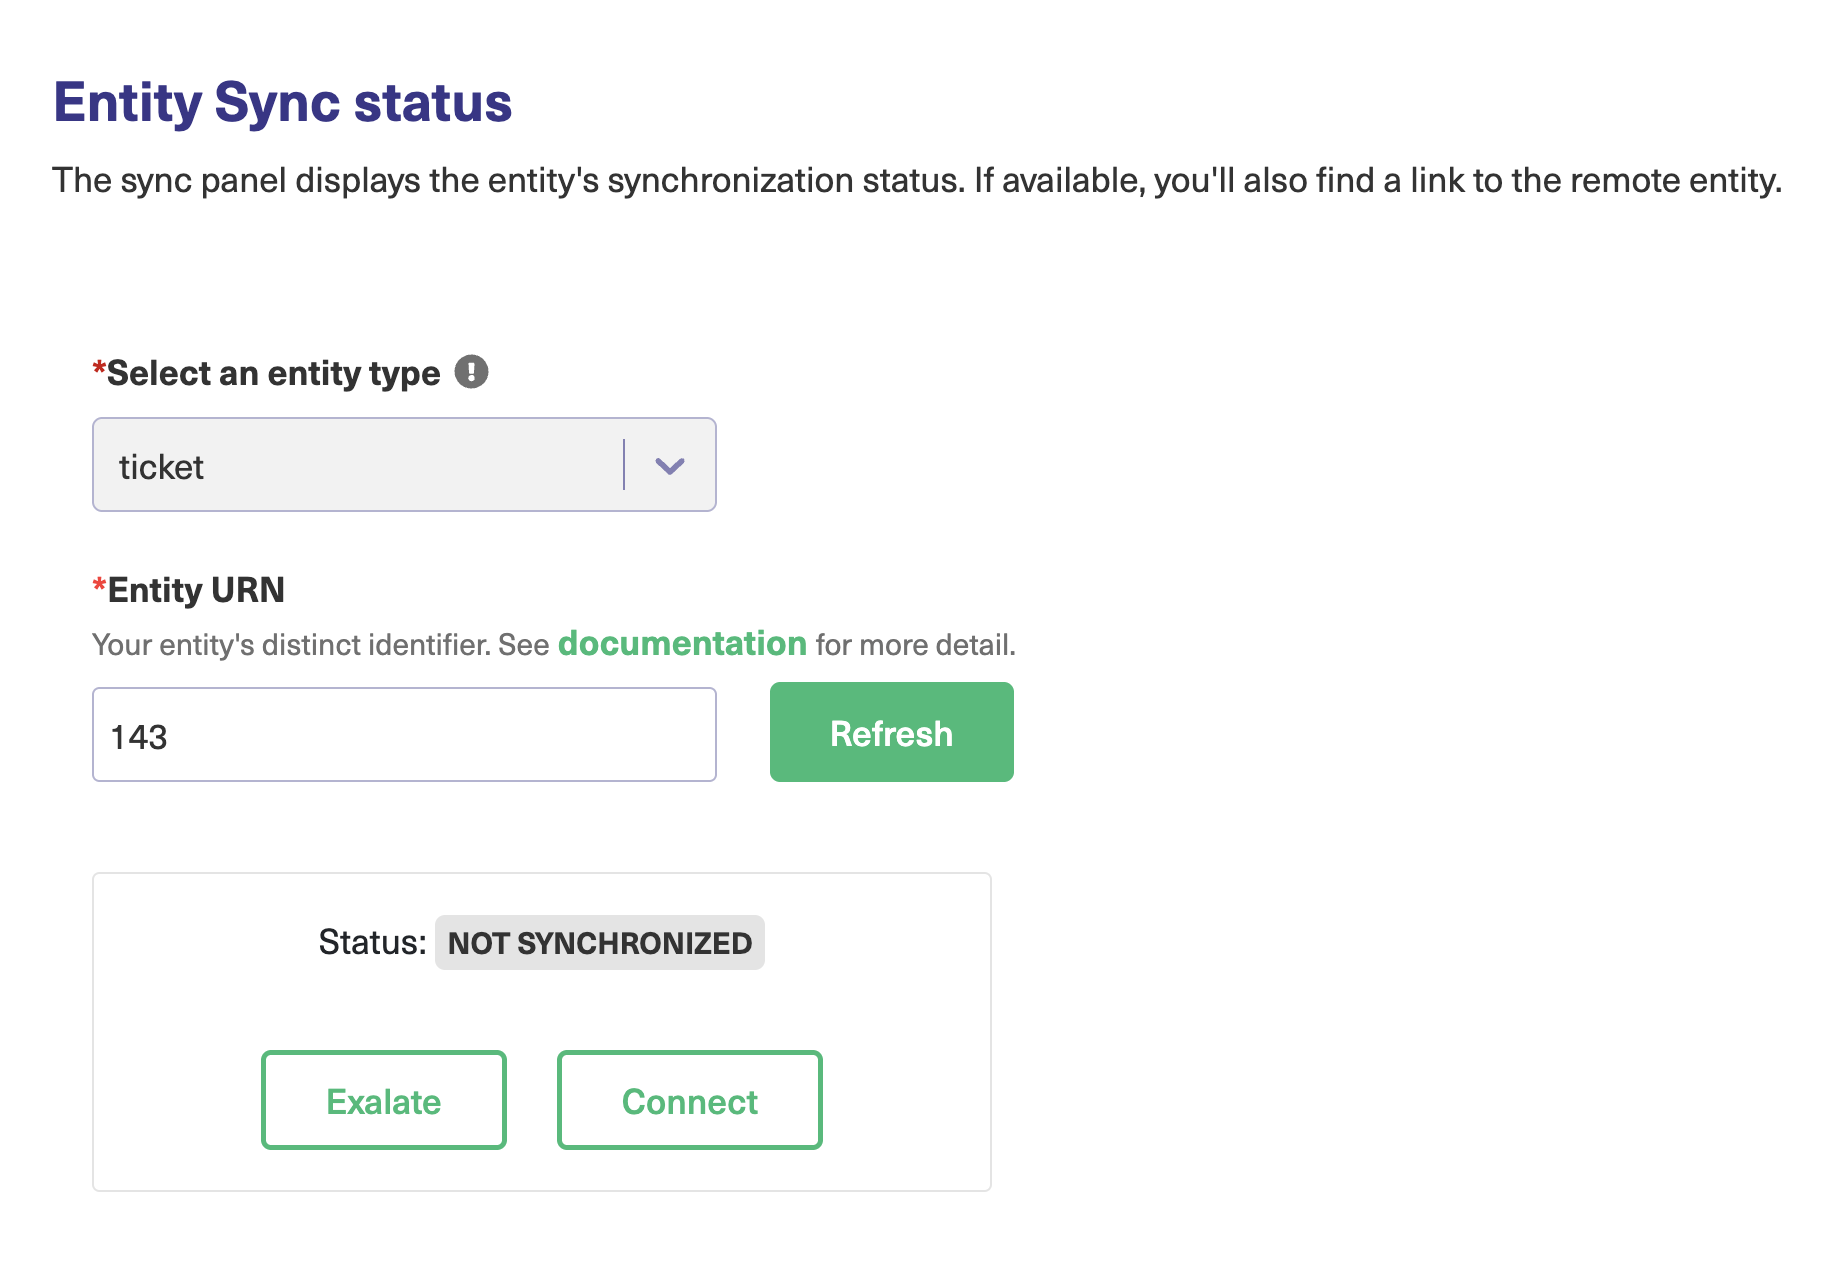
- Go to the Entity Sync status tab in the Exalate admin console.
- This sync panel provides a view of the status of the entity under sync. You can also find the remote entity link in there if it is available.
Select the entity type in ServiceNow from a drop-down list. The common ones are: Incidents, Problems, Change Requests, Cases, Request Items (RITM), and Catalog Tasks.
Enter the Entity URN. Then click on the Search button.
In case the entity is already under synchronization, you see the entity status and the remote issue link in case it's available.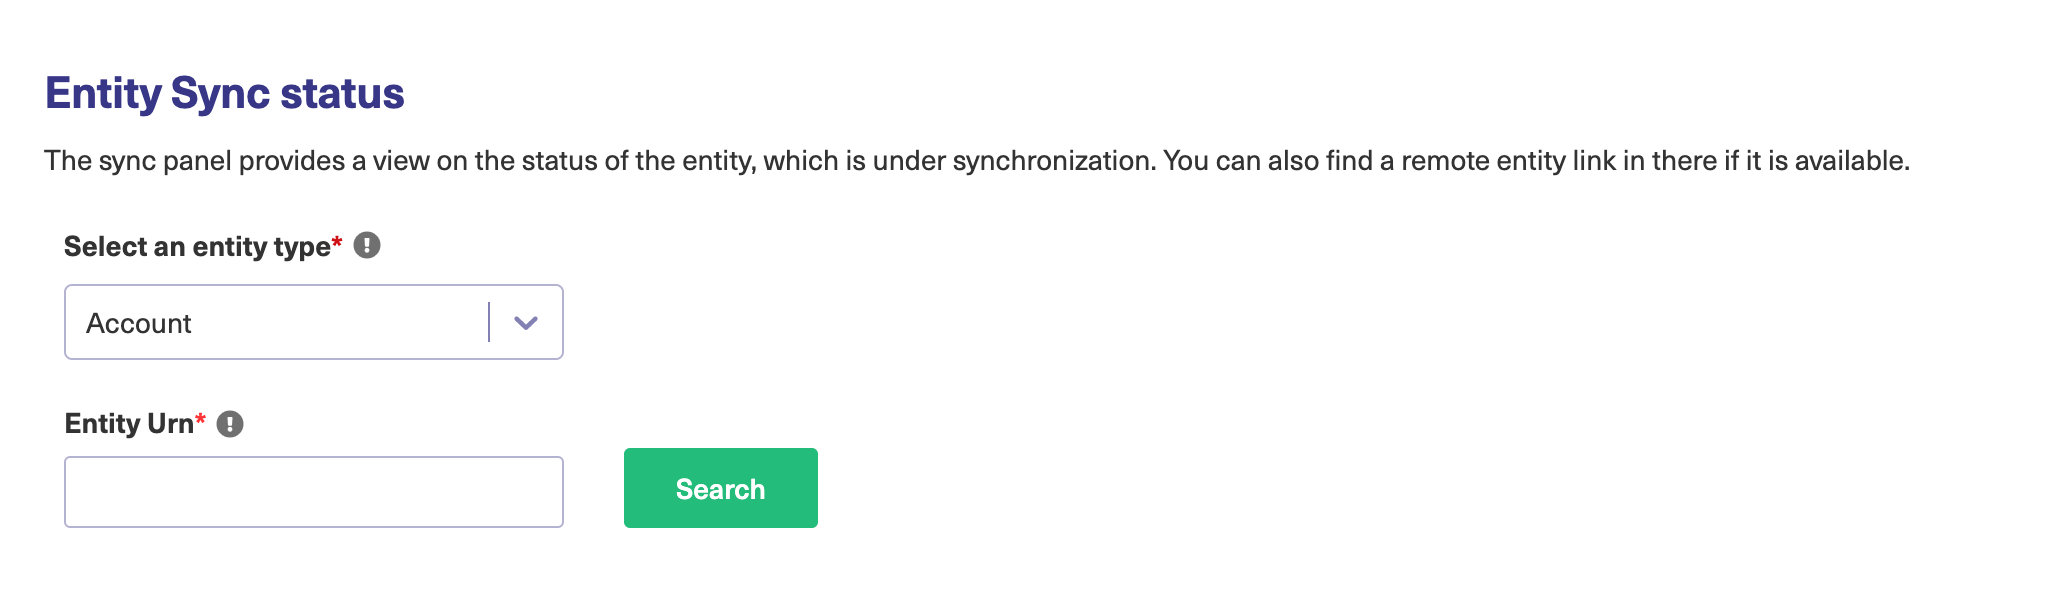
- Exalate the Issue
You can see 2 buttons at the bottom of the Exalate panel: Exalate & Connect. If the entity is not synchronized the following status is displayed.
Exalate allows you to synchronize & create a new entity on the destination instance.
Connect allows you to connect 2 existing entities present in both instances.- To Exalate an entity, click the Exalate button.
- Choose the name of the Connection you have created.
- Click Submit.


You are able to see the progress of the synchronization within the panel.
Zendesk Manual Sync
Manual synchronization in Zendesk happens via the Exalate button in the Sync Status Panel present under the ticket view.
Note: The Sync Status Panel is available under the specific entity (i.e, issue, work item, tickets, Cases, etc) view in Jira, Zendesk, Azure DevOps, and Salesforce. For other platforms like GitHub, ServiceNow, Freshdesk, Freshservice, including Jira, Zendesk, Azure DevOps, and Salesforce, this button is available under the Exalate admin console in the Entity Sync Status tab.
Exalate the Ticket from Zendesk
- Open the ticket you want to sync.
- Click Apps → Exalate

- Exalate the Issue
You can see 2 buttons on the Exalate panel: Exalate & Connect.
Exalate allows you to synchronize & create a new entity on the destination instance.
Connect allows you to connect 2 existing entities present in both instances.- To Exalate an issue, click the Exalate button.
- Choose the name of the Connection you have created.
- Click Submit.

You are able to see the progress of the synchronization within the Exalate panel. This status is also visible in the Entity Sync status tab on the Exalate admin panel.
Note: If a Zendesk ticket has been closed, updates made on the remote side are not synchronized.
Freshdesk & Freshservice Manual Sync
Asana Manual Sync
Manual synchronization in Asana happens via the Exalate button in the Entity Sync Status Panel present under the Exalate admin console.
Note: The Sync Status Panel is available under the specific entity (i.e, issue, work item, tickets, Cases, etc) view in Jira, Zendesk, Azure DevOps, and Salesforce.
For other platforms like GitHub, ServiceNow, Freshdesk, Freshservice, Asana including Jira, Zendesk, Azure DevOps, and Salesforce, this button is available under the Exalate admin console in the Entity Sync Status tab.
Exalate the entities from Asana
- Go to the Entity Sync status tab in the Exalate admin console.
- This sync panel provides a view of the status of the entity under sync. You can also find the remote entity link in there if it is available.
Select the entity type in Asana from a drop-down list. The supported ones are tasks and projects.
Enter the Entity URN. Then click on the Search button.
In case the entity is already under synchronization, you see the entity status and the remote issue link in case it's available.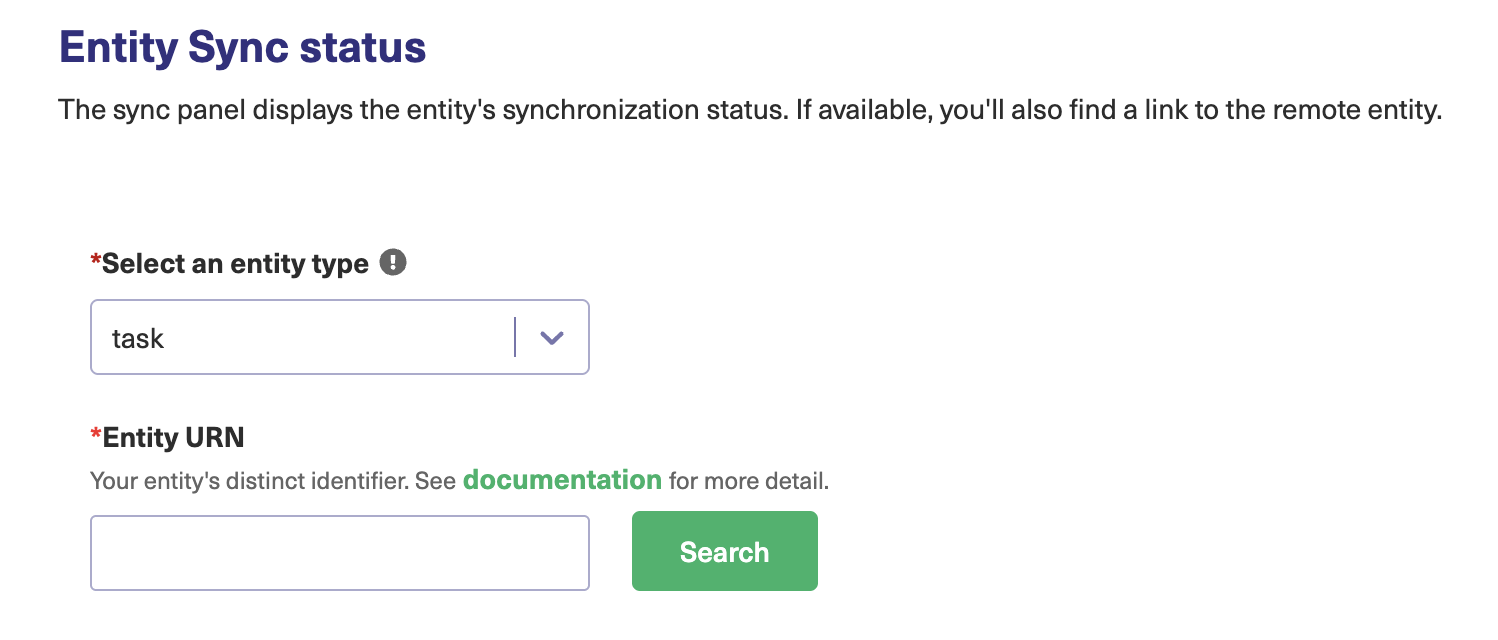
- Exalate the Issue
You can see 2 buttons at the bottom of the Exalate panel: Exalate & Connect. If the entity is not synchronized the following status is displayed.
Exalate allows you to synchronize & create a new entity on the destination instance.
Connect allows you to connect 2 existing entities present in both instances.- To Exalate an entity, click the Exalate button.
- Choose the name of the Connection you have created.
- Click Submit.

You are able to see the progress of the synchronization within the panel.