This article applies to Exalate Classic only. For New Exalate, refer to this documentation.
You can host Exalate for GitHub on your own server. To do so, you need to install Exalate on Docker.
Note: You need to install Docker. Check the docker documentation for more details.
Steps to Install Exalate for GitHub on Docker
1. Create directory and create docker-compose.yml file
Create a directory to hold the docker-compose file:
cd ~
mkdir exalate-gitnode
Create a docker-compose.yml file
Important: We recommend using the latest version of Exalate for GitHub. It can be found in the Release History.
Enter the latest version in the image tag. For example, in image: idalko/githubnode:5.23.0, the version of Exalate for GitHub is 5.23.0 .
The docker-compose.yml file should contain the following information in it:
|
| Note: the - GITNODE_PG_DB= and - DB_NAME= must match in order to start the db correctly. |
Connecting to Postgres 10 or Higher
For unencrypted connections from Exalate to a Postgres version 10 or higher, you need to disable gssEncMode with the following setting:
# exalate is the name of the database on the postgres instance
#
GITHUBNODE_PG_DB=exalate?gssEncMode=disable
2. Ensure that a correct database is setup using a createdb.sh
Create or download a createdb.sh file (referenced from docker-compose.yml):
Note: Click createdb.sh to download the file.
The file must be executable and should contain the following information:
#!/bin/bash

TEST=`psql -U postgres <<-EOSQL
   SELECT 1 FROM pg_database WHERE datname='$DB_NAME';
EOSQL`

echo "******CREATING DOCKER DATABASE******"
if [[ $TEST == "1" ]]; then
    # database exists
    # $? is 0
    exit 0
else
psql -U postgres <<-EOSQL
   CREATE ROLE $DB_USER WITH LOGIN ENCRYPTED PASSWORD '${DB_PASS}' SUPERUSER;
EOSQL

psql -U postgres <<-EOSQL
   CREATE DATABASE $DB_NAME WITH OWNER $DB_USER ENCODING 'UNICODE' LC_COLLATE 'C' LC_CTYPE 'C' TEMPLATE template0;
EOSQL

psql -U postgres <<-EOSQL
   GRANT ALL PRIVILEGES ON DATABASE $DB_NAME TO $DB_USER;
EOSQL
fi

echo ""
echo "******DOCKER DATABASE CREATED******" |
Ensure that the volumes are included in your backup strategy:
- persist
3. Set Environment Variables if necessary
Below, you can find the environment variables used for the app container. All are optional, and in the given example, we've overridden GITHUBNODE_PG_DB, GITHUBNODE_PG_USER, and GITHUBNODE_PG_PWD just to show how to pass different credentials to the Exalate application.
|
Using a Proxy for Outgoing Connections
Whenever the Exalate node needs to use a proxy to establish outgoing connections, use the following parameters in the environment (naming should be obvious):
- PROXY_HTTP_HOST
- PROXY_HTTP_PORT
- PROXY_HTTPS_HOST
- PROXY_HTTPS_PORT
4. Start the Application
cd ~/exalate-gitnode
docker-compose up -d
Verify the installation
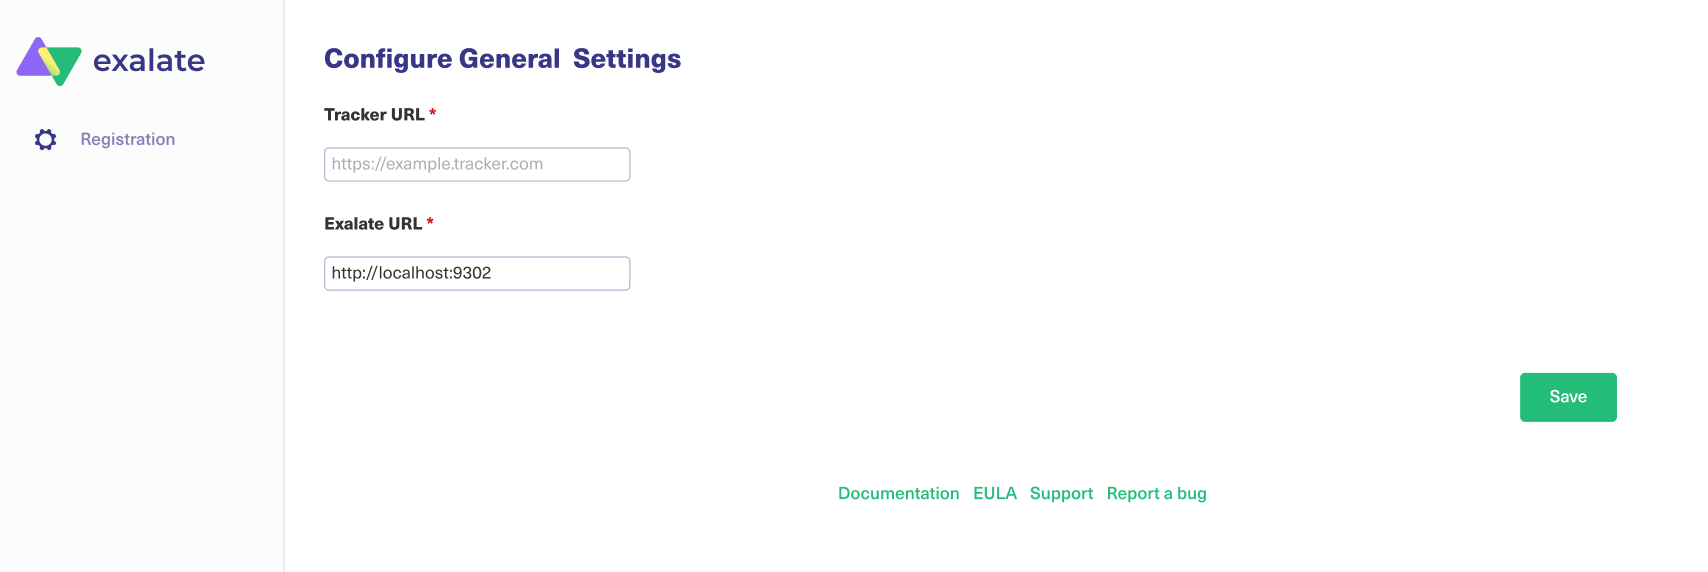
After performing these steps and checking that the container is up, you should be able to access the Exalate console via http://localhost:9302
Note: You might need to set up local port forwarding in order to get this to work.
5. Register the Node
To be able to fully use the functionality of your new node, it needs to be registered on the mapper. This mapper acts as a DNS server, mapping tracker URLs to node URLs.
Please raise a ticket on the support portal providing the following:
- URL of the GitHub instance
- URL of the Exalate node which has been deployed on premise
How to Manage the Application on Docker
Run Queries to the Application's Database
cd ~/exalate-gitnode docker exec -it exalate-gitnode_database_1 bash su postgres psql -A $DB_NAME |
You can find all tables using PSQLs \dt+ command:
\dt+
All the Postgres SQL queries are permitted
To exit the application's DB:
\q # \q exits the psql exit # exits the postgres user session exit # exits the exalate-gitnode_database_1 bash session |
Inspect the Application's Filesystem
cd ~/exalate-gitnode docker exec -it exalate-gitnode_githubnode_1 bash |
Remove the application
cd ~/exalate-gitnode docker-compose rm |
Remove the application data
Warning: Do this only if you want to delete all the synchronization information, including the current synchronizations enqueued to be performed, and synchronization status. Ensure that the remote side you exalate issues with knows that you're stopping synchronization and are ready to handle synchronization errors.
cd ~/exalate-gitnode
# docker volume ls | grep exalate-gitnode_vol |  awk '{ print $2 }' | xargs docker volume rm
docker volume rm exalate-gitnode_voldatabase
docker volume rm exalate-gitnode_volgithubnode |
System Administration Tasks
With the Exalate for Jira Cloud is running on your environment, you are also required to do the mandatory system administration tasks
- Backup (& restore tests)
- Disaster recovery procedure
- Upgrades whenever needed
Note: Please note that an Exalate version has a lifespan of 2 years. This is to ensure backward compatibility over the whole platform. There are regular new versions deployed which contain bug fixes, security-related improvements, and even new features. Watch the release notes page for any new versions.
Upgrading Exalate on Docker
If you need to upgrade Exalate on Docker, here are the steps to follow:
- Edit the YAML File:
Open the
docker-compose.ymlfile in a text editor and modify the image tag for the service you wish to upgrade.# use the latest version https://hub.docker.com/r/idalko/githubnode image: idalko/githubnode:latest depends_on: - database #wait for postgres to be started, not for ready
Replace
latestwith the latest or desired version tag. - Pull the Latest Image:
From the directory containing your
docker-compose.ymlfile, pull the latest image.docker-compose pull - Recreate the Container:
Using Docker Compose, you can easily recreate the container with the new image.
docker-compose up -dThe
-dflag runs the containers in detached mode. Docker Compose automatically stops the old container and starts a new one based on the updated image. - Post-Upgrade Checks:
After starting the upgraded container, check to make sure everything is running as expected:
- Log into the Exalate interface and verify that all your configurations, connections are intact.
- Test out a few synchronizations to make sure they work as expected.
- Check for any errors in the Docker logs or the Exalate logs.
Troubleshooting
Issues during the installation of the Exalate server for GitHub
If you have issues during the installation of the Exalate app for GitHub, you can find logs describing possible problem inside /tmp.
The name for the file is generated randomly and automatically by the OS, but you can find the file by the creation date.
Issues while running the Exalate server for GitHub
Logs are generated under the directory: /opt/githubnode/data/logs.
Refer to these logs to get more information about possible issues and communicate with our support if you need any assistance.
Support
Check our Support options.