Configure the Synchronization (Optional)
Set up Sync Rules
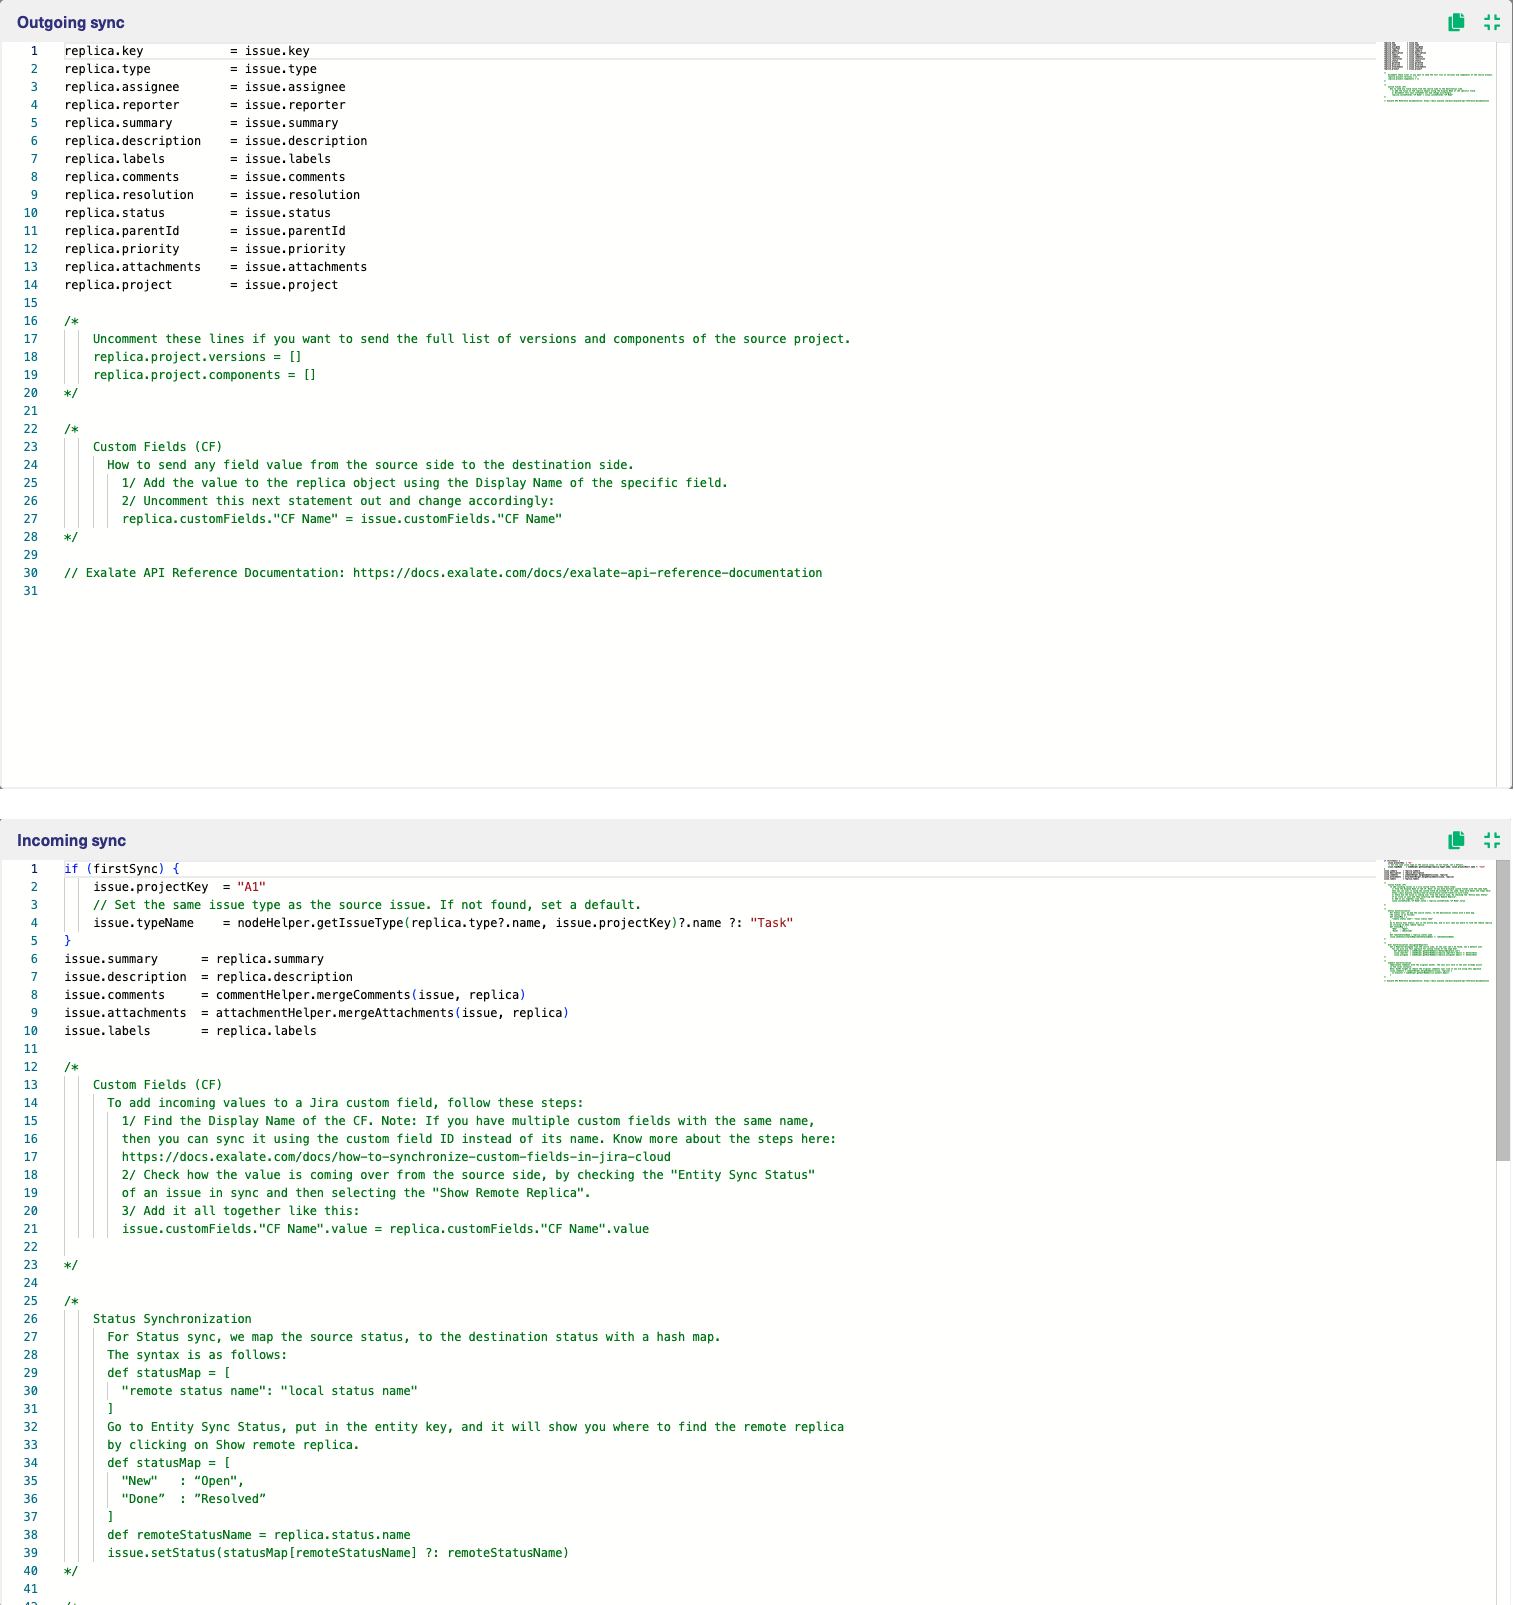
Once you test the Connection, you can choose to configure the synchronization behavior with the help of Sync Rules (Groovy-based scripts).
1. Edit your Connection.
There are multiple ways to edit your connection:
- Navigate to Connections →
 Edit connection.

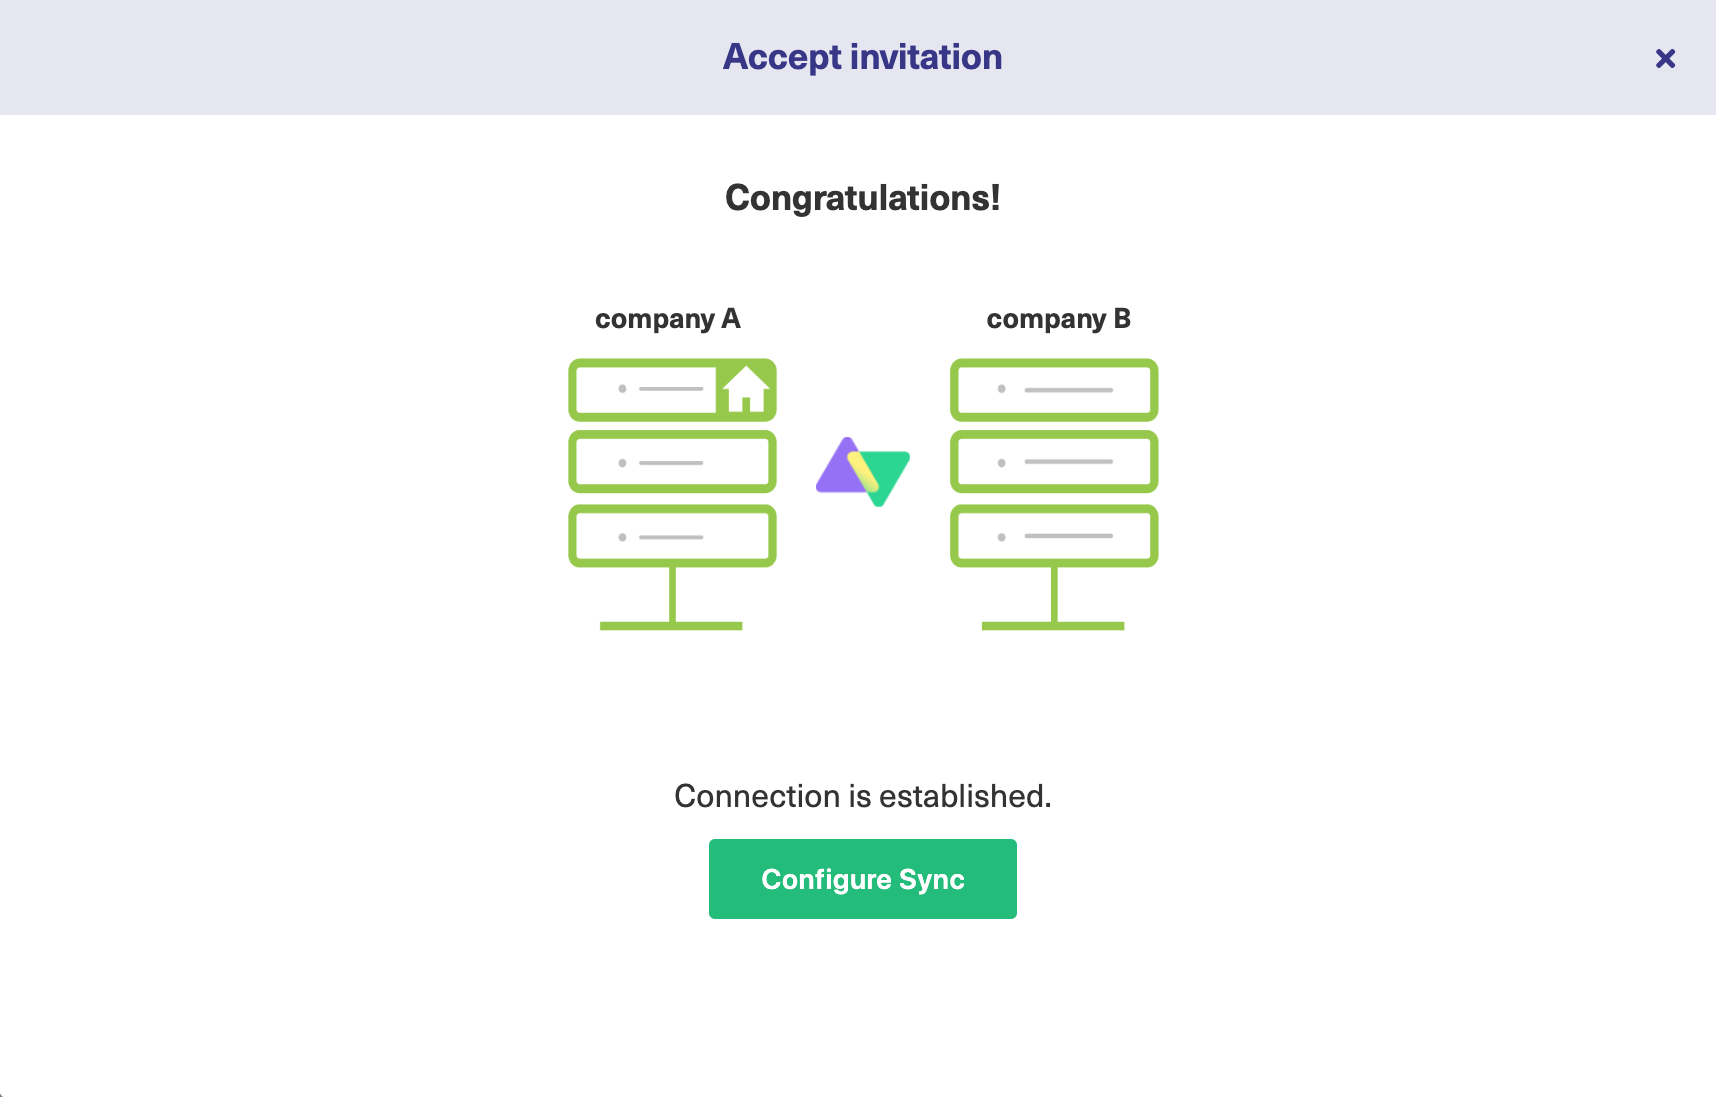
- If you just created a connection, select Configure sync.

2. Set up Outgoing sync and Incoming sync in the Rules tab.
Note: Outgoing sync and Incoming sync scripts:
- are generated by default once the connection has been set up. You can, however, add, edit or remove these scripts to configure your sync according to your requirements.
- are platform specific.
- are present at both the source and the destination instance to give independent control over what data needs to be sent or received.
In the Outgoing sync, you can enter scripts to specify what data you send.
In the Incoming sync, you can enter scripts to specify what data you receive.

Automate your Synchronization with Triggers
Specify Triggers if necessary.
With triggers, you can set up automatic sync of entities that fit a specific search query.
You can create Triggers by editing the connection or by configuring the sync as shown in the previous step. You can also create them on the Exalate Admin Console under the Triggers tab.
Note: For more information, check out How to create a trigger.
Publish the changes made to the Connection
Click Publish to save a connection.
You can also use these hotkeys to publish a connection:
- Ctrl+S on Windows or Linux
- Cmd+S on Mac
What's Next?
Options you can consider next:
- Sit back and relax! Sync happens based on the Sync Rules and Triggers you have set up in this step.
- You can also read the Configuration Guides to see more synchronization examples.
- You can also read the Exalate API Reference Documentation to learn more about how to work with incoming and outgoing sync scripts (aka Sync Rules).
