This article applies to Exalate Classic only. For New Exalate, refer to this documentation.
This article shows how to synchronize Epics from Azure DevOps to Jira Cloud.
To sync the epics from Azure to Jira Cloud it is required to follow the steps listed below:
1. Initiate a Script connection from Azure to Jira Cloud
You can also access Exalate with this link:
https://dev.azure.com/{your_organization_name}/_settings/idalko-tools.exalate.adnodeTo navigate to the Connections tab:
- Click Organization settings.
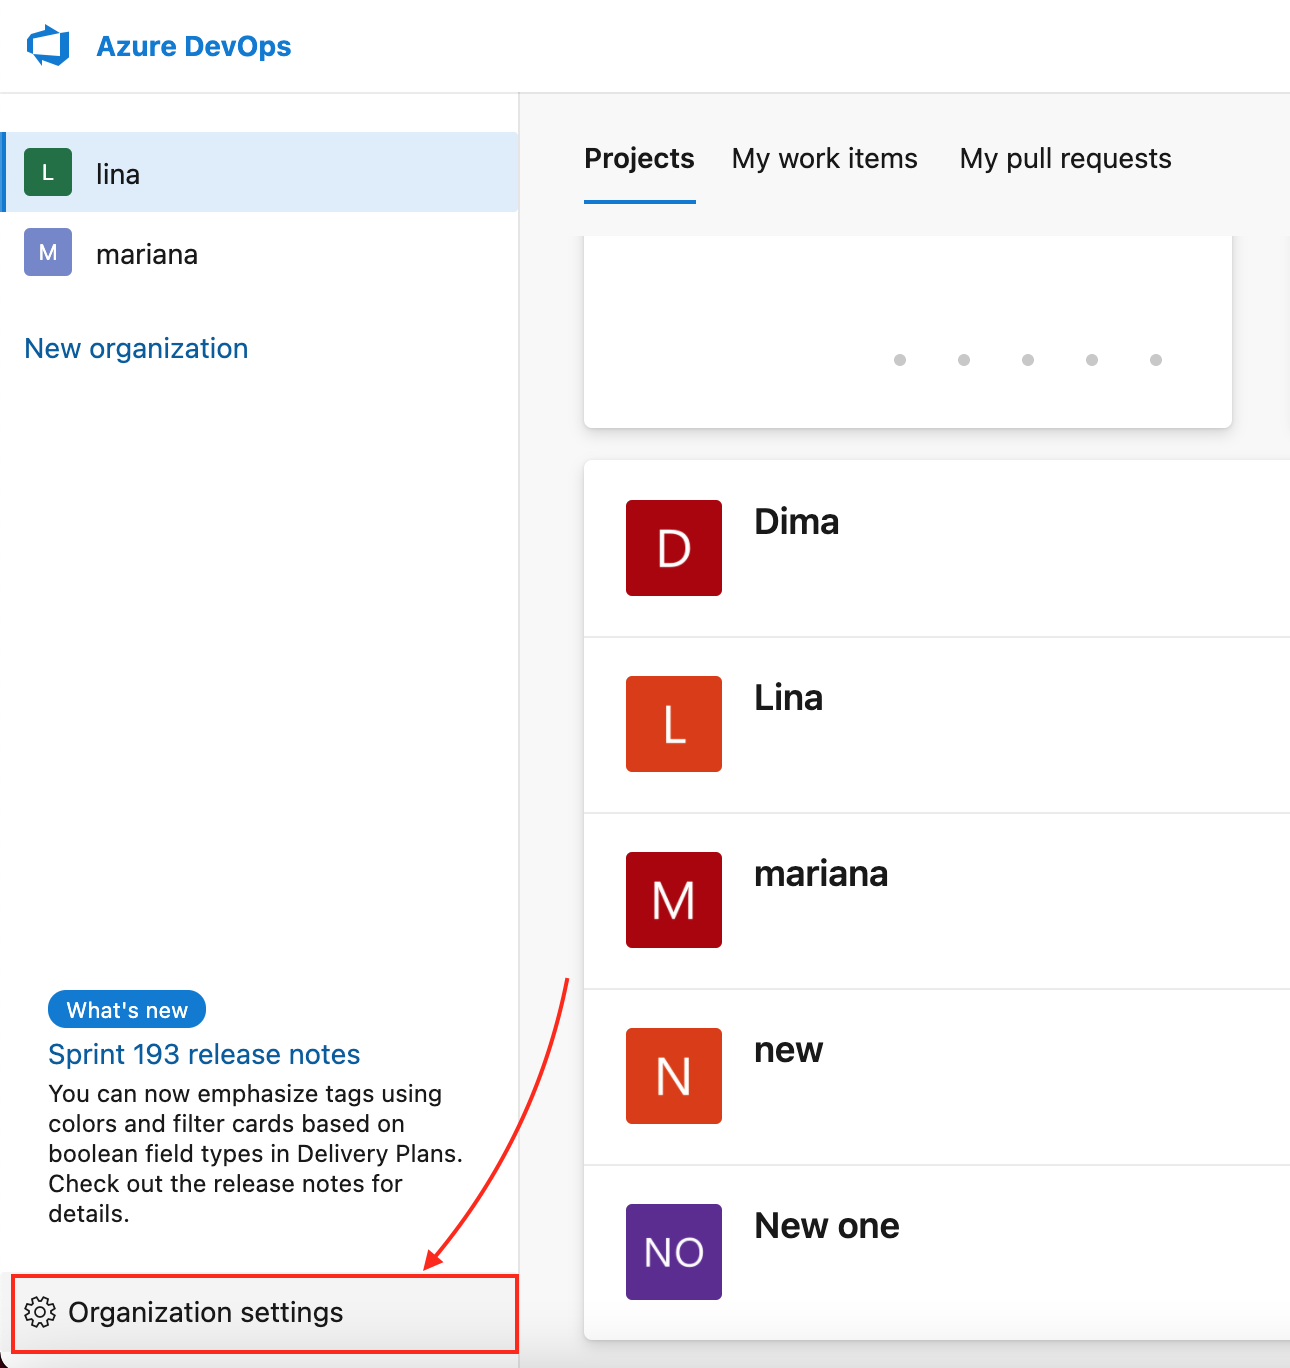
- Click Exalate in the Extensions section.
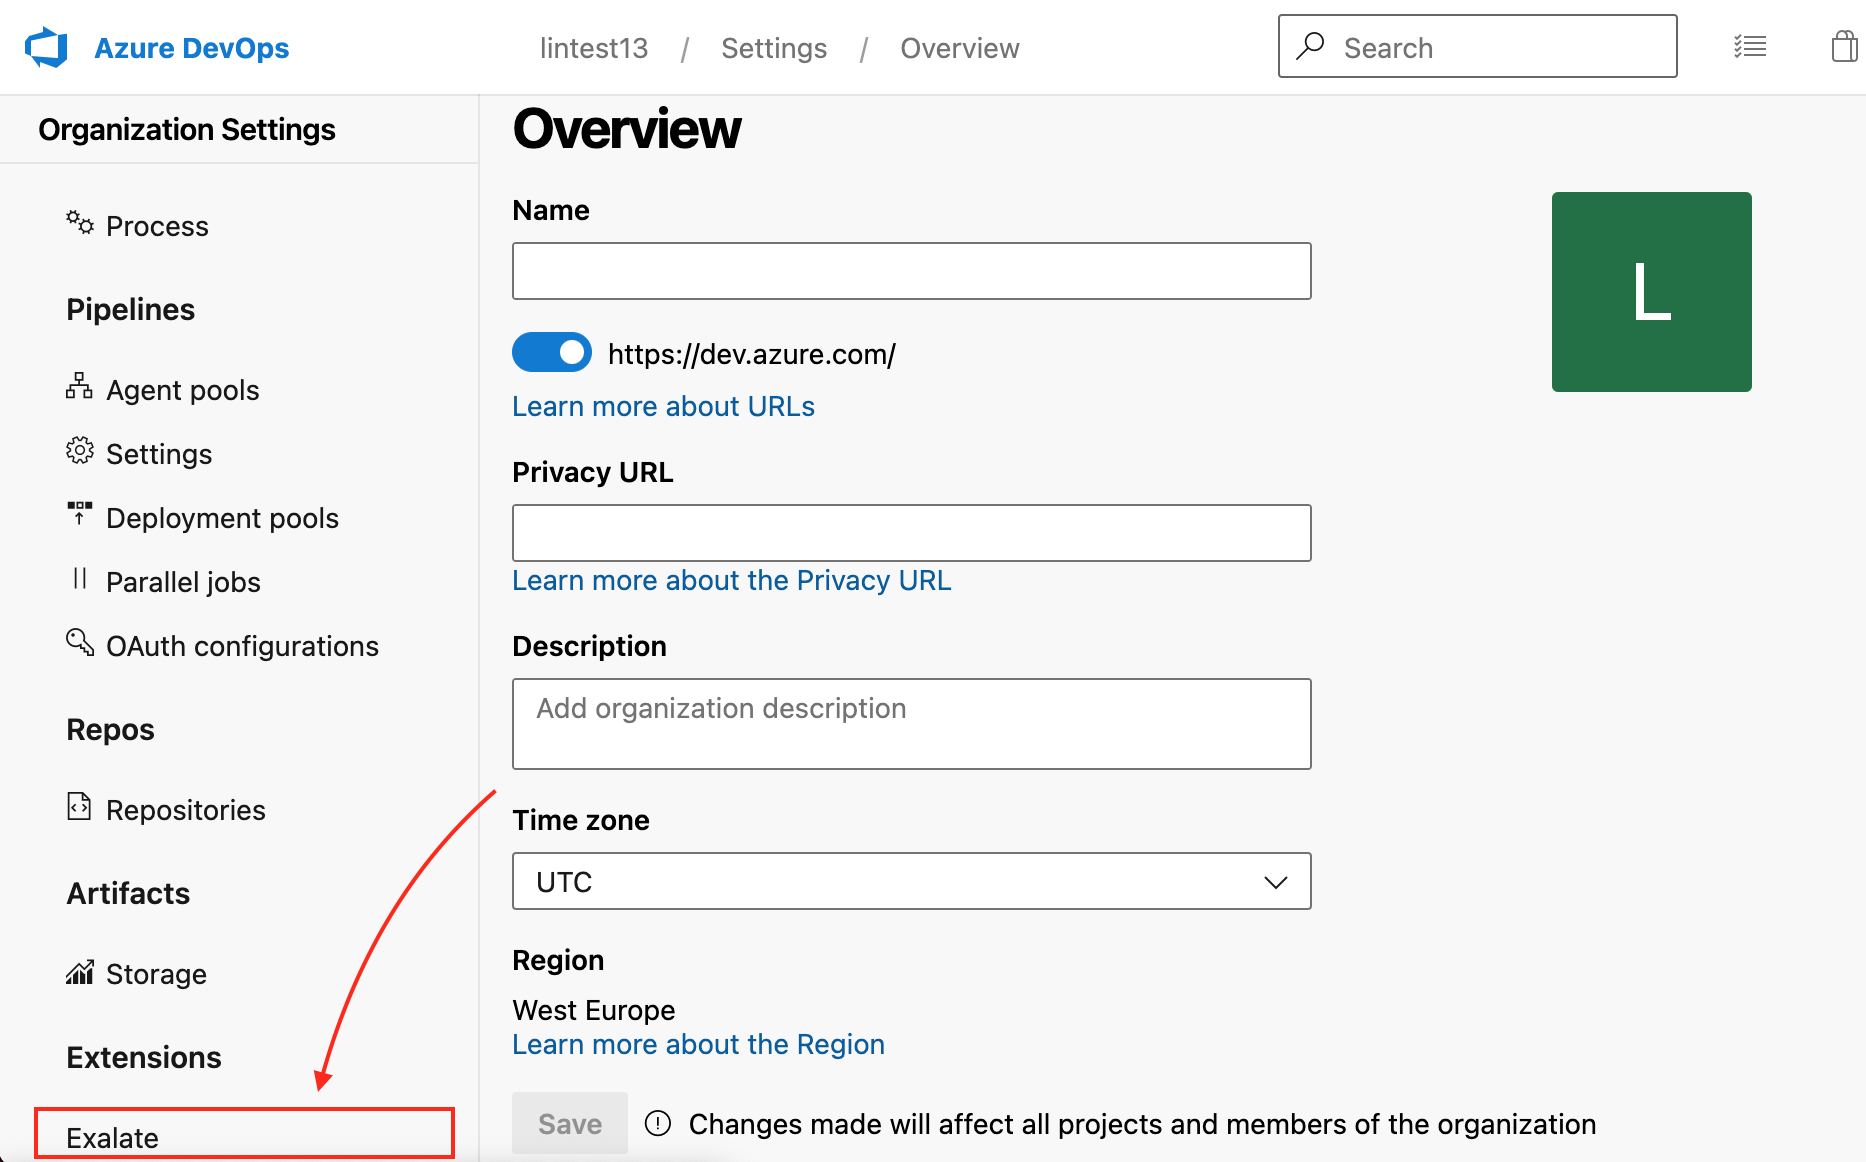
- Click Connections.
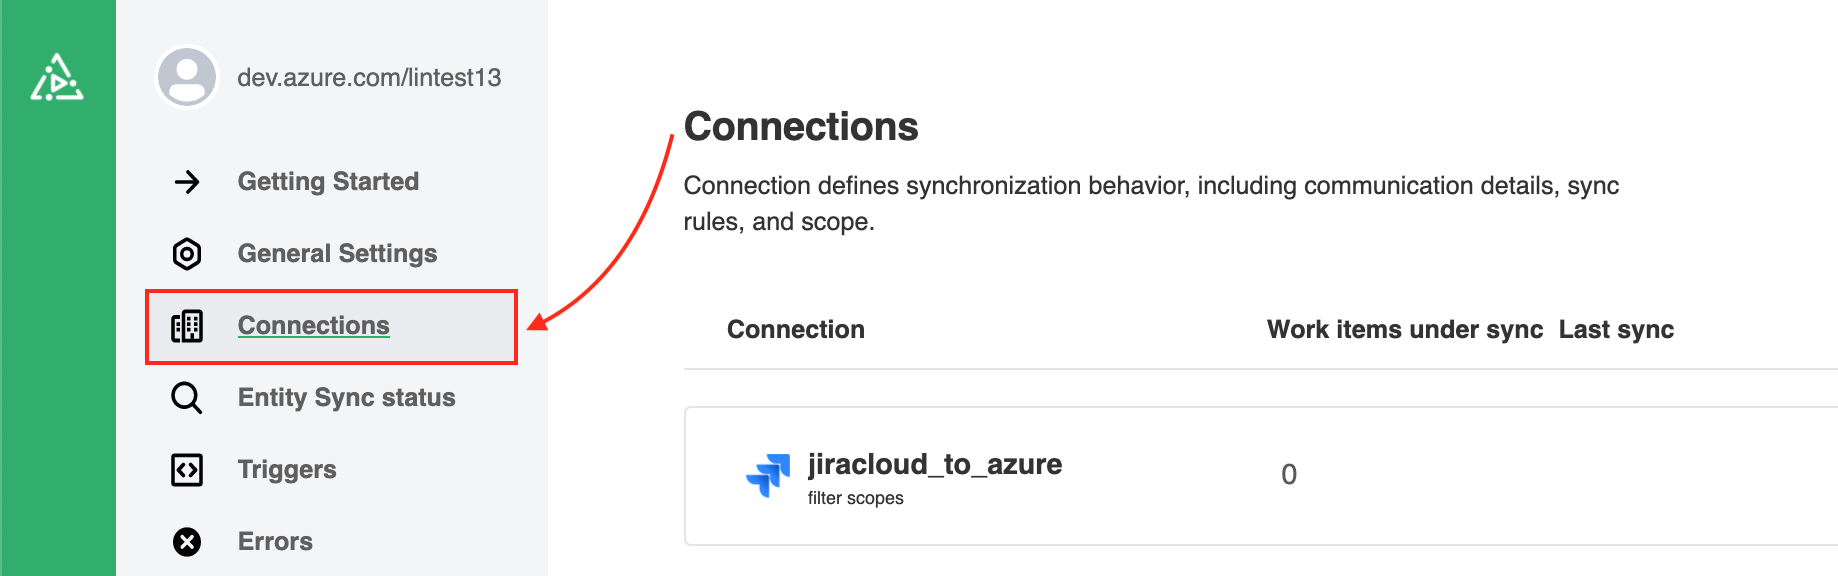


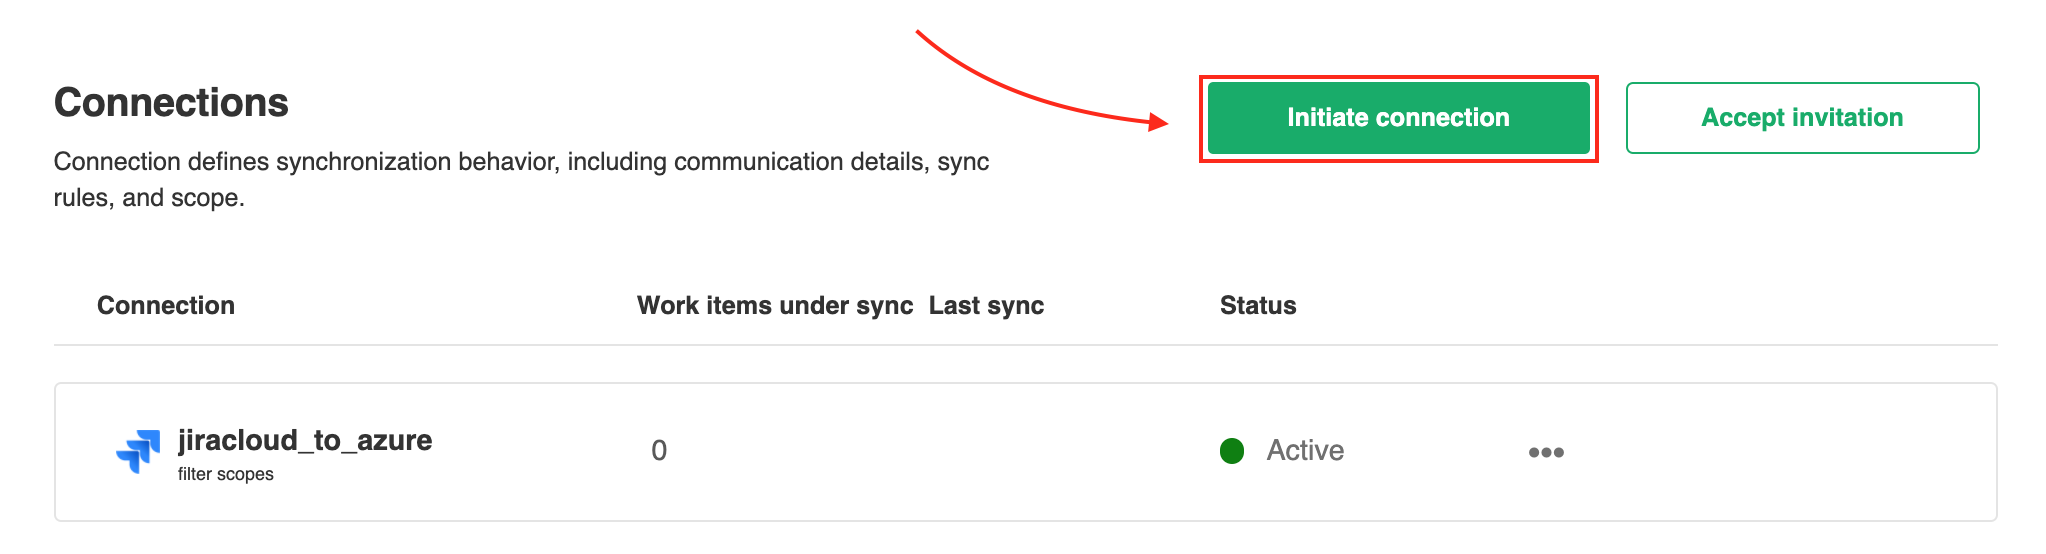
2. Click Initiate connection.
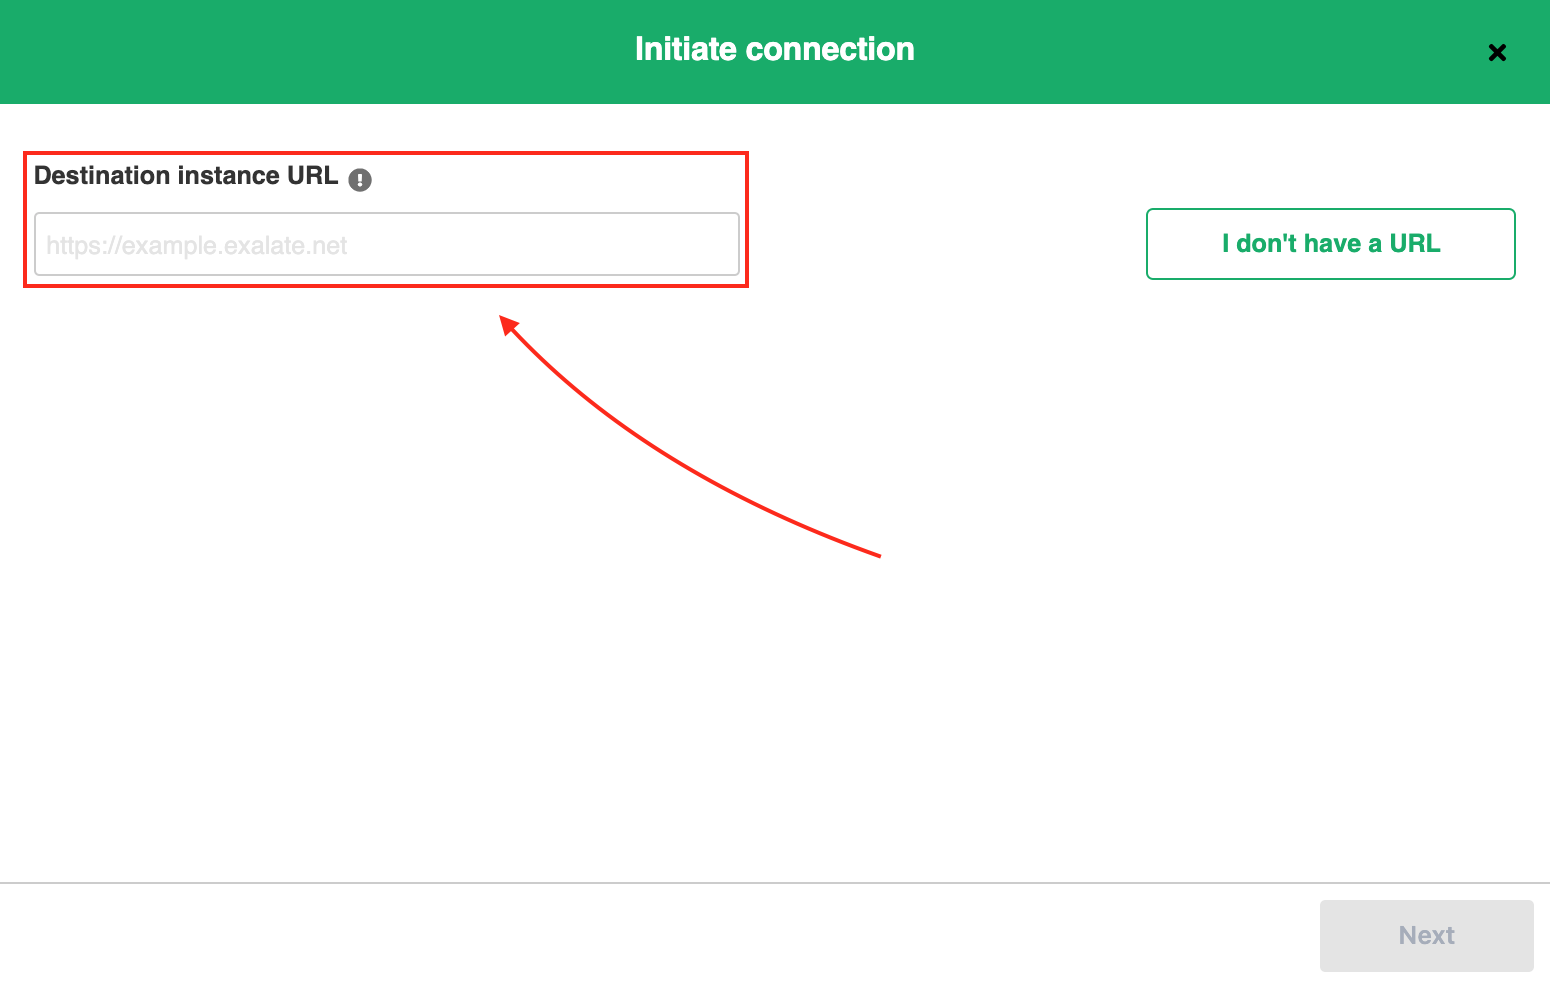
3. Enter the Destination instance URL.
The destination instance URL is a link to the other instance you want to set up a connection with. You can enter the link to the instance you are trying to connect, or the Exalate URL from General Settings.
Exalate determines your instance type and suggest appropriate connection types.
If the destination instance is private, or you don't have a destination instance link, click I don't have a URL. You are able to create a Script connection in this case.
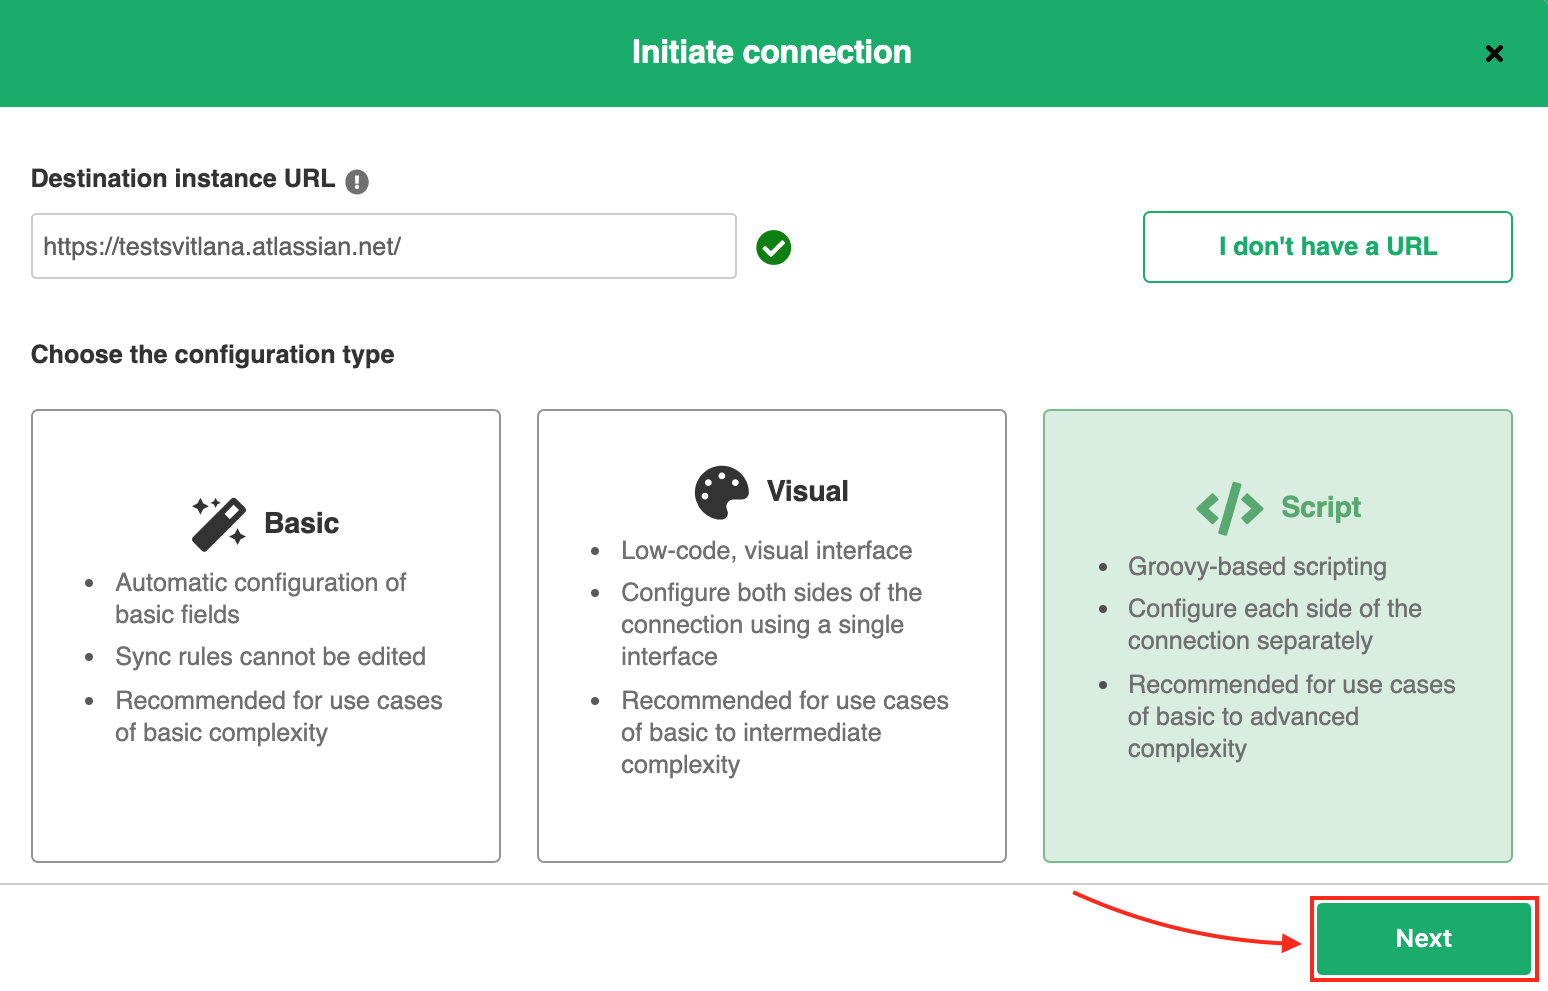
4. Select the Script connection.
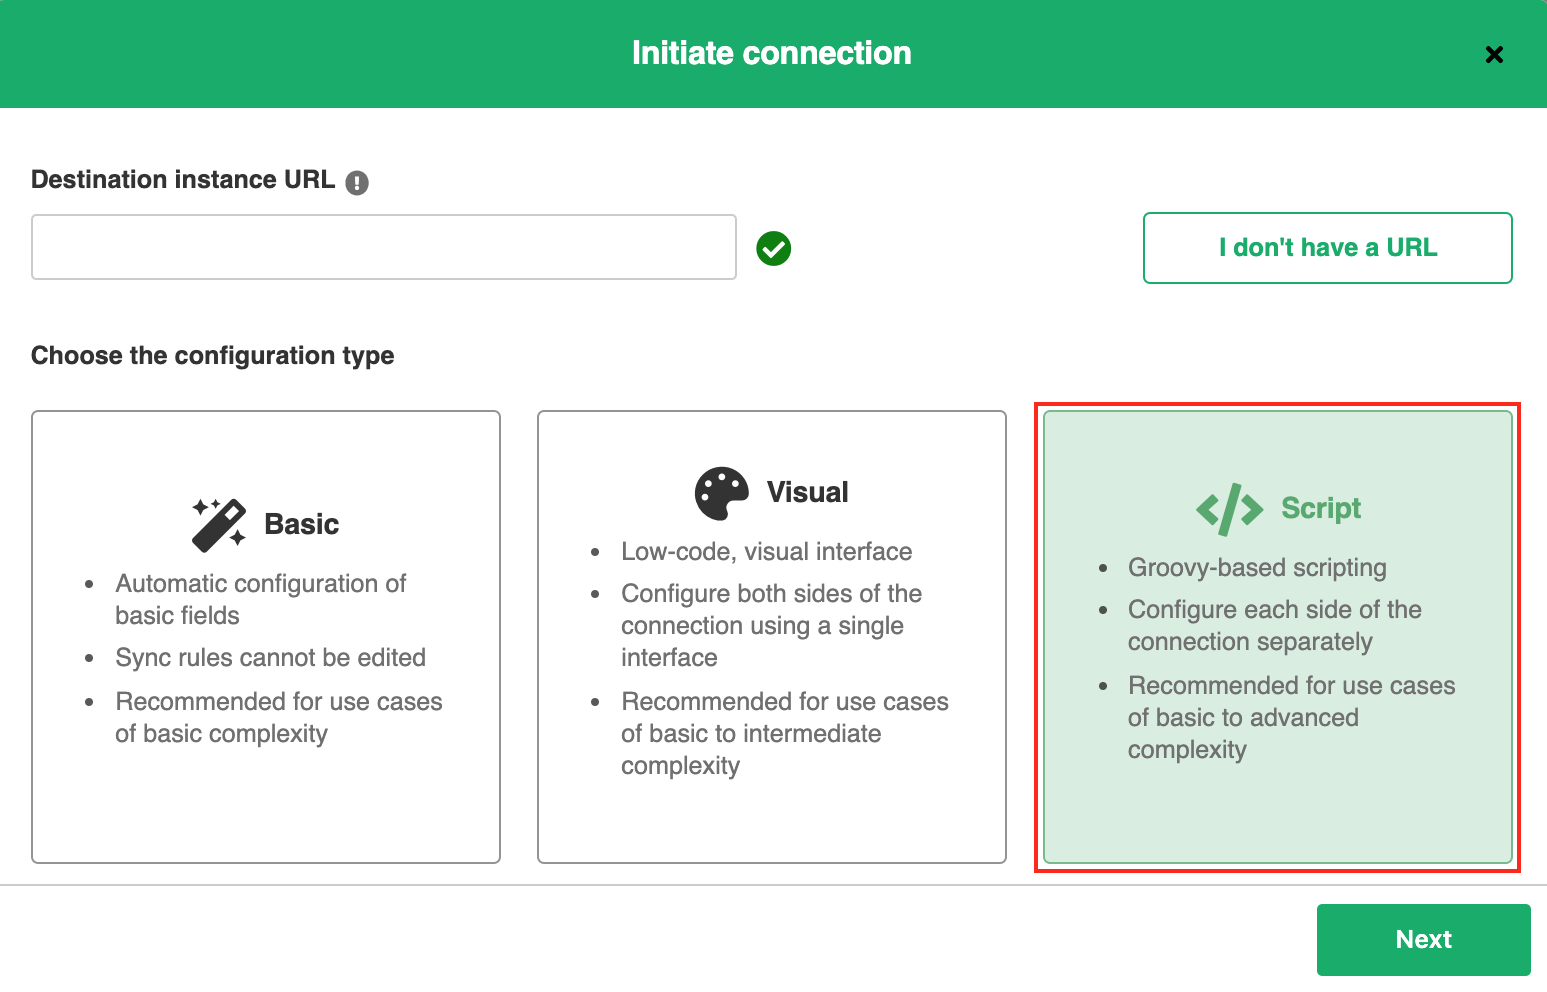
5. Click Next.
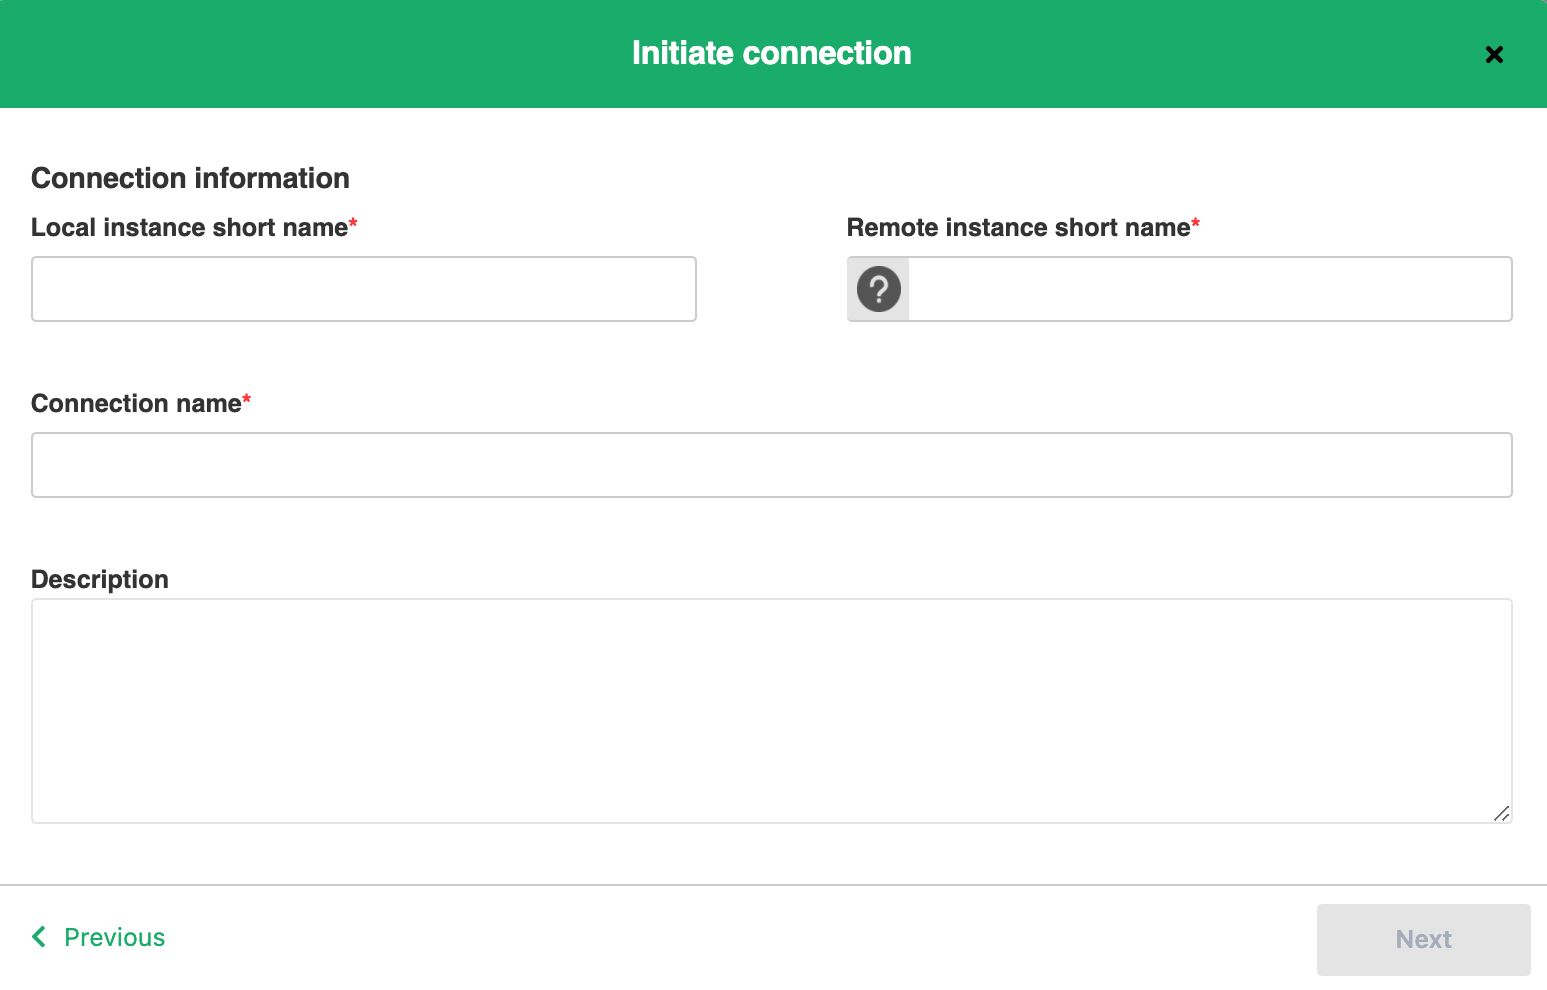
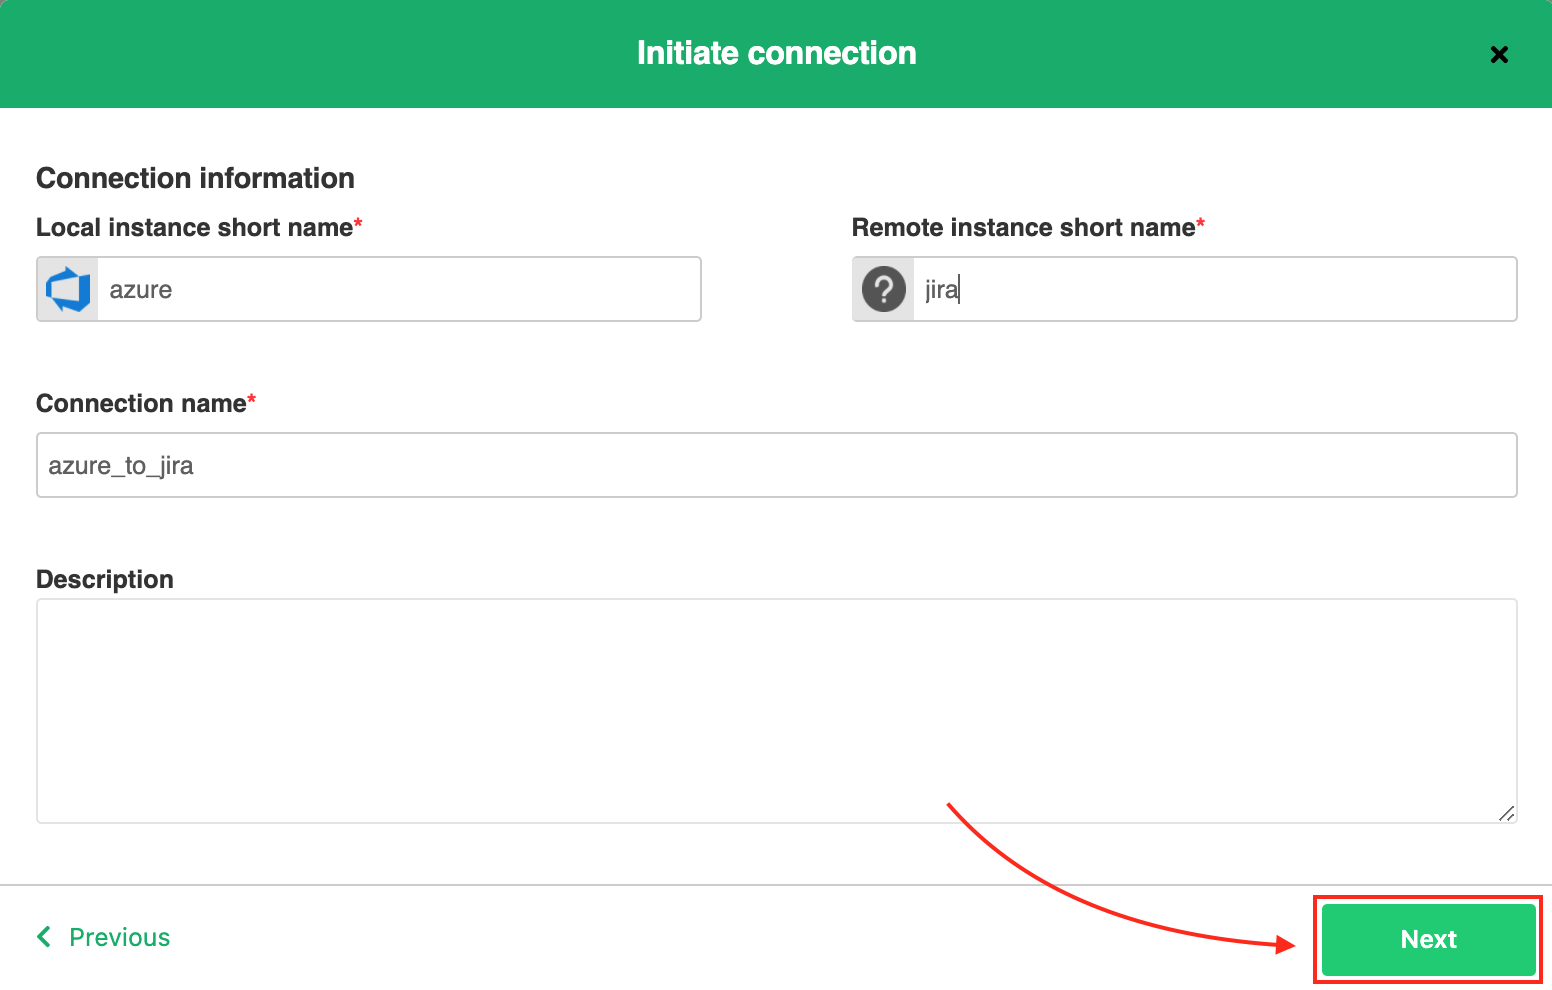
6. Enter the Connection information.
Descriptions of fields
| Field | Description |
|---|---|
| Destination instance URL | Link to the other instance you want to set up a connection with. You can enter the link to the instance you are trying to connect, or the Exalate URL |
| Local instance short name | Short name of your instance |
| Remote instance short name | Name of the destination instance |
| Connection name |
Name of the connection. The connection name is limited to 255 characters. |
| Description | Description of the connection |
7. Click Next.
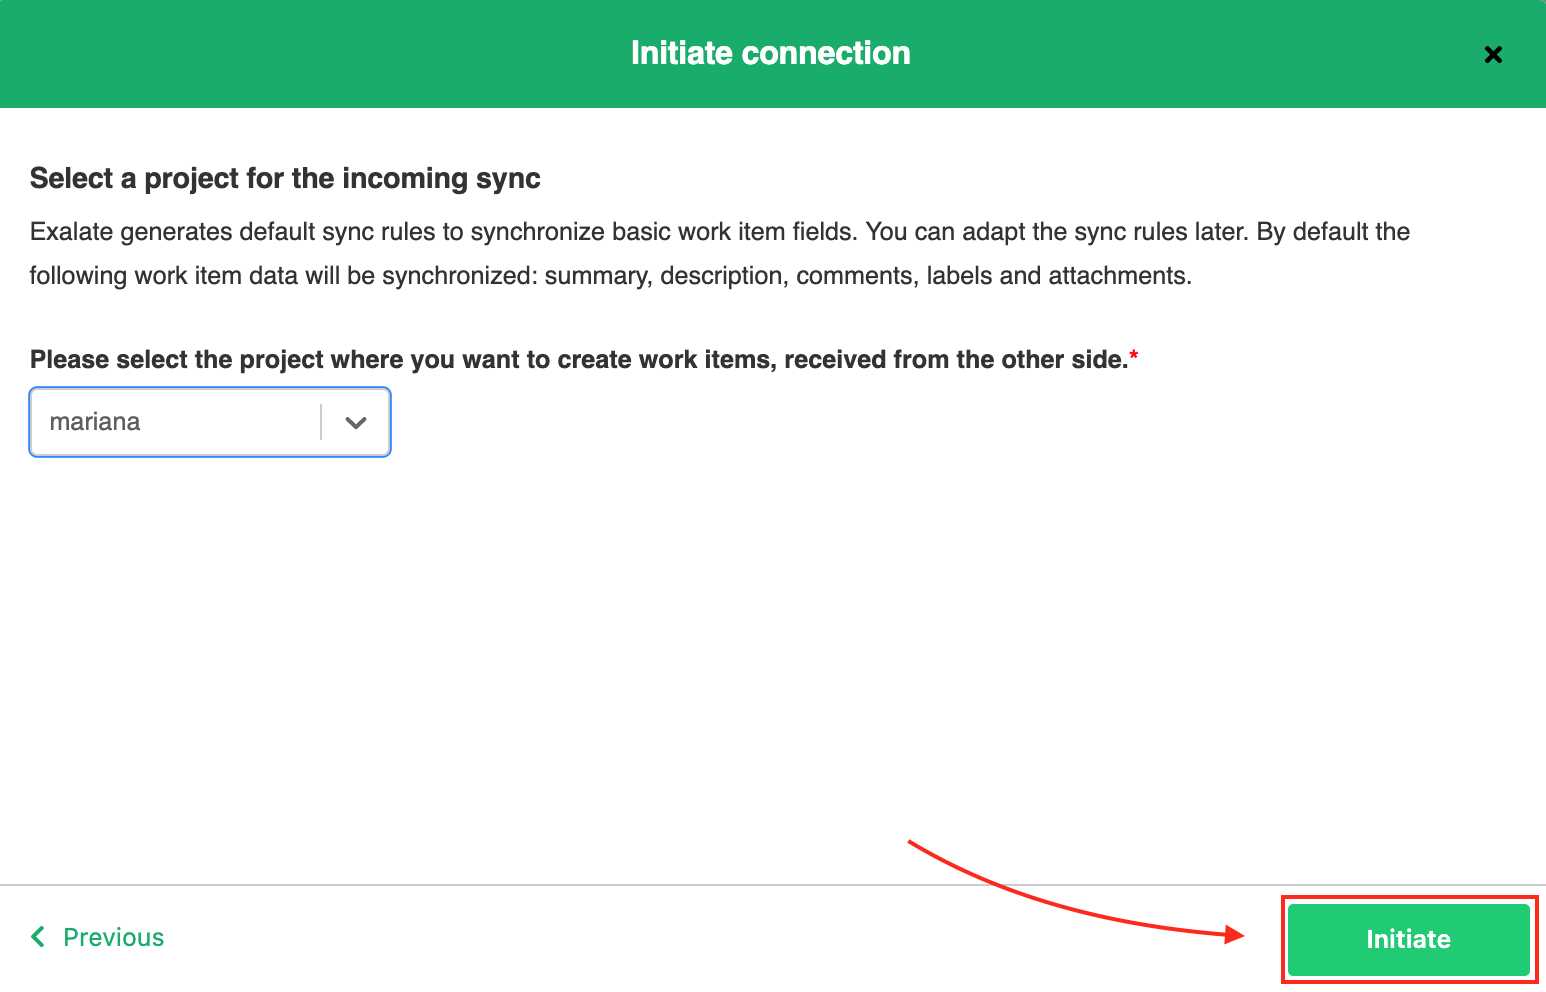
8. Select a project where you would like to sync issues.
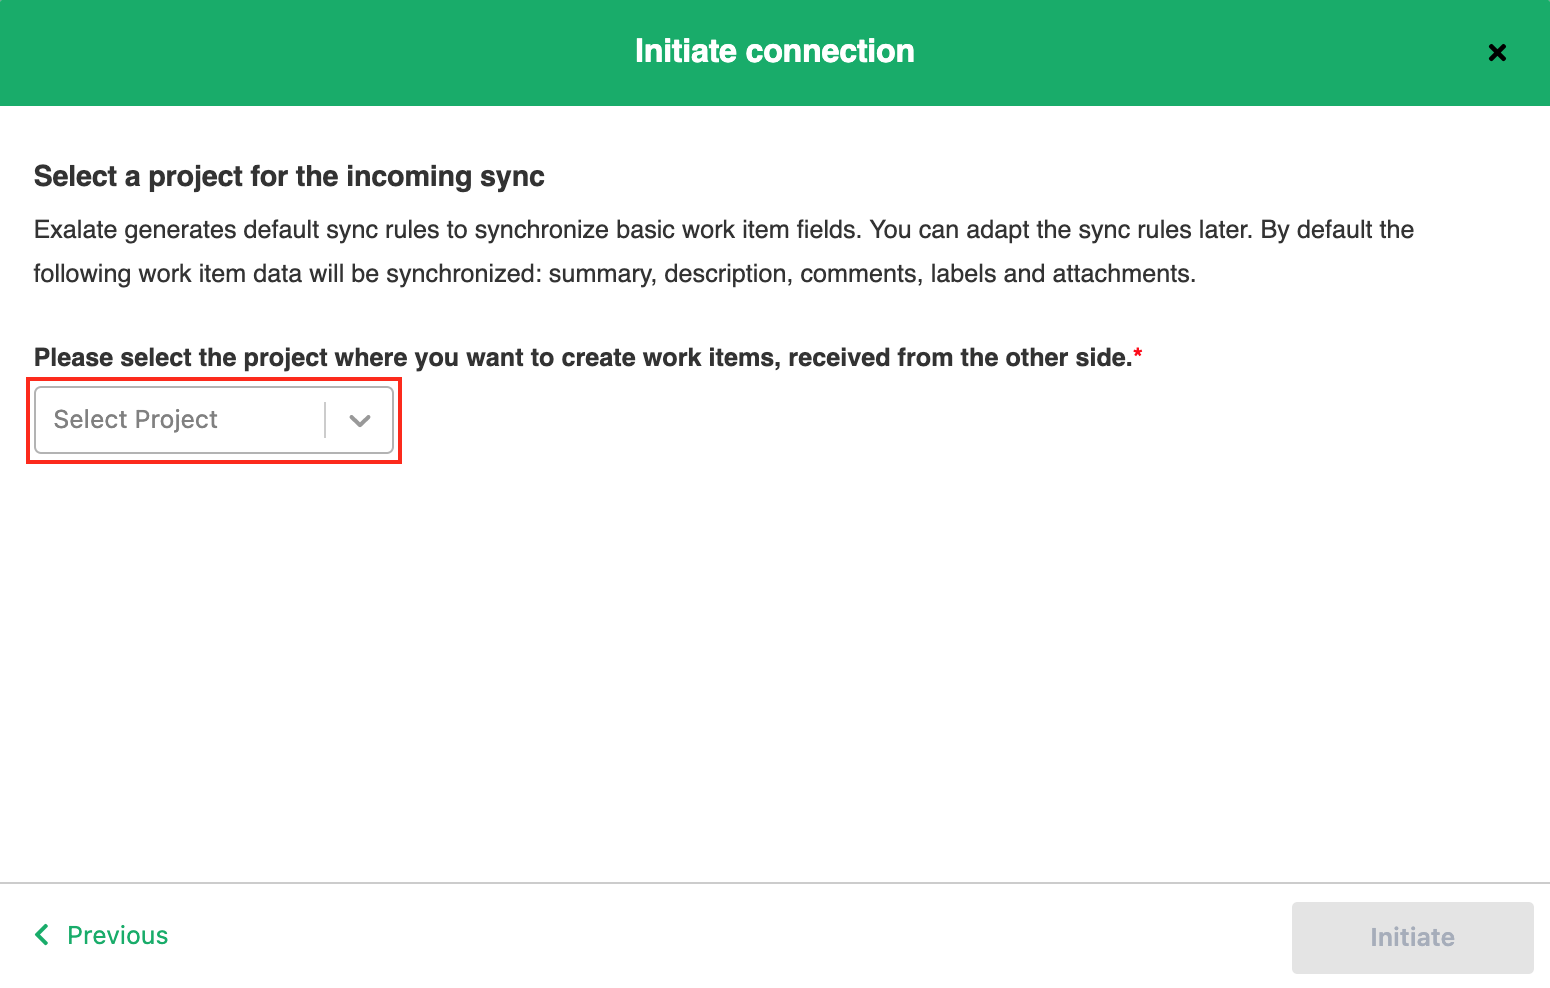
9. Click Initiate.
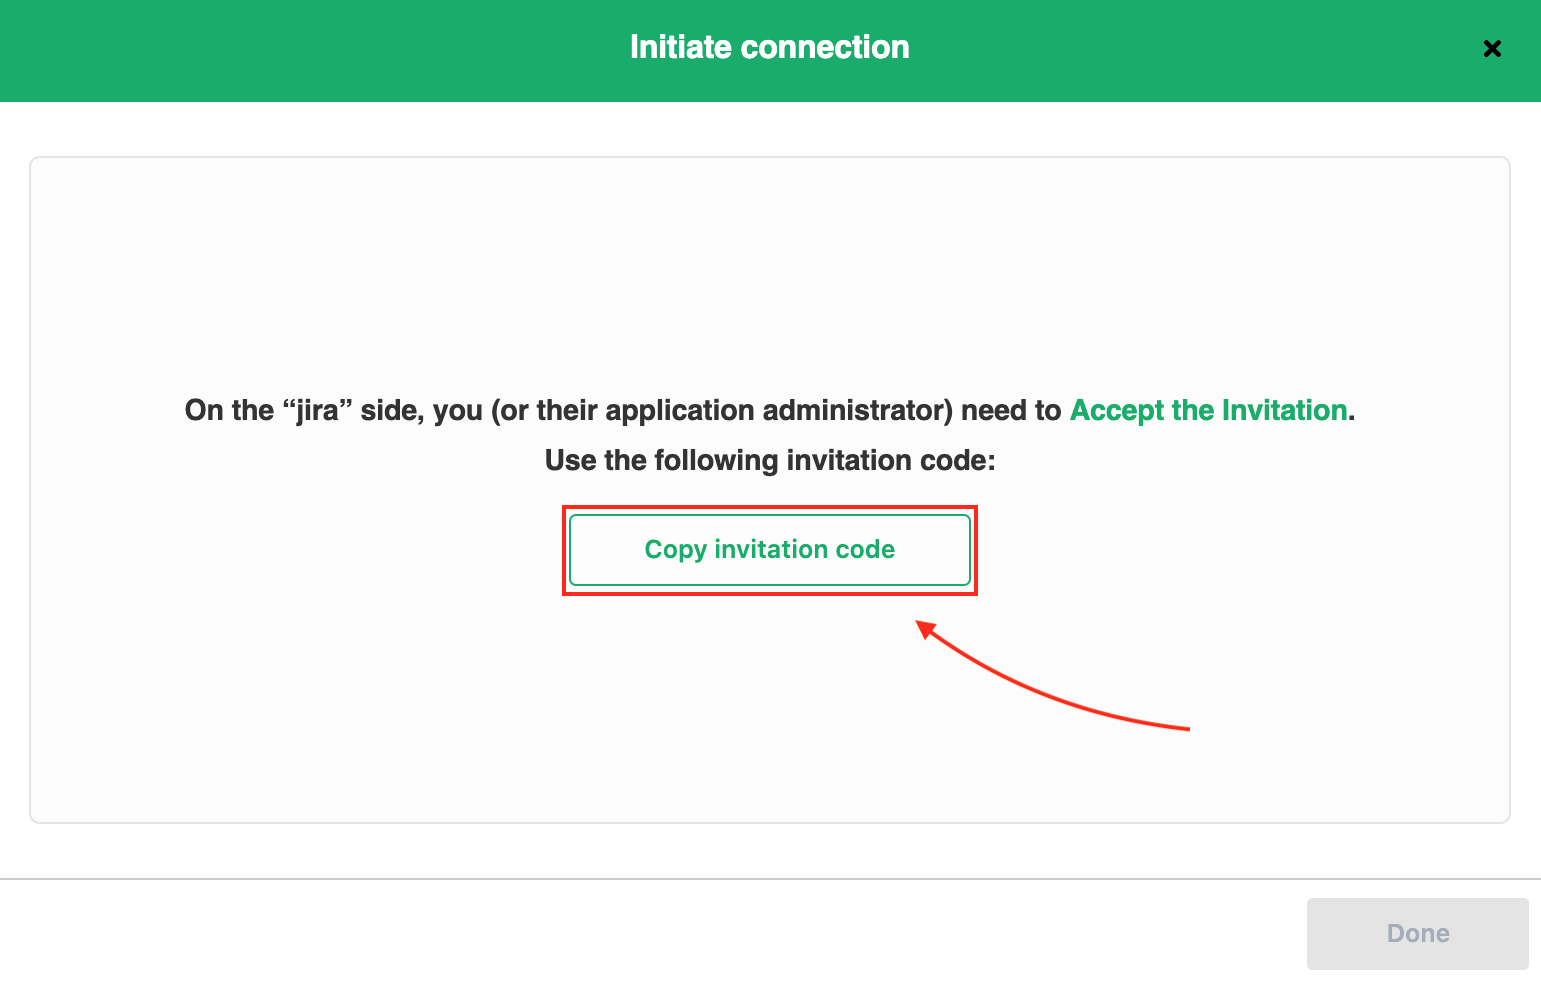
10. Click Copy invitation code.
You can send the invitation code to the destination instance admin.
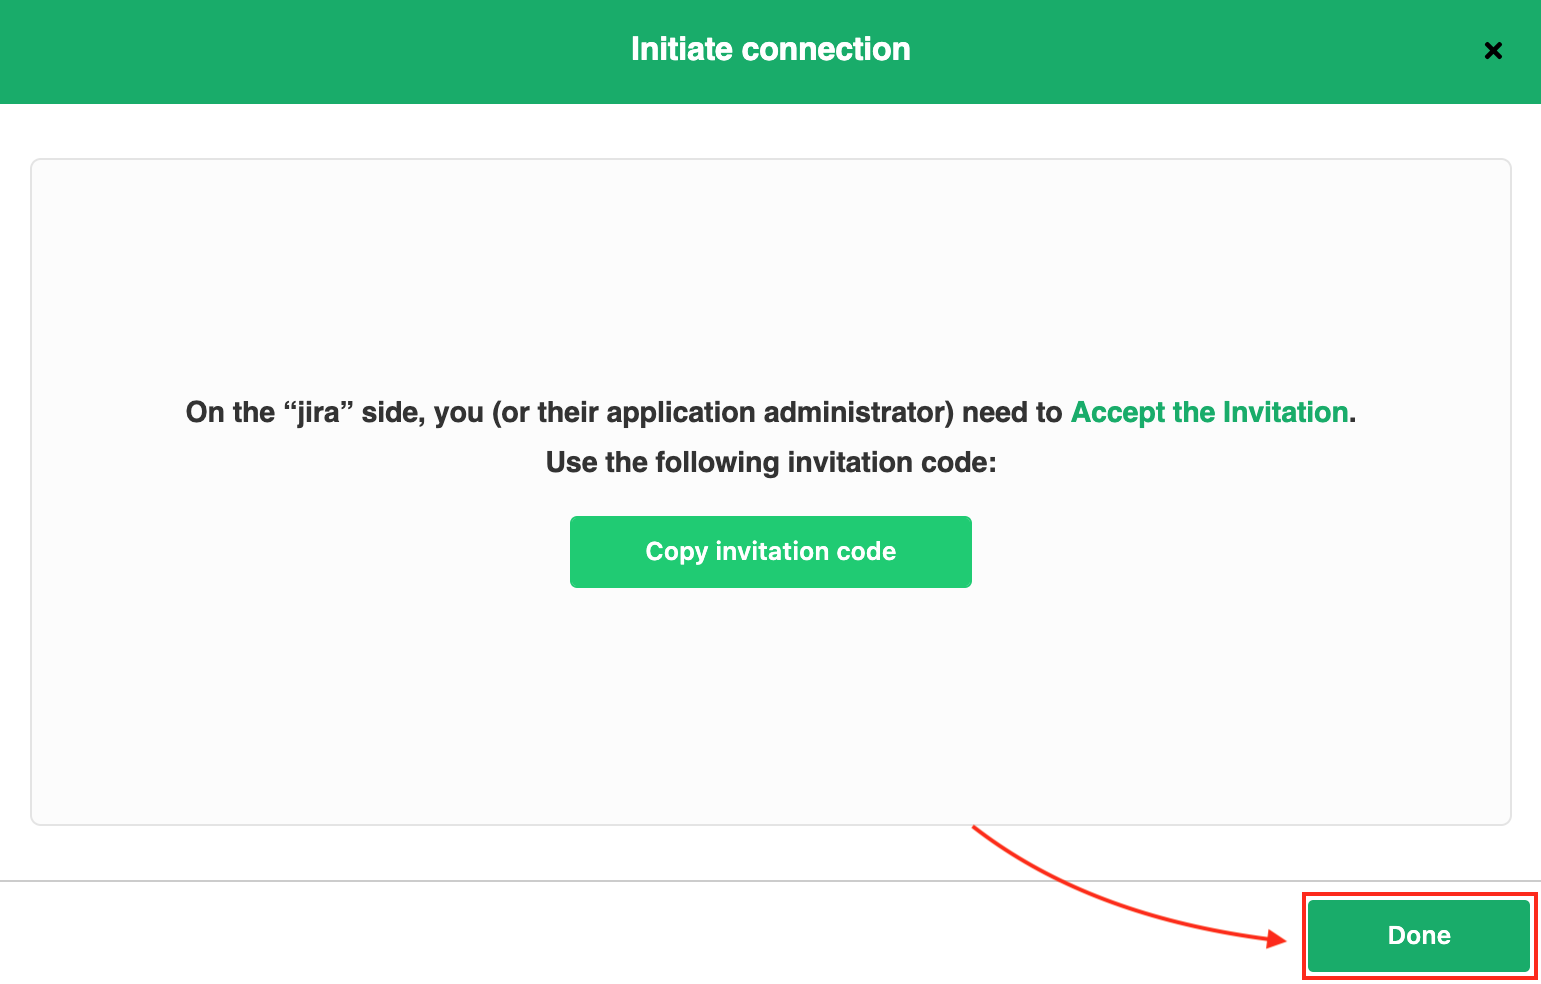
11. Click Done.
1. Navigate to the Connections tab in Exalate
To navigate to the Connections tab:
- Navigate to Settings -> Apps
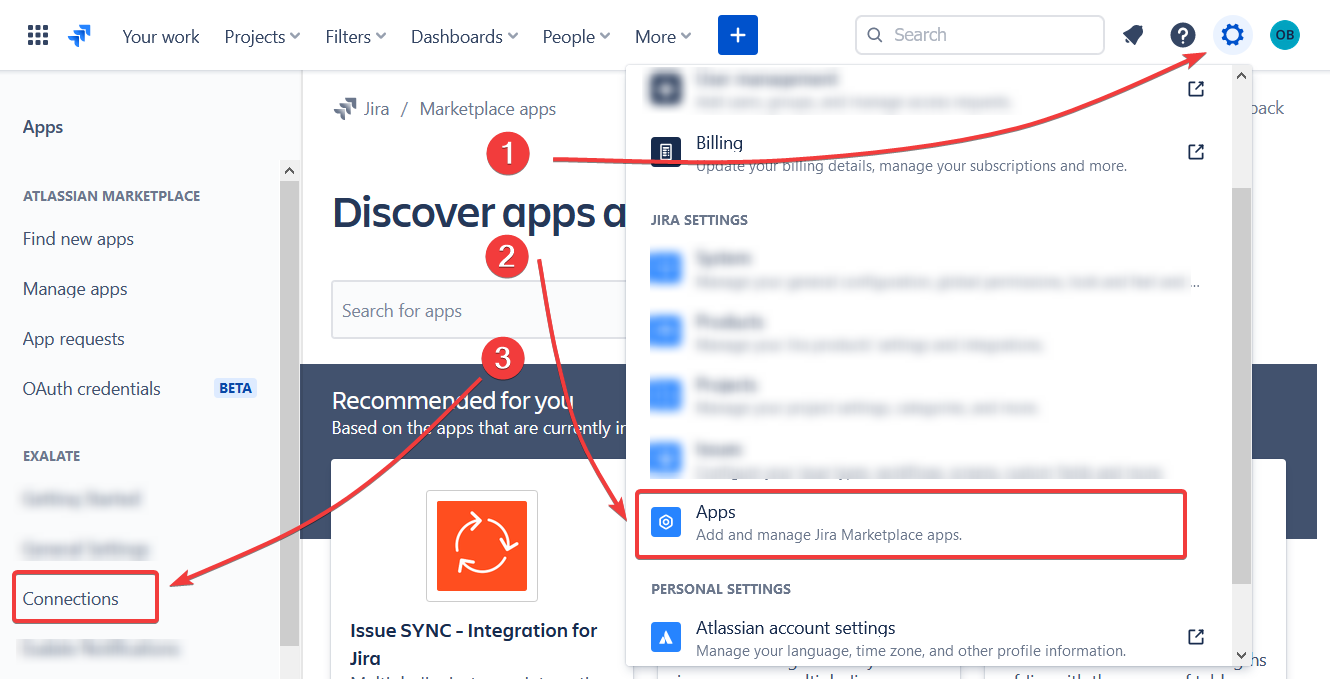
- Click Connections

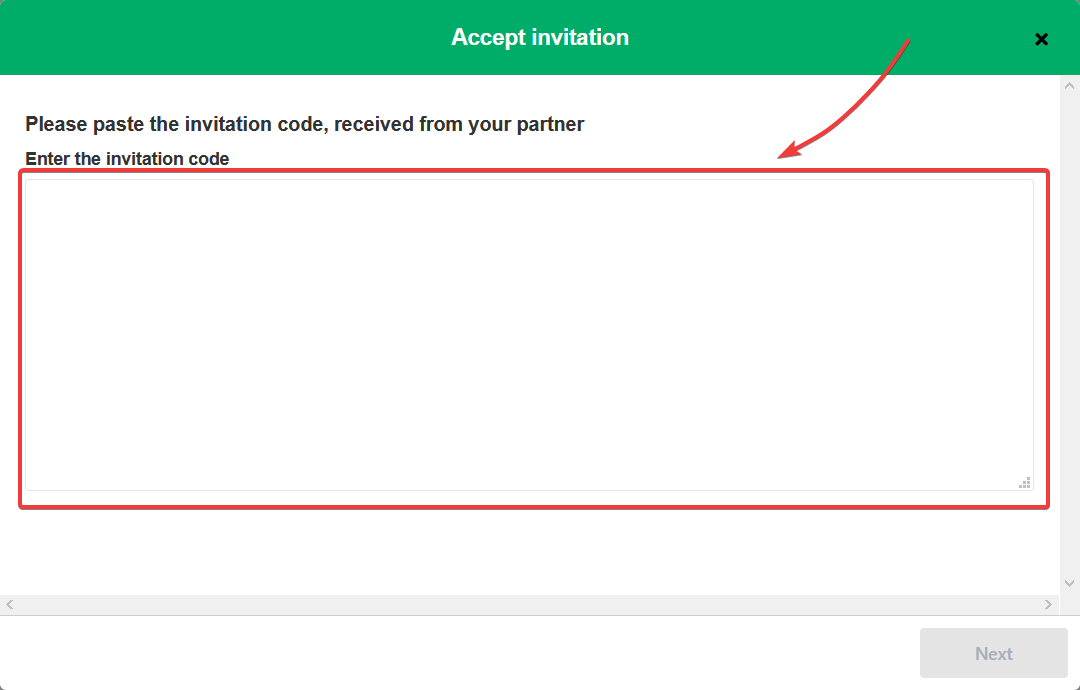
2. Click Accept invitation
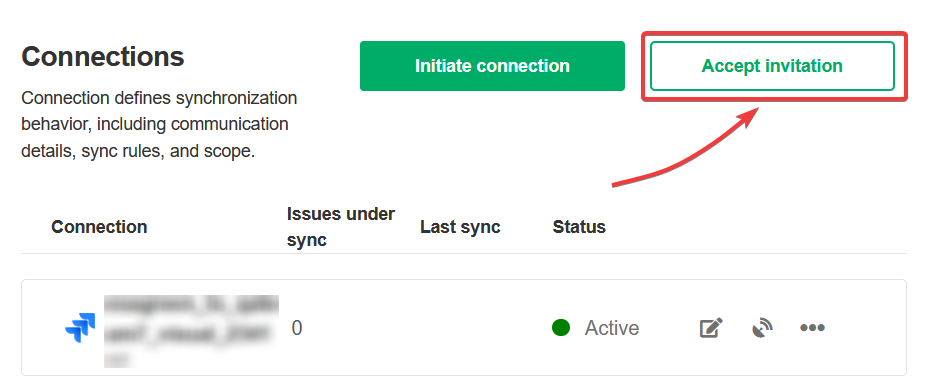
3. Paste the invitation code
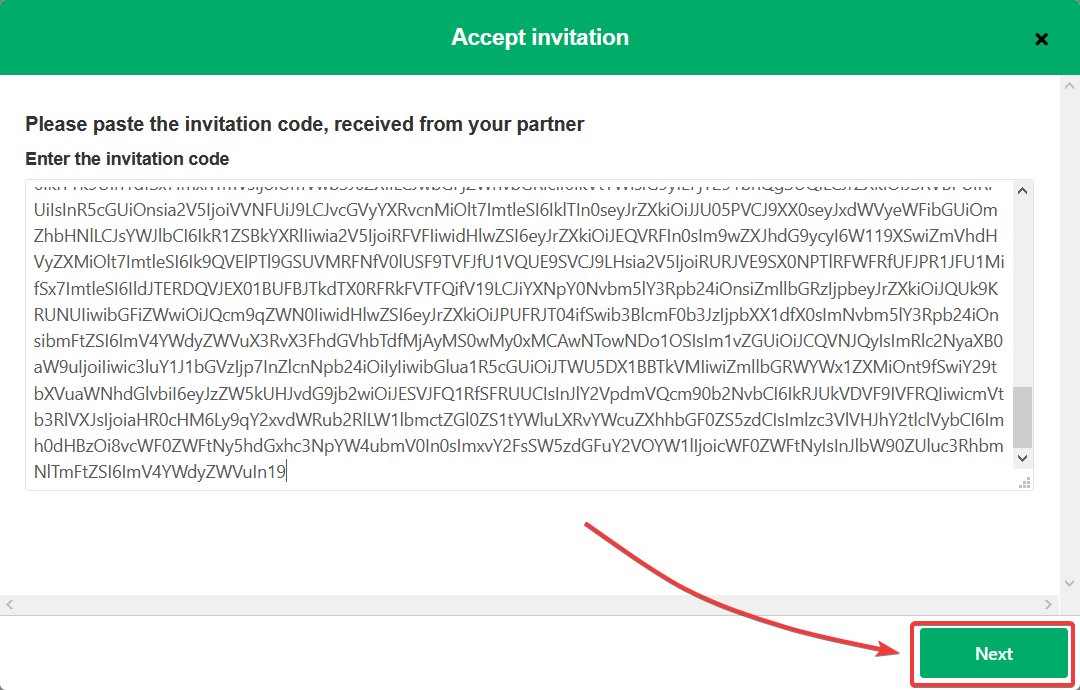
Paste the invitation code that you received from your partner.
4. Click Next
5. Select the project where you want to sync issues
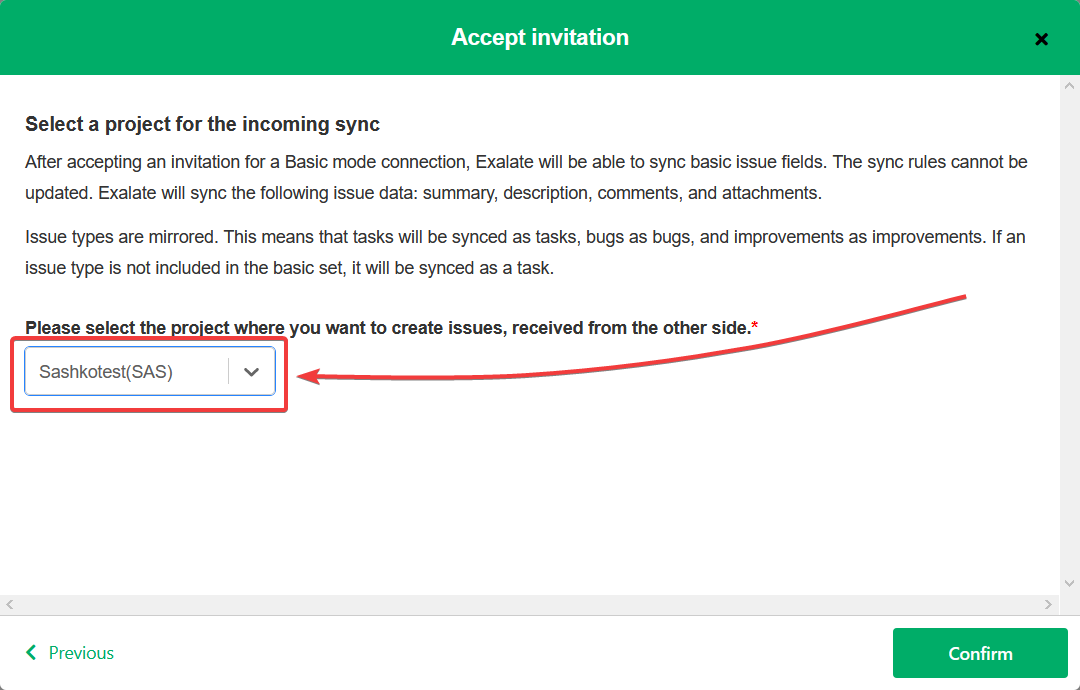
6. Click Confirm
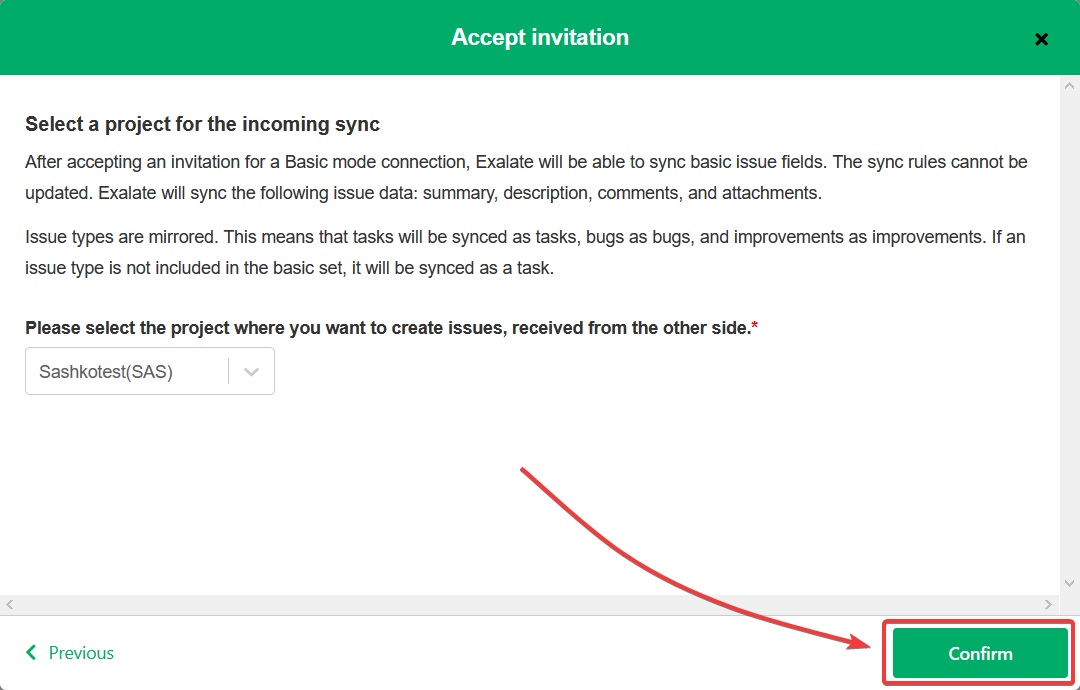
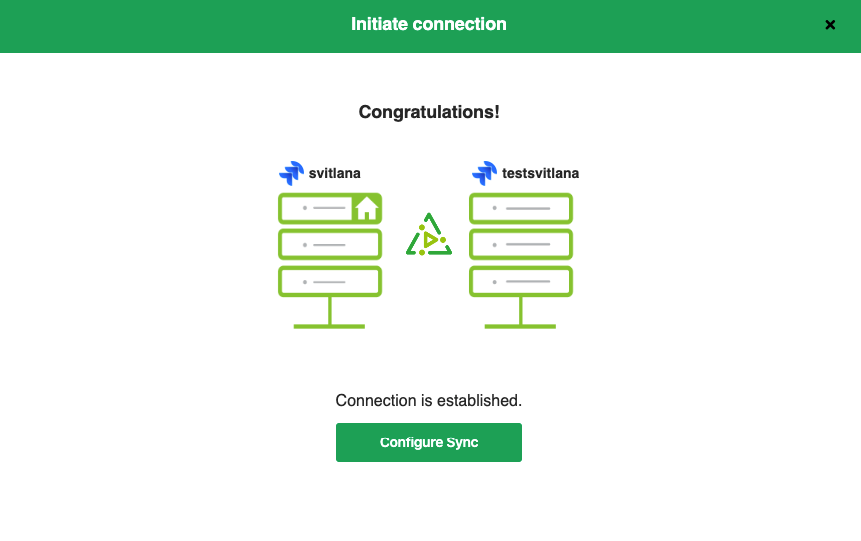
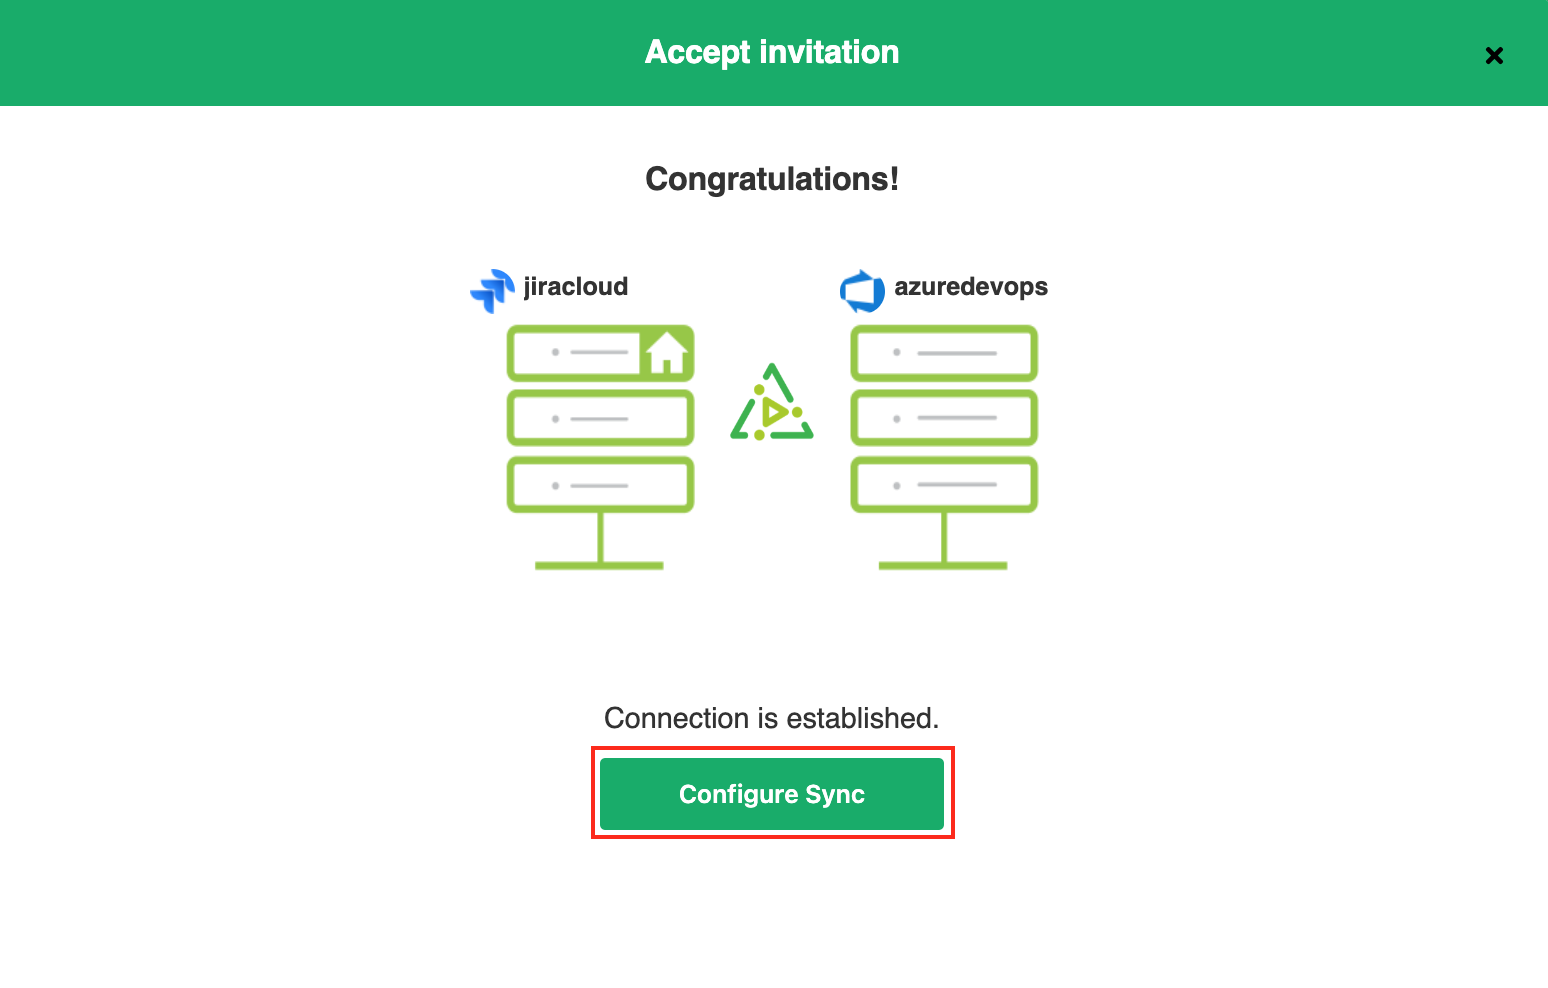
Congratulations! The connection is set up. Now you can proceed to the configuration.
What's next?
After your connection is established, you can configure the sync rules for the connection.
1. Configure Incoming sync rules on the Jira Cloud side
Once the connection has been created and accepted from the Jira side, you need to configure specific sync rules. Click Configure Sync to modify the sync rules.
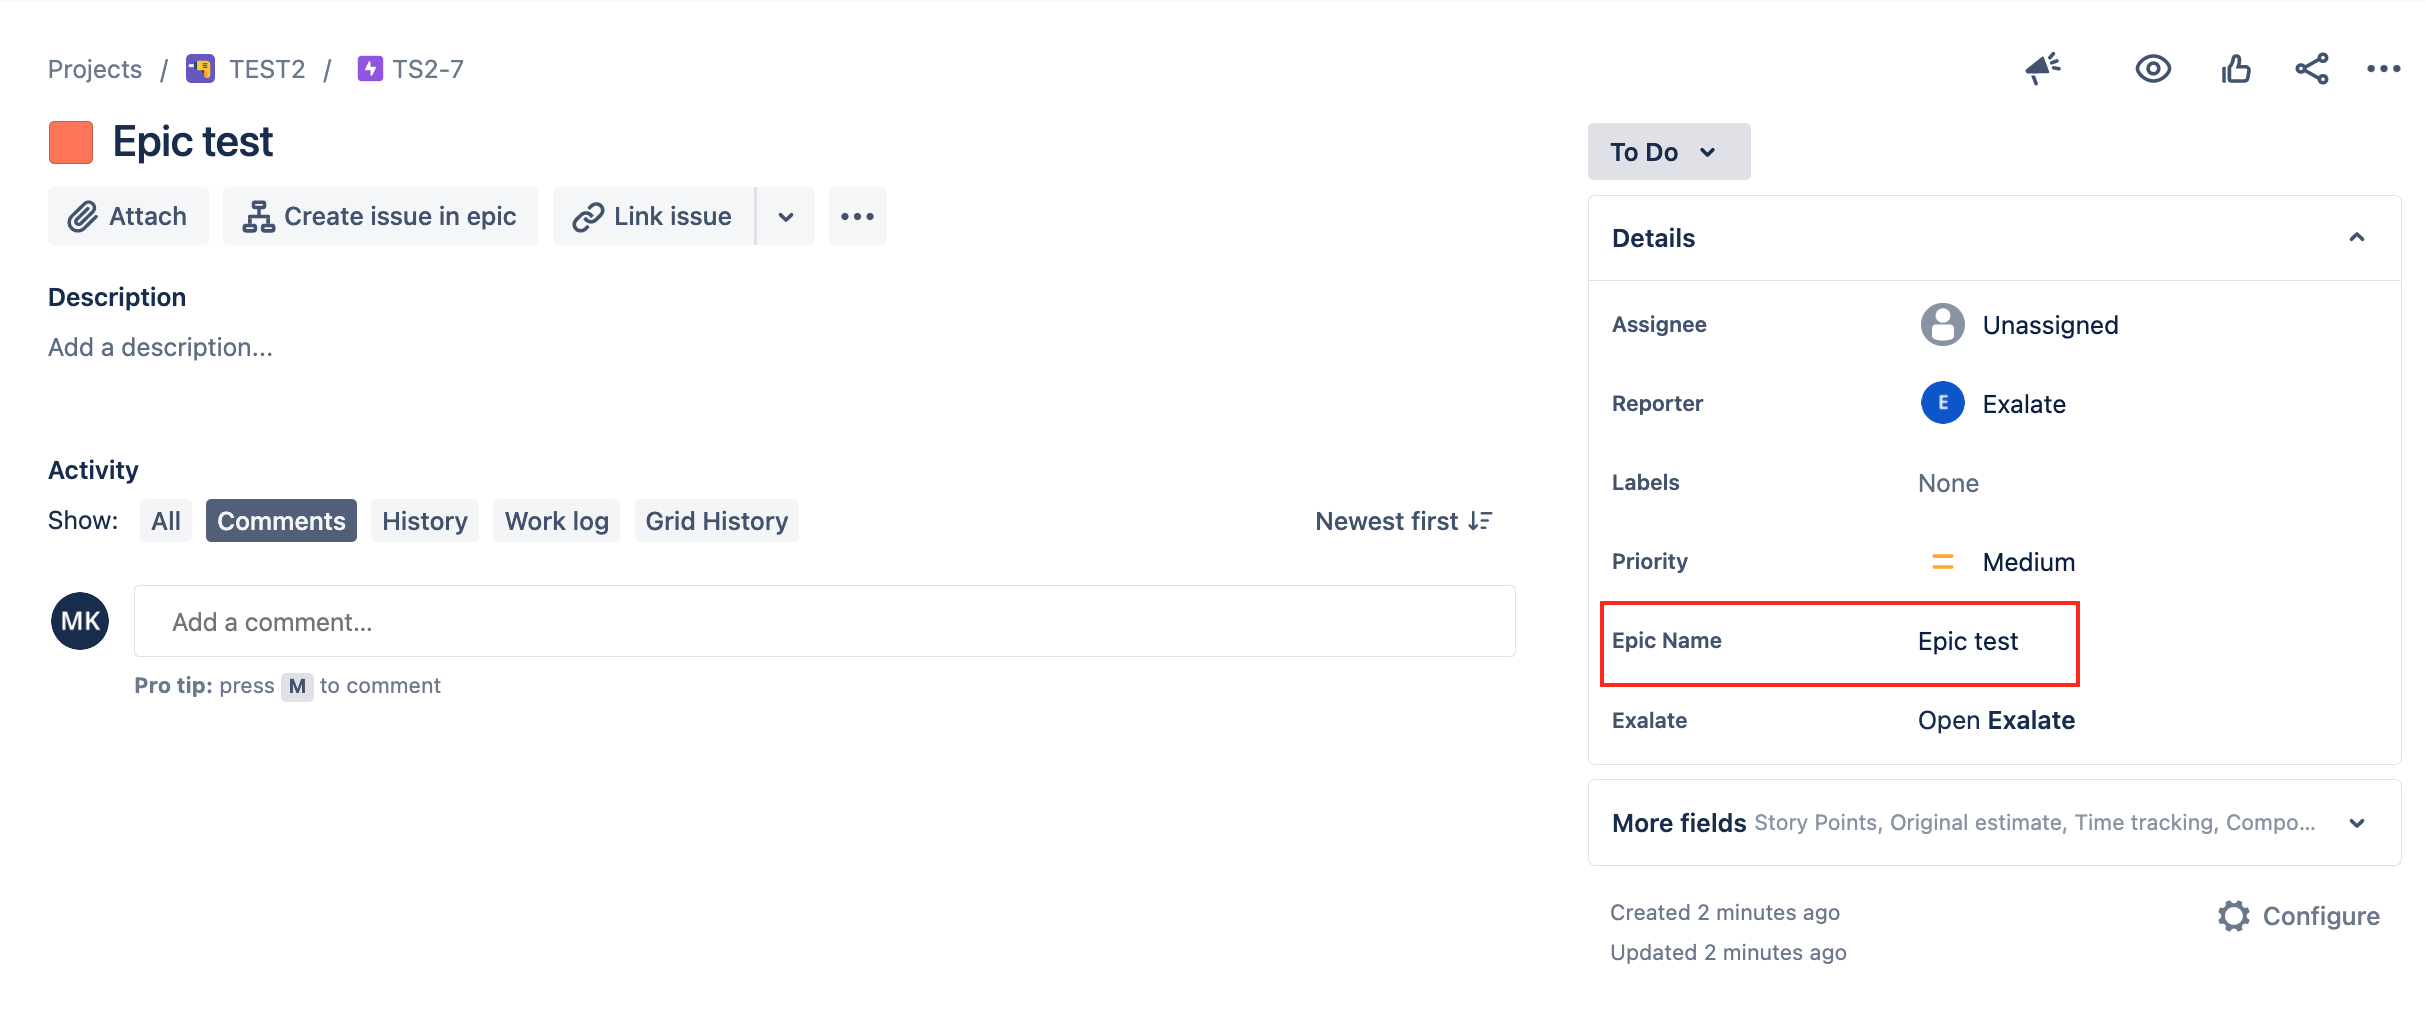
The first sync section of the Incoming script on the Jira side dictates how an epic needs to be created.
When you want to create Epics, make sure that the type name is set to "Epic".
Use the replica.summary variable to set an Epic summary from Azure Devops as an Epic name in Jira Cloud.
if (firstSync) {
// If it's the first sync for an issue (local issue does not exist yet)
// Set project key from source issue, if not found set a default
issue.projectKey = nodeHelper.getProject(replica.project?.key)?.key?: "TS2"
if (replica.type?.name == "Epic") {
issue.typeName = "Epic"
// set the epic name to the same as the issue summary
issue.customFields."Epic Name".value = replica.summary
} else {
// Set type name from source issue, if not found set a default
issue.typeName = nodeHelper.getIssueType(replica.typeName)?.name
}
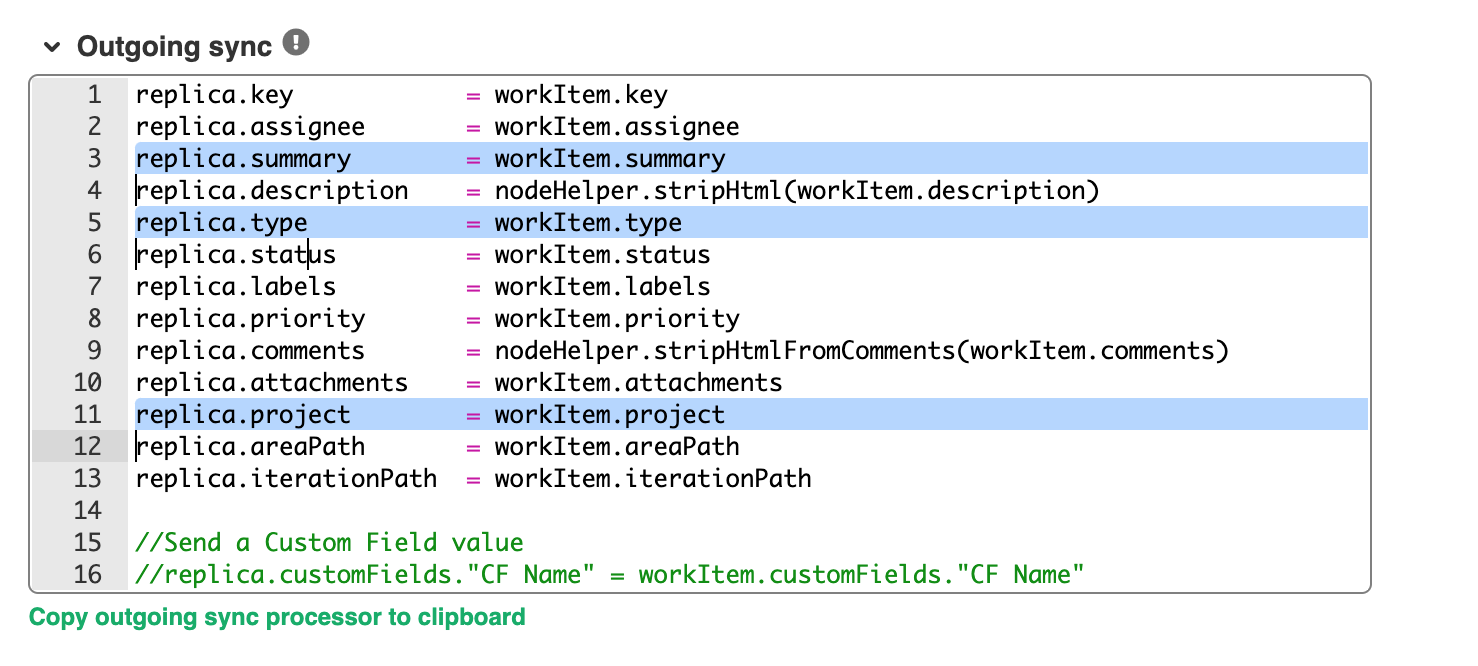
}2. Check the Outgoing sync rules on Azure side
Default Outgoing sync rules for Azure DevOps already include the required variables such as project, summary, and type.
In case you have included other variables, make sure to add them to the Azure Outgoing sync rules.
3. Run the Epic sync
Once you define the sync rules, you can run the synchronization in several ways, such as creating a trigger or using the Exalate button from the Sync panel.
Another way to run a quick sync and check the sync rules is to use the Entity Sync status tab in Exalate:
- Open the Entity Sync status tab in Azure Devops
- Select a project and Enter a Work Item ID
- Click Search
- Click Exalate
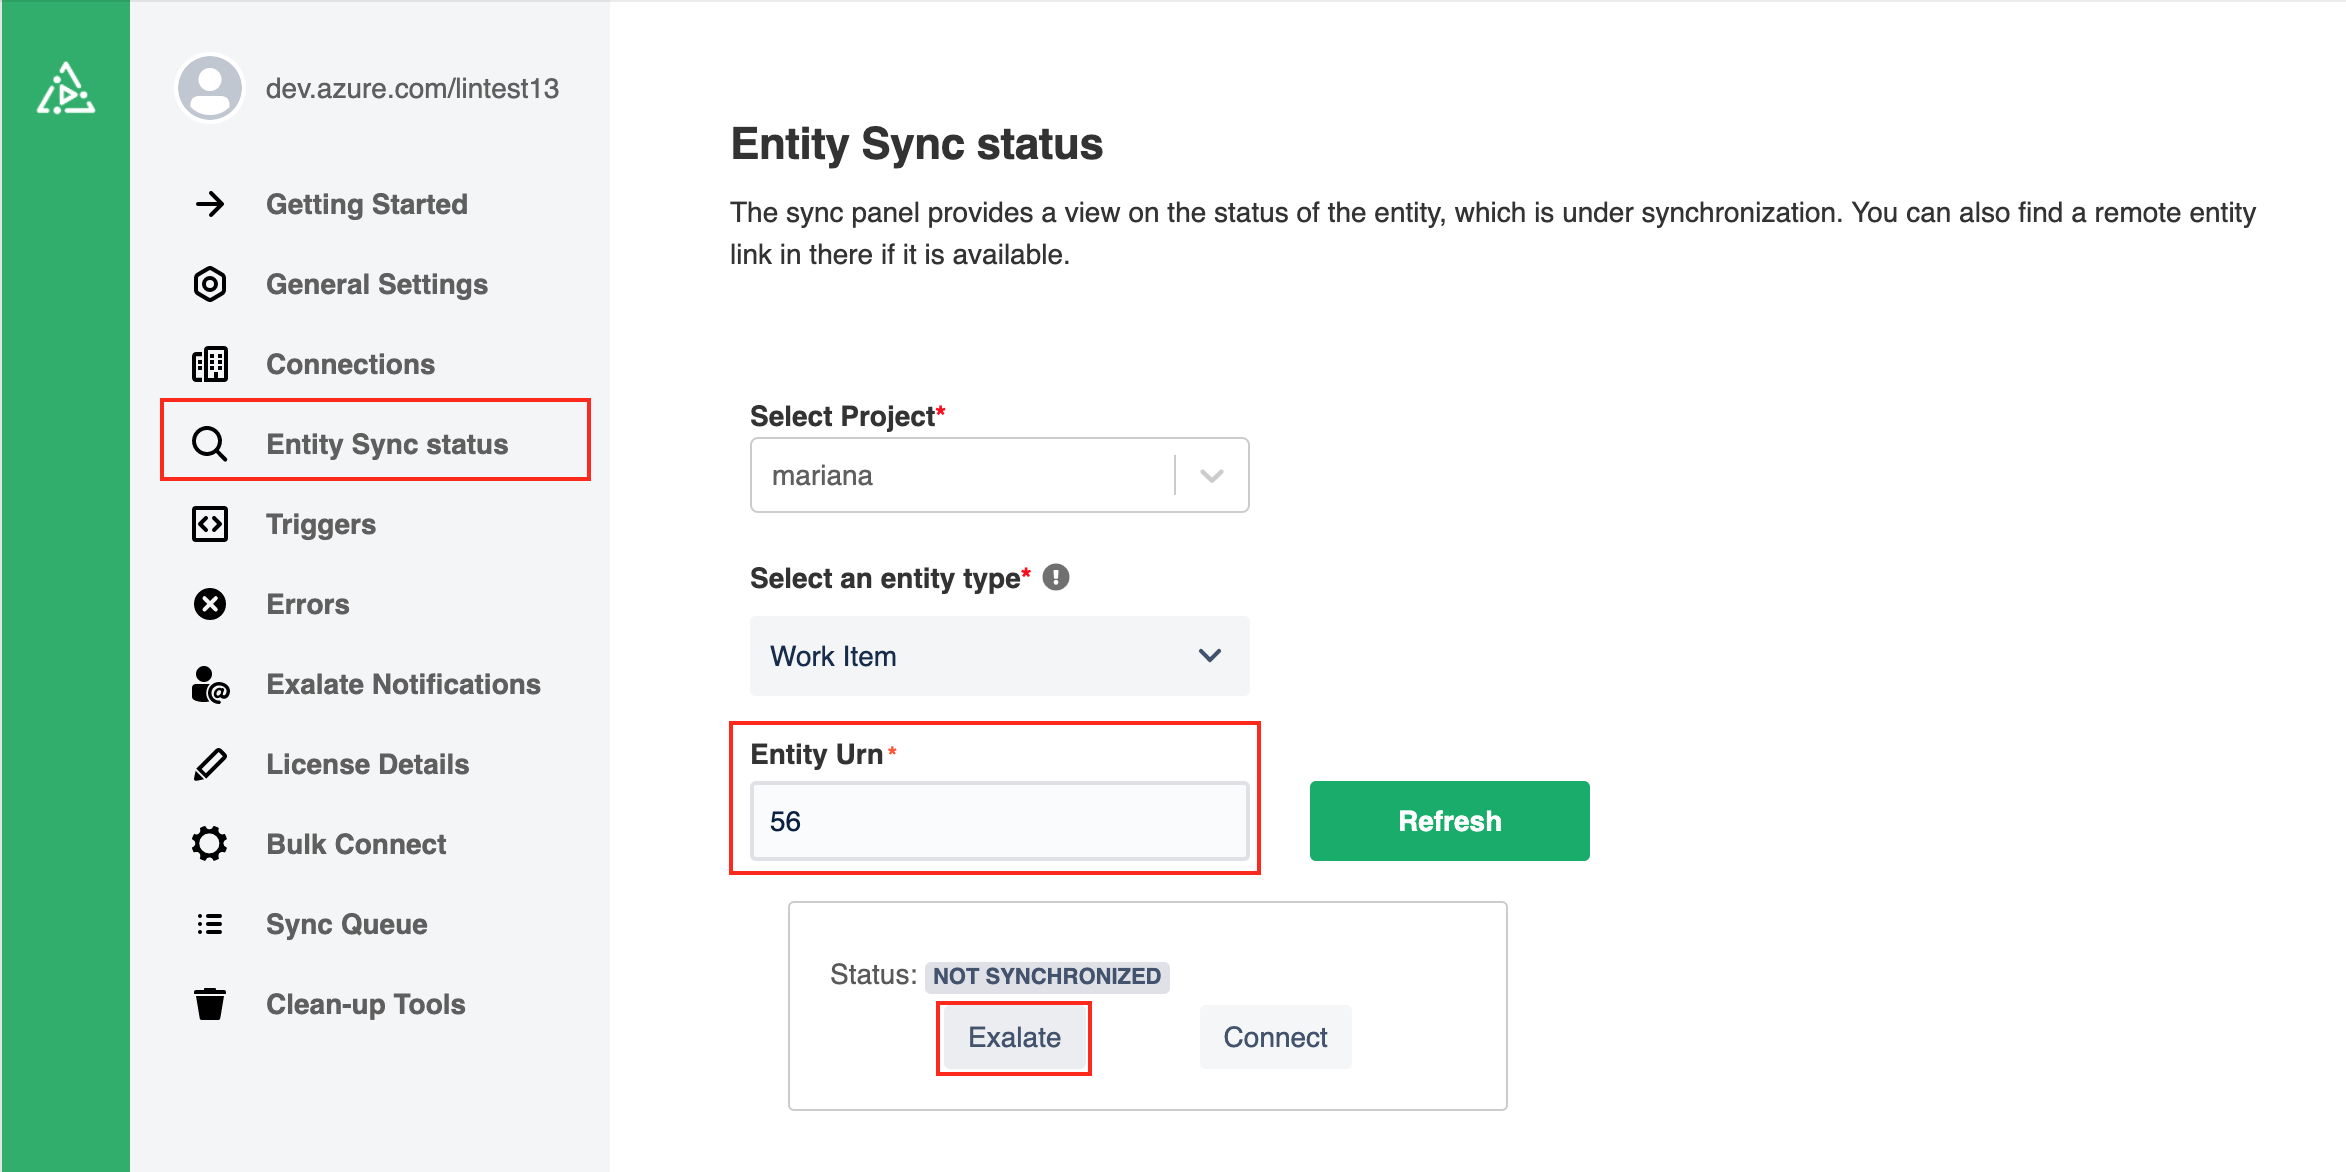
- Select a connection
- Check the newly created Epic on the Jira side
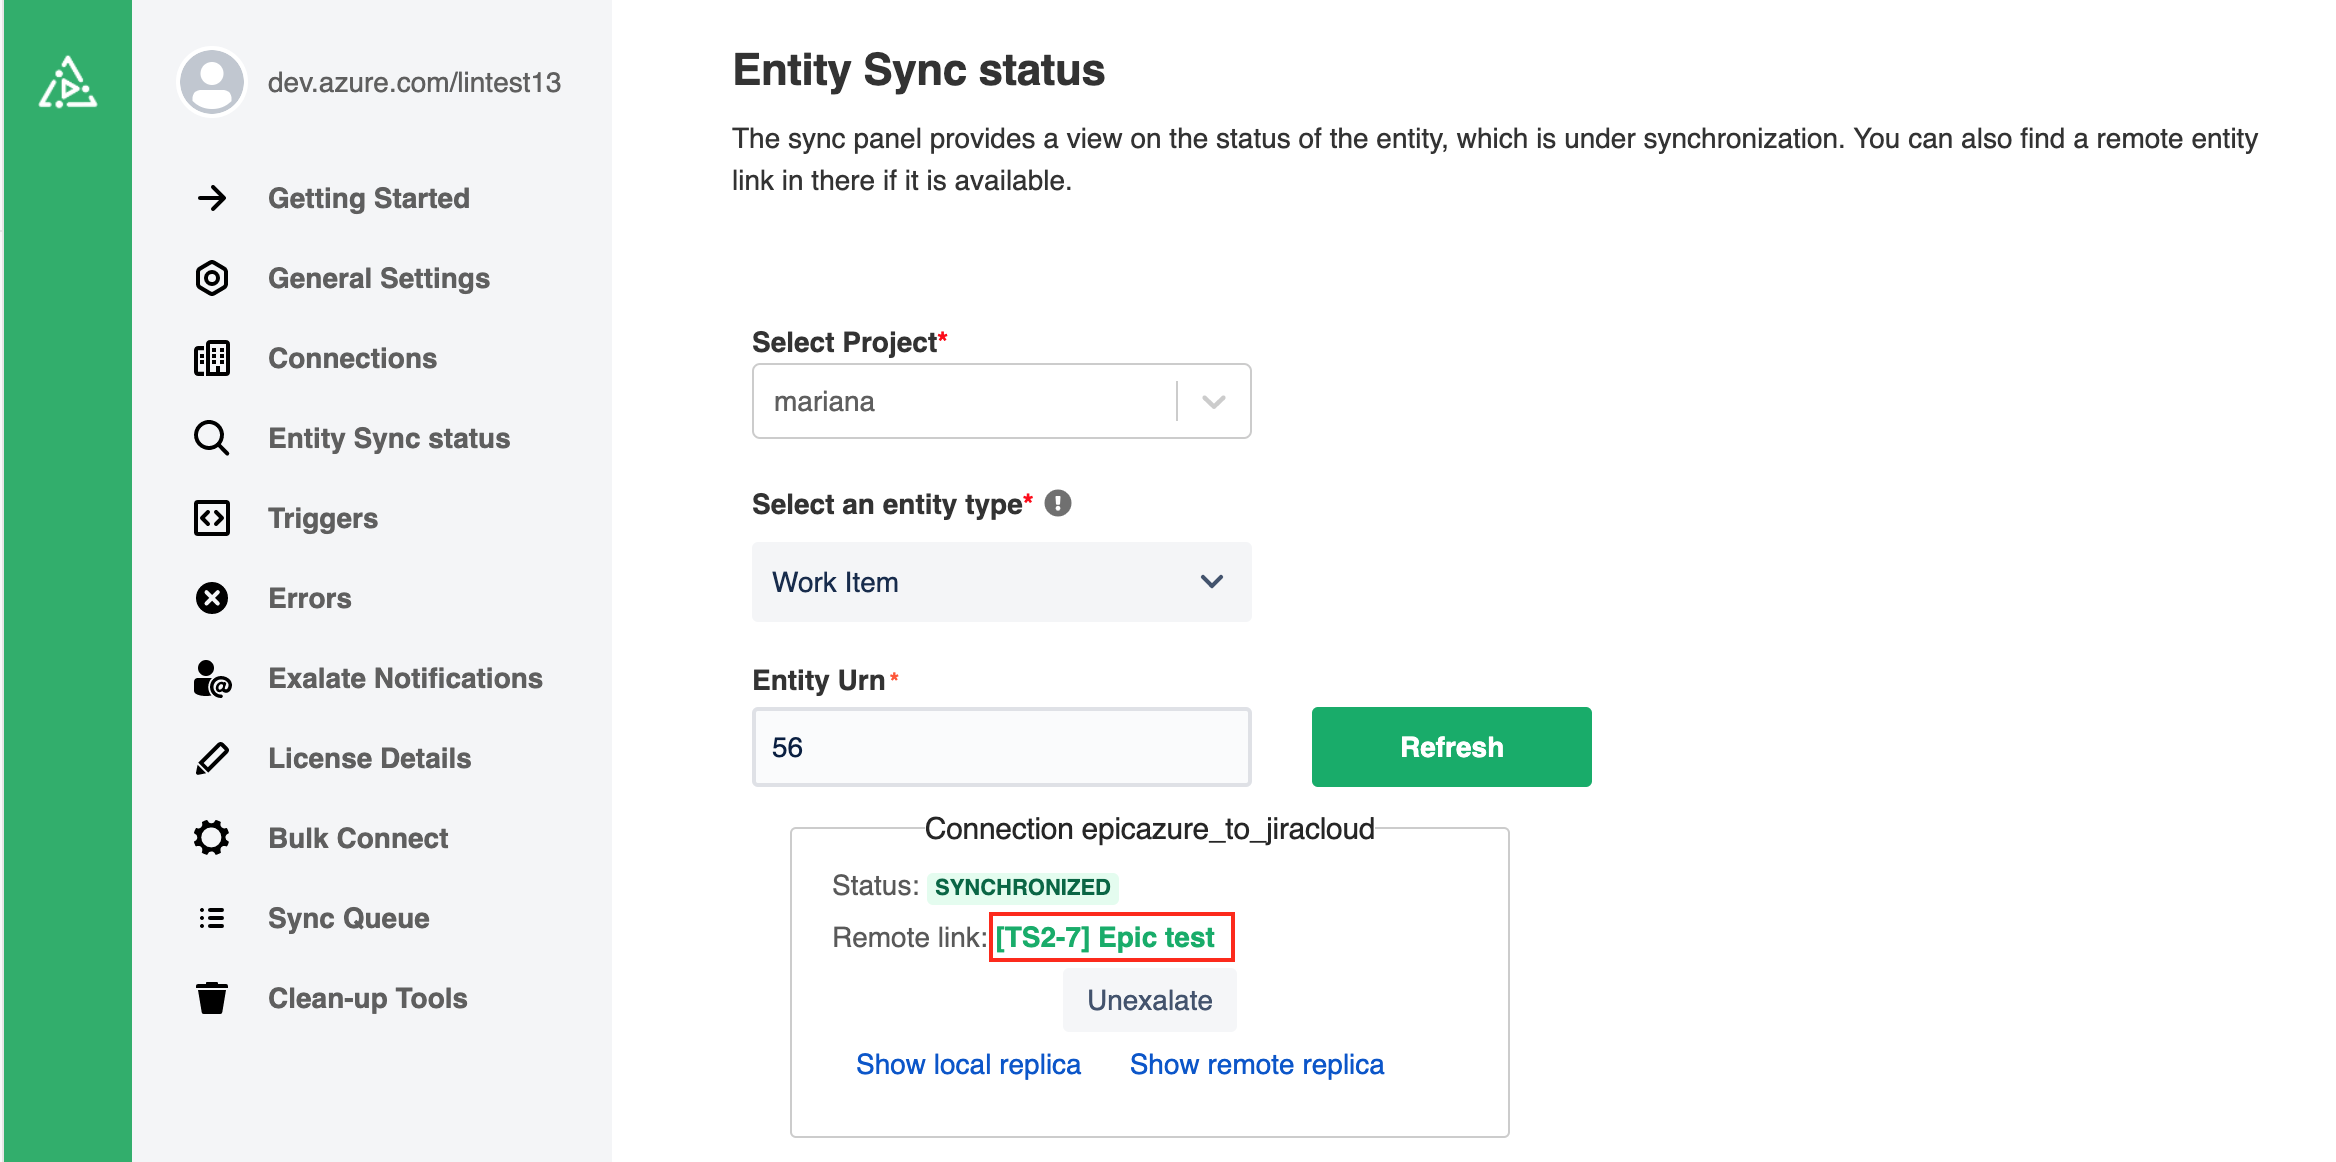
- Check if all the fields were synced