This article applies to Exalate Classic only. For New Exalate, refer to this documentation.
Once you've configured the Exalate app in the ServiceNow instance, you can proceed with the app configuration.
Follow the steps below to finish your first-time app setup:
Step 1: Set up a proxy user on ServiceNow
A proxy user is a ServiceNow service account which is responsible for accessing the information stored on your instance, and apply any incoming changes.
Create a service account on your ServiceNow environment. This service account requires a number of permissions as documented here
To simplify this step, you can also use an update package which automatically configures the necessary settings.
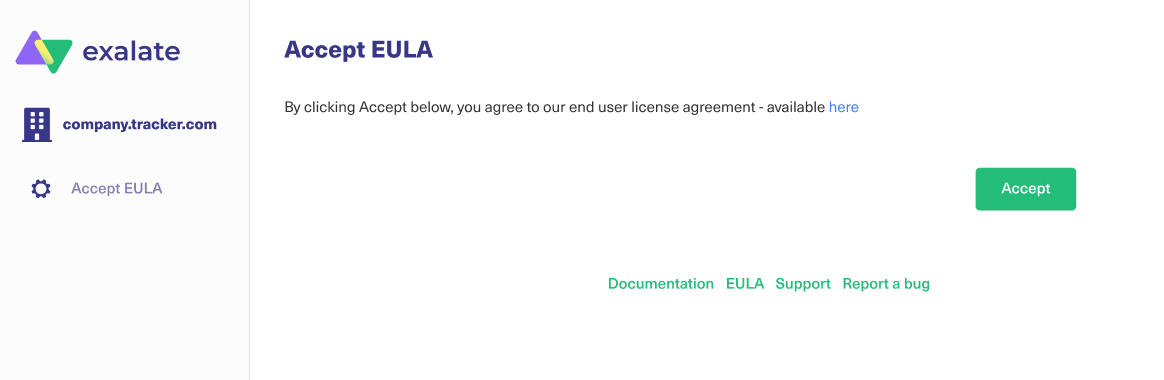
Step 2: Accept the EULA
By using this product we require an explicit approval of the end user license agreement, which can be found here
Step 3: Connect the Exalate for ServiceNow to your instance
In the second step, you need to connect the Exalate for ServiceNow with your instance.
You need:
- The URL of your ServiceNow instance. This URL must be accessible from this application.
- The details of the proxy user: The username and either the password, or an OAuth token. (More information on retrieving the OAuth token are documented here
- The license The evaluation or production license which unlocks the functionality of the application.
You get notified if something fails.
Step 4: Access the Exalate Console
The Exalate console is where integrations are configured. To access the console you need a ServiceNow account with administration permissions.
Prepare your admin username and either the password or an OAuth token
Step 5: Configure General Settings
You need to specify your ServiceNow instance URL, the proxy user access details, and the evaluation license key.
The proxy user is a dedicated user in your ServiceNow instance. The proxy user must have permission to Create/Read/Update entities on ServiceNow. If you want to Create/Read/Update Incidents, Cases, Problems, or Change Requests in ServiceNow, the user needs to have roles for that.
Note: In ServiceNow, proxy users can sync tables or attributes based on the access from their user role. Please see Exalate for ServiceNow: Proxy user permissions for more information.
You can find the license key in the email along with your Exalate app URL.
![]()
6. Save the Configuration
You are redirected to the log-in screen.
7. Log in to the Exalate Admin Console
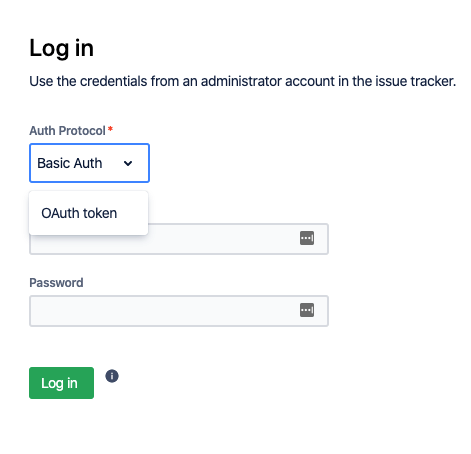
Basic Auth
Use your ServiceNow instance admin access credentials.
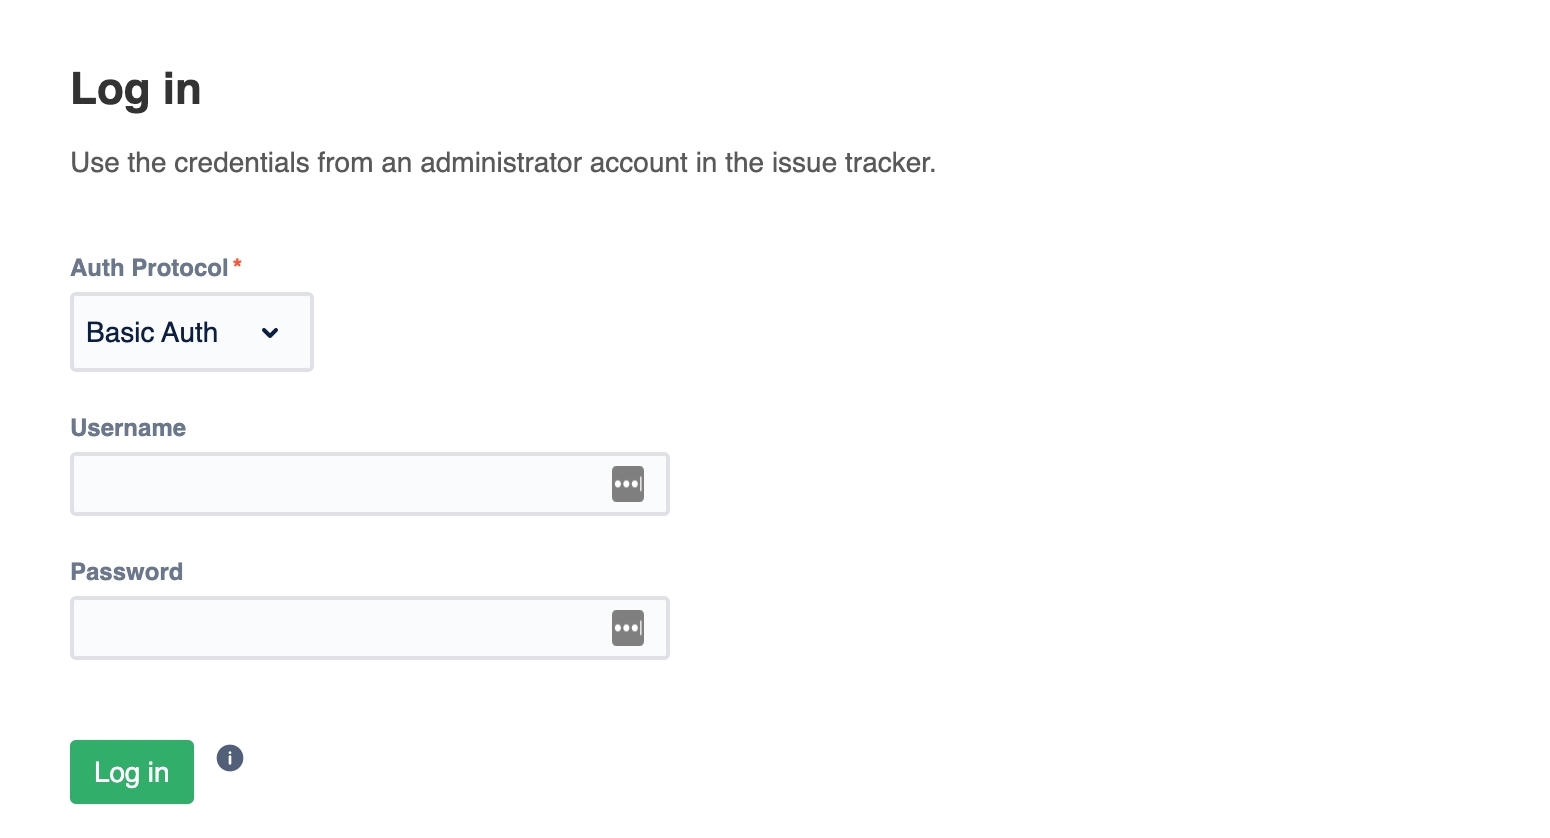
Note: We do not store ServiceNow instance access credentials. Exalate only checks if the admin user is valid.
OAuth Token
Note: You need to have a ServiceNow endpoint to log in with an OAuth token. Check Set up log-in with OAuth tokens in Exalate for ServiceNow for more info.

What's Next?
Now you can proceed to the next step and set up the connection.