This article applies to Exalate Classic only. For New Exalate, refer to this documentation.
With Bulk Connect you can sync a set of entities with one operation.
Note: In Exalate for Jira on-premise, Jira Cloud, Azure DevOps (Server & Service), and Zendesk, you can use the Connect Operation to sync each issue manually.
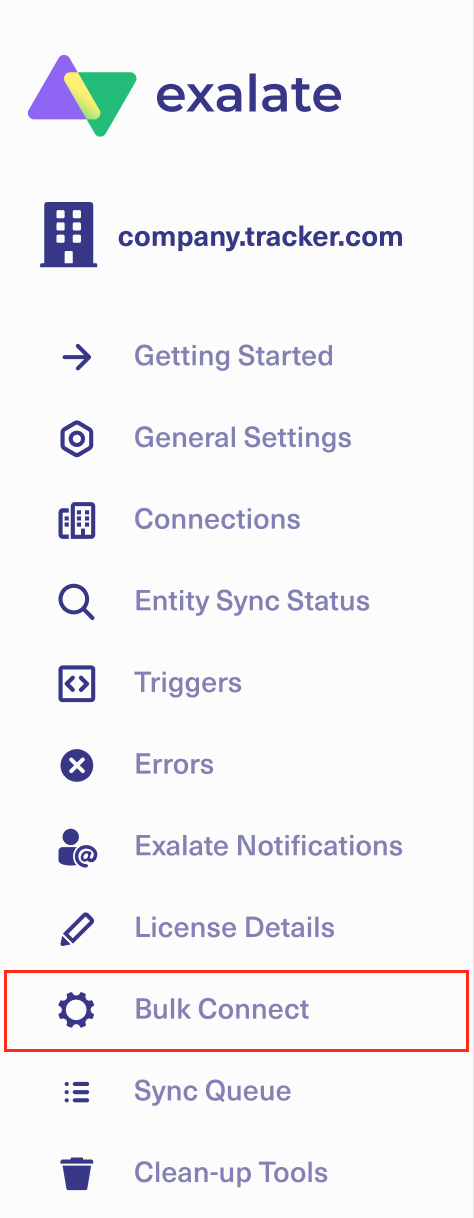
To sync issues in bulk:
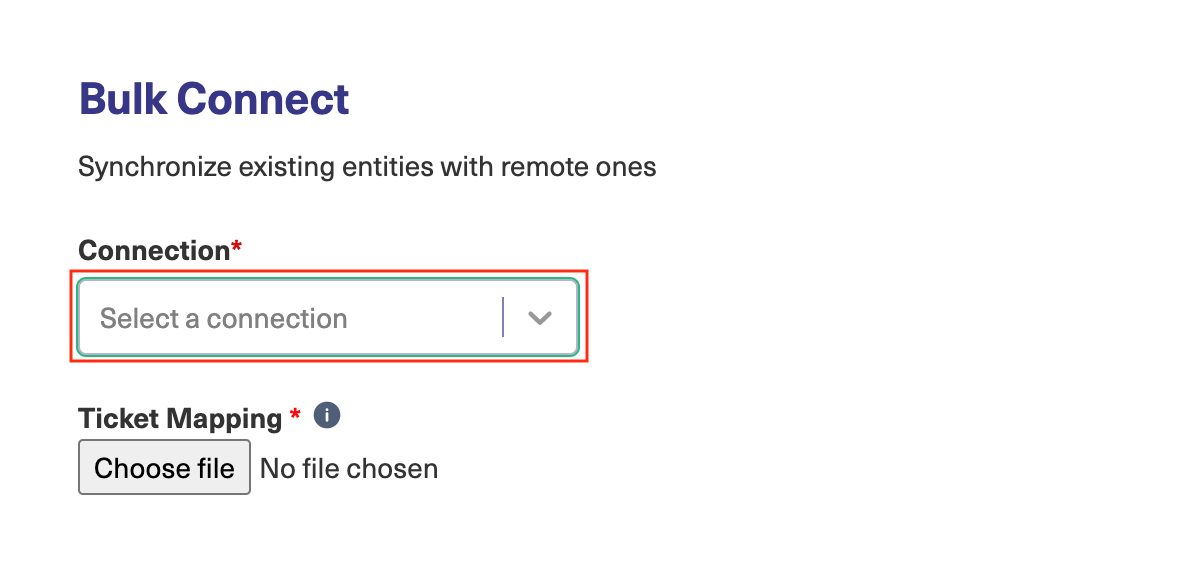
2. Select a Connection from the dropdown.
3. Select the entity type to bulk connect.
Note: This step is applicable only to the work management systems where Exalate supports multiple entities.
You can select a specific entity type to apply bulk connect to, in case Exalate on your platform supports multi-entity synchronization.

4. Upload a .csv file with the Issue Mapping.
The .csv file should contain comma-separated issue key pairs that are synced. The issue keys within a pair should be separated by a comma.
Note: If your platform supports multiple entities, make sure that the .csv file includes the correct entity type keys, corresponding to the entity type selected earlier.
Example of an issue mapping file:
LOCAL-1, REMOTE-4
LOCAL-2, REMOTE-5
LOCAL-4, REMOTE-6
LOCAL-5, REMOTE-9
In this example, the issue LOCAL-1 is synced to the issue REMOTE-4, LOCAL-2 to REMOTE-5, and so on.
Important: Starting from Exalate for Github version 5.4.0 the .csv file requires the issue key that contains the full repo name.
In this case, mapping file for Jira to Github 5.4.0 connection looks like this:
LOCAL-1, FullRepoName-4
LOCAL-2, FullRepoName-5
LOCAL-4, FullRepoName-6
LOCAL-5, FullRepoName-9
Note: Exalate generates the file automatically each time you do a clean-up by connection. The file is located in {$JIRA_HOME}/exports/ directory.
You can recognize the file by its name. It includes the connection name, date, and time data when it was generated.
Example: connect-RELATION-A to B-20190425_122209.csv

5. Configure Advanced options.
Toggle whether you want to synchronize existing comments, attachments, and worklogs.
Descriptions of toggles:
- Connect and sync data
If enabled, the local issue data is sent to the connected issue on the destination instance during sync. - Sync existing comments?
If enabled, all existing comments are sent over. The source outgoing sync rules or destination incoming sync rules are applied. For instance, if the connection specifies that source comments should remain local, then the source comments are not sent over. - Sync existing attachments?
If enabled, all existing attachments are sent over. The source outgoing sync rules or destination incoming sync rules are applied. For instance, if the connection specifies that source attachments should remain local, then the source attachments are not sent over. - Sync existing worklogs?
If enabled, all existing worklogs are sent over. The source outgoing sync rules or destination incoming sync rules are applied. For instance, if the connection specifies that source worklogs should remain local, then the source worklogs are not sent over.
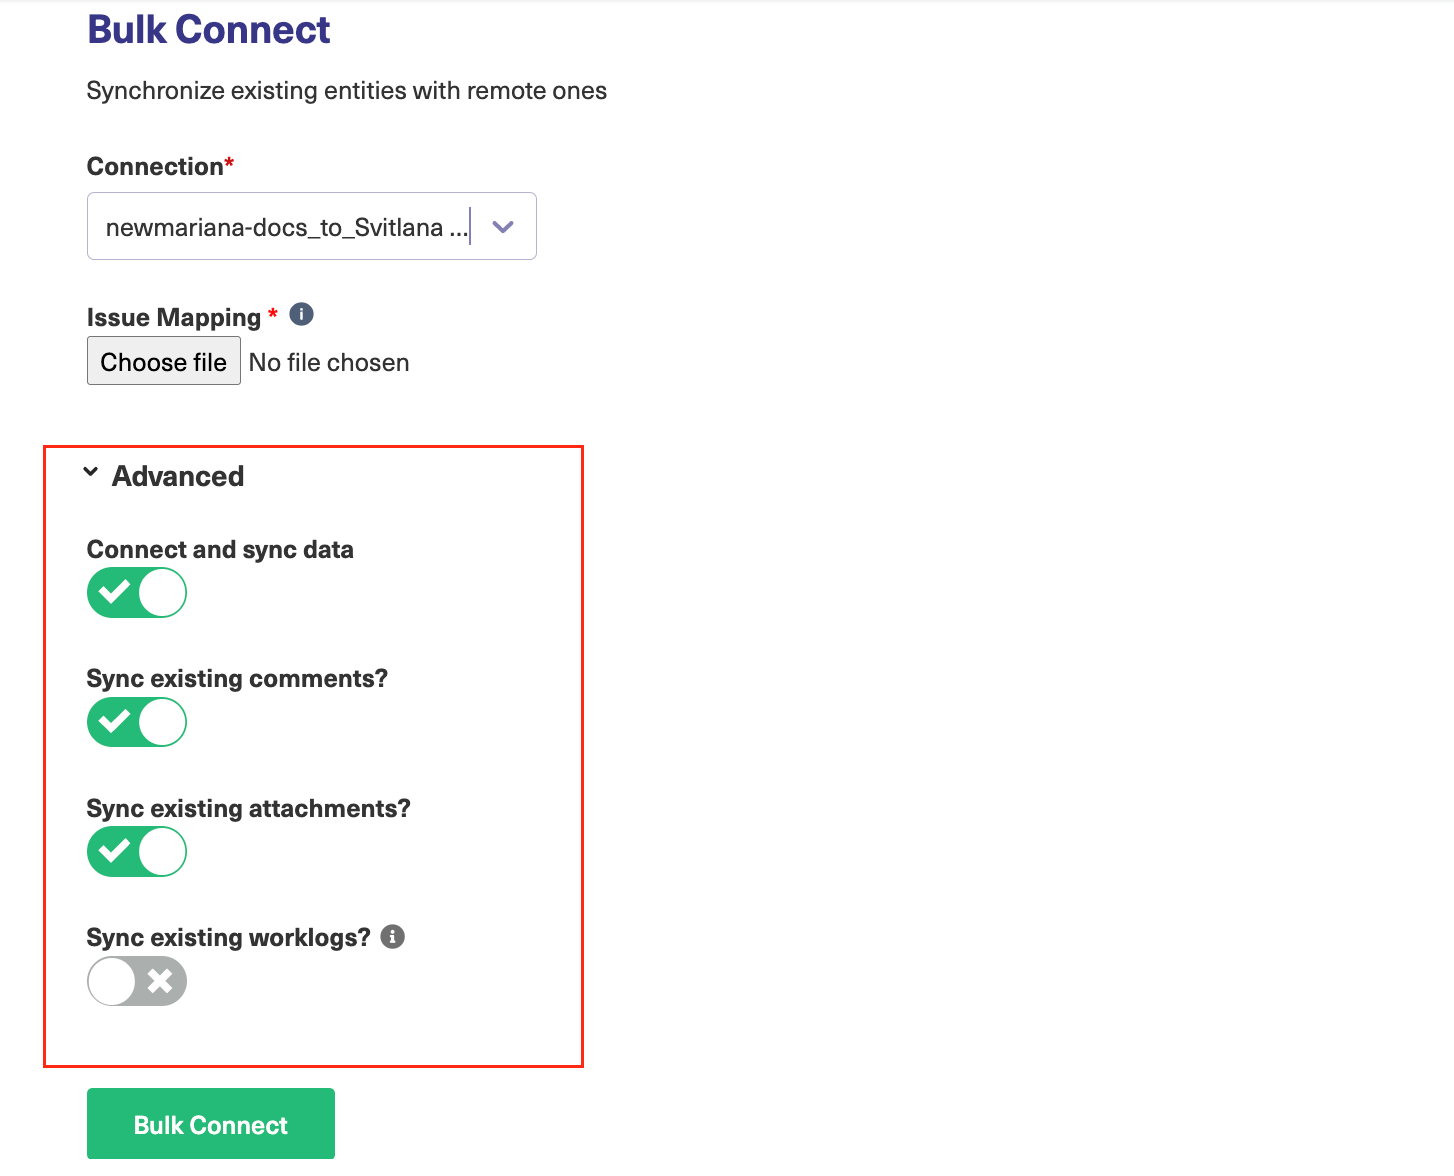
6. Click Bulk Connect to start the sync.
After a successful sync, you see the success message with details.