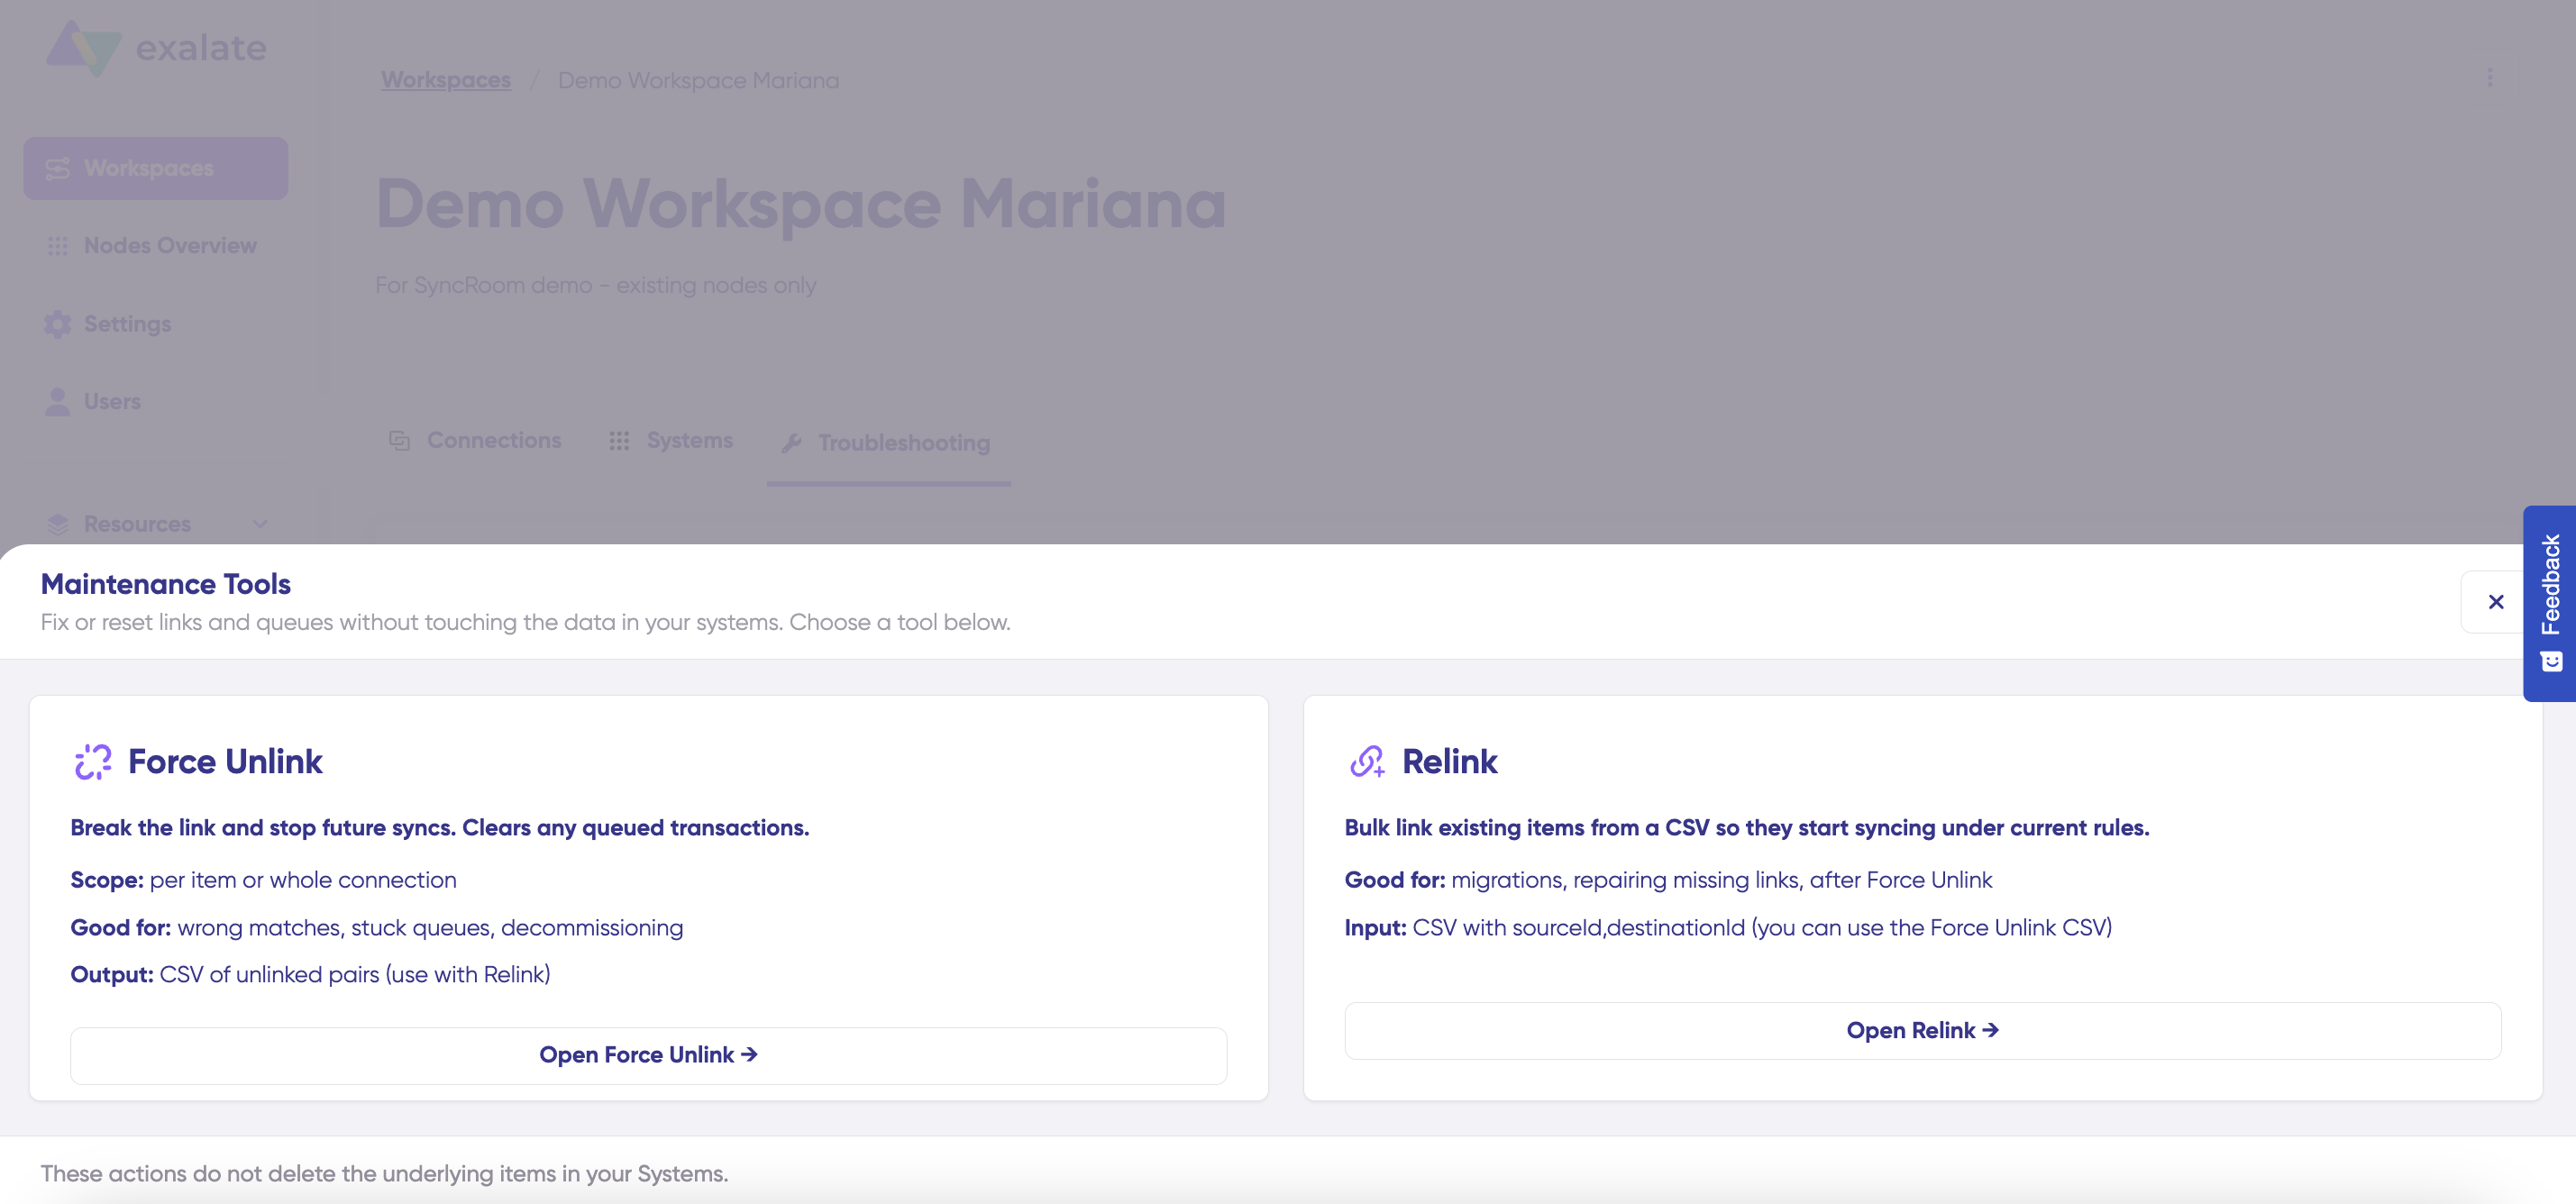
Overview
The Relink feature allows you to bulk create or restore synchronization links between items in your connected systems using a CSV file. This is particularly useful after using Force Unlink, during system migrations, or when you need to establish synchronization for multiple existing item pairs efficiently.
Key Use Cases:
- Restoring synchronization relationships after Force Unlink operations
- Migrating existing work items to a new connection
- Bulk linking items that already exist in both systems
- Re-establishing sync after connection reconfiguration
Accessing Relink
- Navigate to your workspace
- Select the Troubleshooting tab
- Click the Tools button
- Select Relink

How Relink Works
The Relink tool establishes synchronization relationships between items that already exist in both connected systems. It does not create new items—it only links existing items so they can begin syncing.
Important: Both items must already exist in their respective systems before you can relink them.
Relink Process
Step 1: Select Connection
- Click the Connection dropdown
- Select the connection where you want to relink items
- The connection must already be configured and active

Step 2: Verify Sync Direction
The sync direction display shows:
- Source system (left) - Where item IDs in the CSV come from
- Arrow indicator - Shows the sync flow direction
- Destination system (right) - Where corresponding item IDs map to
The direction is determined by how the connection was originally configured. The helper text below confirms: "CSV is interpreted as 'item-id' from the source '[System Name]' and 'item-id' from the destination '[System Name]'."
Step 3: Prepare Your CSV File
CSV Format Requirements
Your CSV file must follow this exact format:
source-item-id,destination-item-id
Example:
EXA-200,2834EXA-358,6372EXA-420,9525DEV-101,PM-456
Download Template
To ensure correct formatting:
- Click Download template in the Item mapping CSV section
- Use the template as a starting point
- Fill in your item ID pairs following the format
- Save as CSV format
Step 4: Upload Your CSV
You have two options for uploading:
Option 1: Click to Upload
- Click the Click to upload CSV link in the upload area
- Browse to your CSV file location
- Select the file
Option 2: Drag and Drop
- Drag your CSV file from your file explorer
- Drop it into the dashed upload area
Step 5: Execute Relink
- Review your selections:
- Connection name
- Sync direction
- Uploaded CSV file
- Click the Relink button (bottom right)
- Wait for the operation to complete
- Review the results notification