Note: Verification is available only for self-hosted ServiceNow instances.
This article applies to Exalate Classic only. For New Exalate, refer to this documentation.
To work in Exalate, you need an admin account with an active, non-obligatory evaluation license.
Exalate has a built-in verification procedure, that is used to:
- Verify your instance.
- Activate an evaluation license.
- Make an admin account to receive error notifications.
To verify your Exalate for ServiceNow:
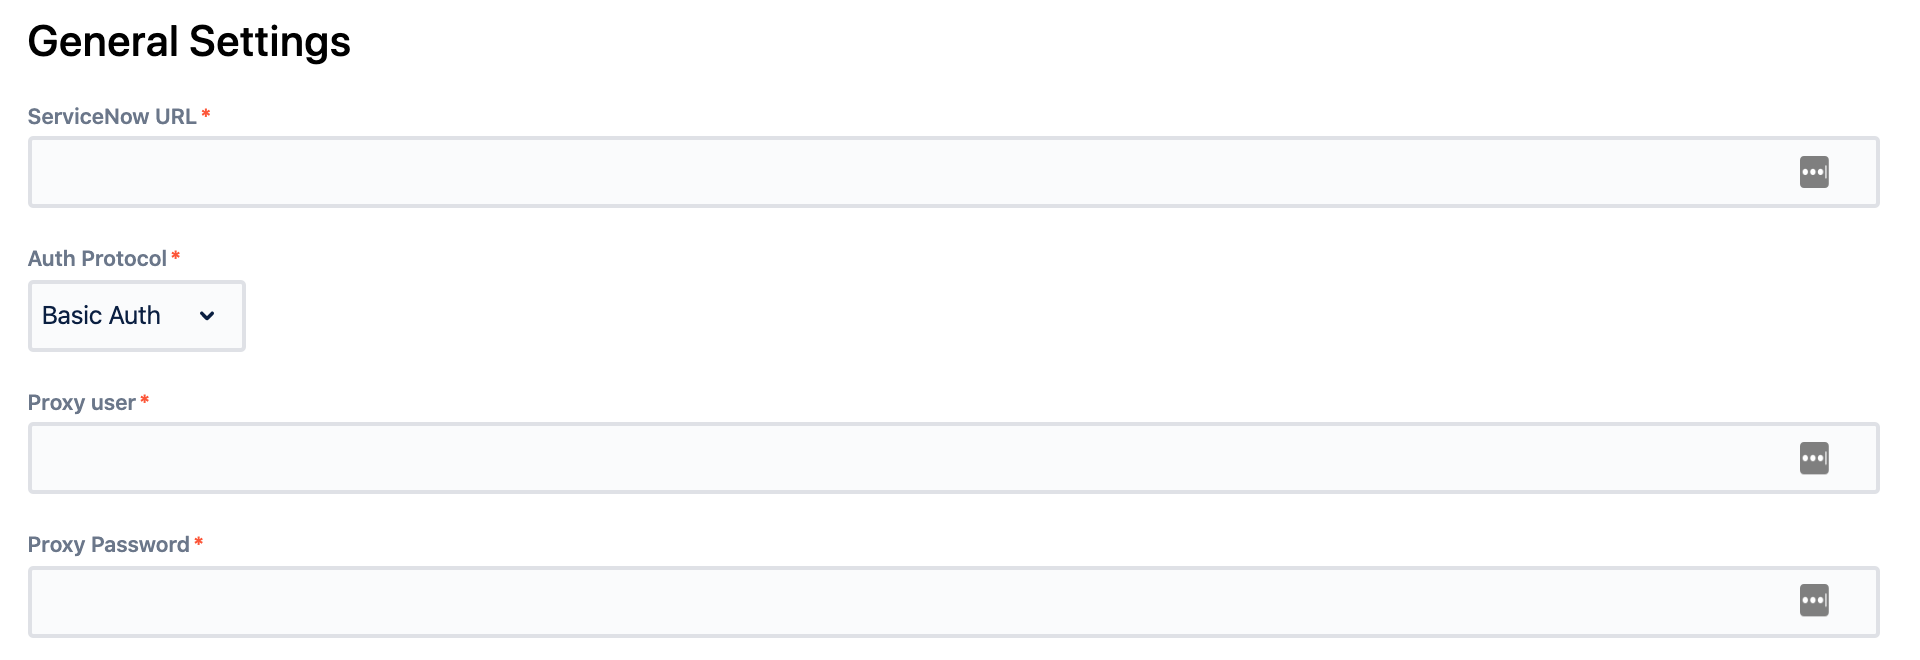
1. Configure General Settings.
You need to specify your ServiceNow instance URL, the proxy user access details and the evaluation license key.
The proxy user is a dedicated user in your ServiceNow instance. The proxy user must have permission to Create/Read/Update entities on ServiceNow. If you want to Create/Read/Update Incidents, Cases, Problems, or Change Requests in ServiceNow, the user needs to have roles for that.
Note: In ServiceNow, proxy users can sync tables or attributes based on the access from their user role. For more information read Exalate for ServiceNow: Proxy user permissions.
2. Enter your contact details in the Registration screen.
Exalate uses this info to:
- Verify your instance.
- Activate an evaluation license.
- Create an admin account to receive error notifications.
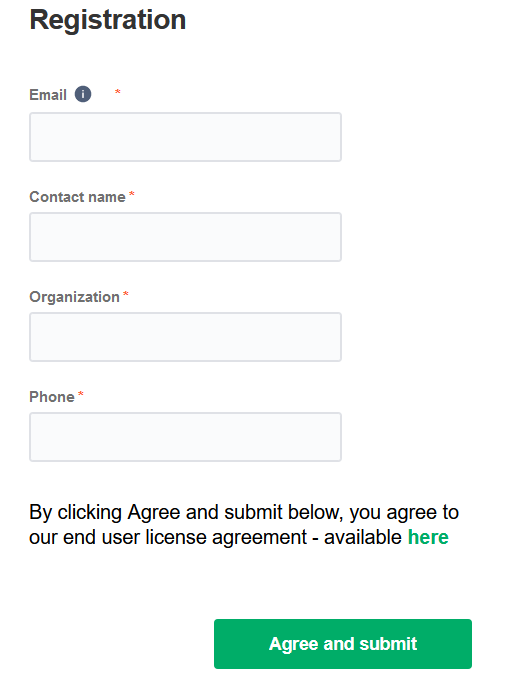
3. Select Agree and submit.
After selecting Agree and submit, you get an email to complete a security check.
Note: After clicking Agree and submit, you accept our End User License Agreement (EULA). It is also available here.
4. Open your email and select Verify Exalate instance.
You are redirected back to your Exalate console.

5. Select Continue.
Note: For more information on how to complete email verification, read Solving issues with email verification.

6. Log in to your ServiceNow account.
Now you have an Exalate account with a 30-day trial license. You can log in using either Basic Auth or an OAuth token.
Before logging in with OAuth tokens, you need to set up your ServiceNow instance to work with access tokens. For more information read Set up log in with OAuth tokens in Exalate for ServiceNow.

Basic Auth
To log in with Basic Auth:
- Select Basic Auth in the Auth Protocol dropdown.
- Enter the Exalate user credentials in the Username and Password fields.
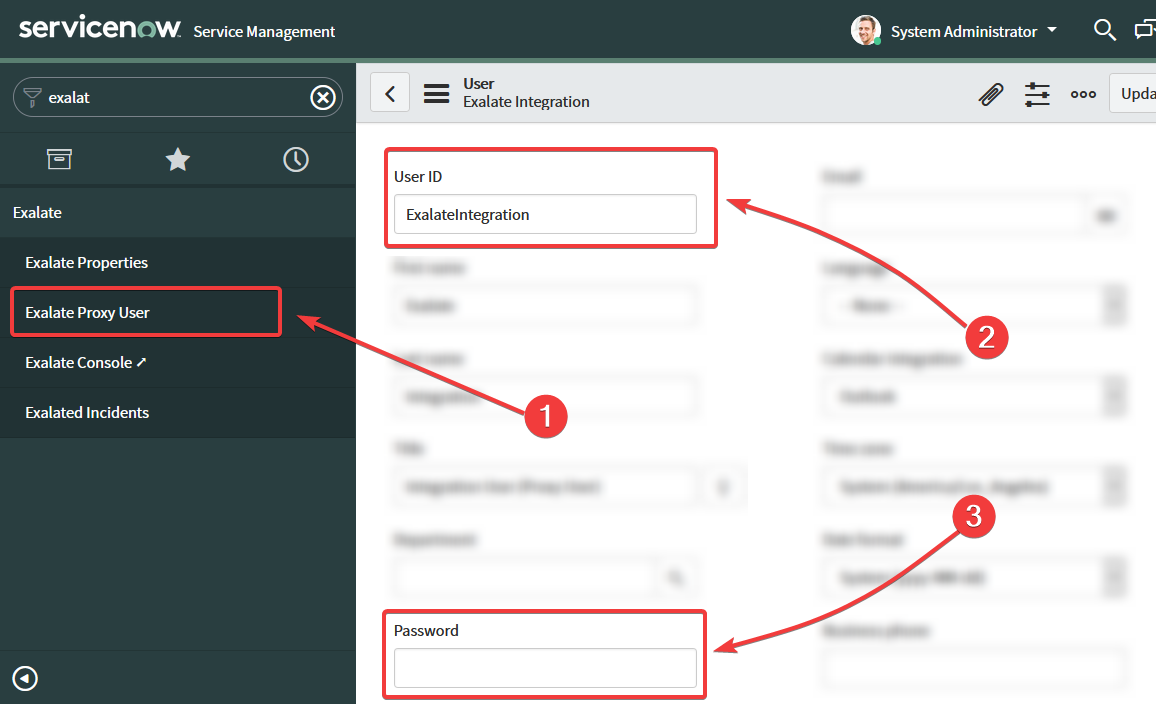
You can get the user credentials in the Exalate Proxy User section:
- User ID is the Proxy user.
- Password is the Proxy Password.
- Select Log in.

OAuth Token
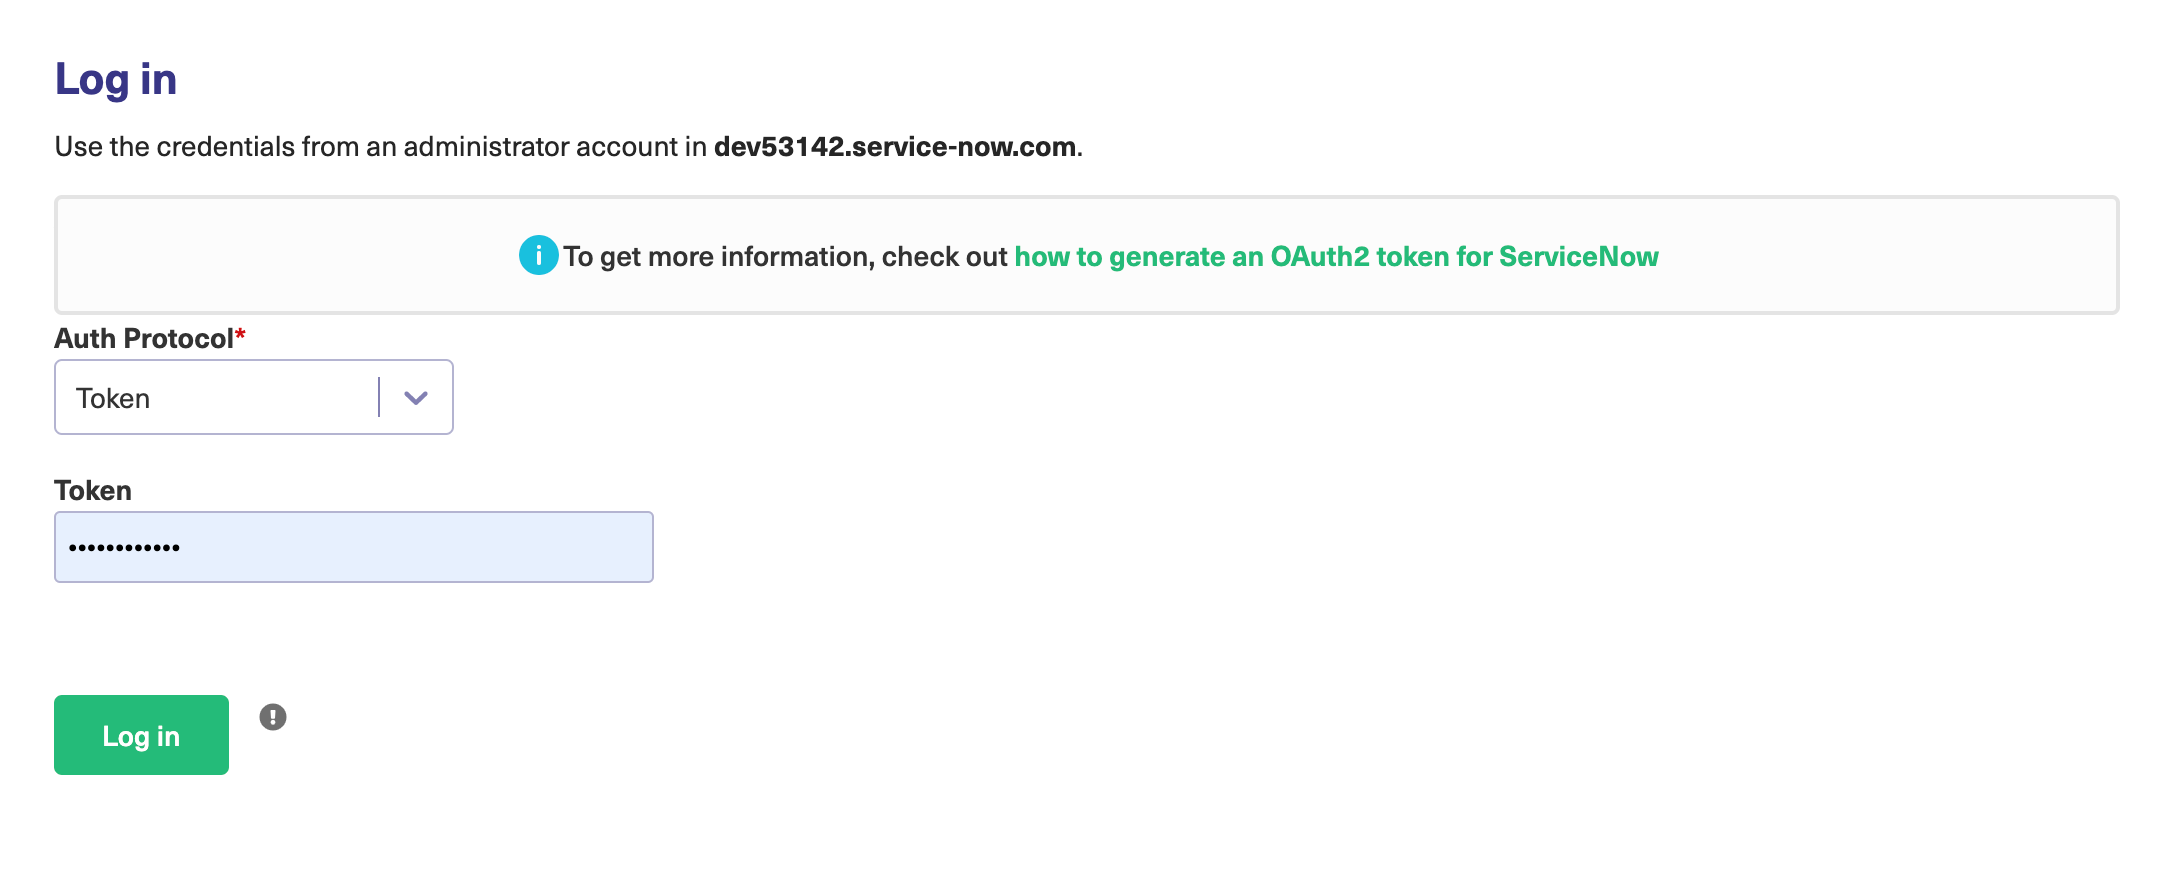
To log in with OAuth:
- Select Token in the Auth Protocol dropdown.
- Select Log in.
What's next?
Now that you have logged in, you can set up a connection to sync entities.
For more information on how to set up a connection in Exalate for ServiceNow, please read this article.