This article applies to Exalate Classic only. For New Exalate, refer to this documentation.
Introduction
When installing Exalate for Azure devOps, you have two options:
- install Exalate on Azure DevOps from the Marketplace
- install Exalate on Azure DevOps on Docker
Once you have selected an option and installed Exalate, you must do the following:
- verify Exalate on Azure DevOps
- configure the proxy user permissions
Important: If the user registering Exalate for the first time is not directly part of the Project Collection Administrators (PCA), that user are not able to register the node. The user installing Exalate must not have an "inherited" access to PCA, but MUST instead be directly part of PCA group.
Important: Please note that Exalate installs a Sync Panel to all Azure DevOps processes by default. You can remove this from specific processes by navigating to Project Settings > Process.
Install Exalate on Azure DevOps from the Marketplace
You can find the Exalate app Azure DevOps marketplace.
To install Exalate for Azure DevOps:
- Sign in to your Azure DevOps instance as an admin.
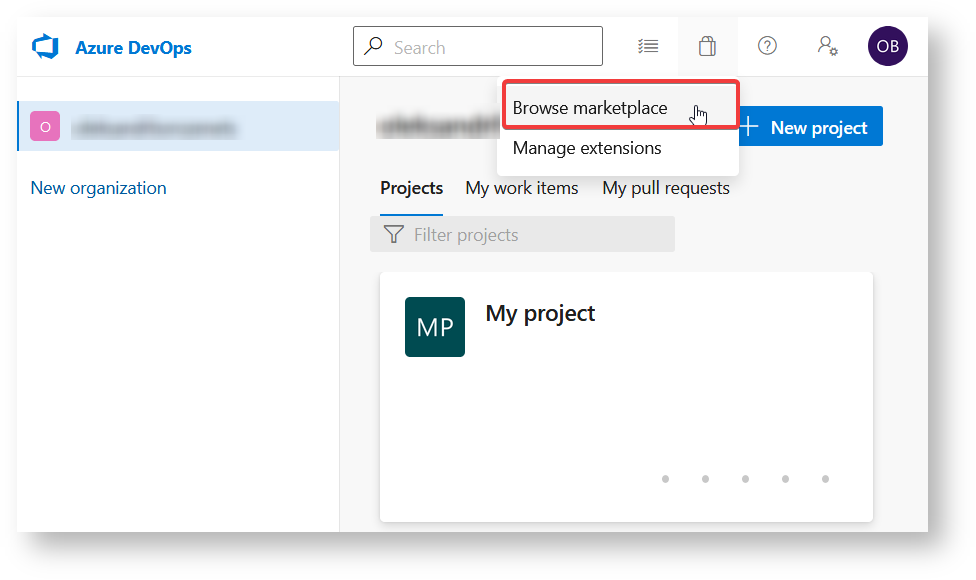
- Navigate to the marketplace. You can do so in multiple ways:
- Navigate to
 -> Browse marketplace.
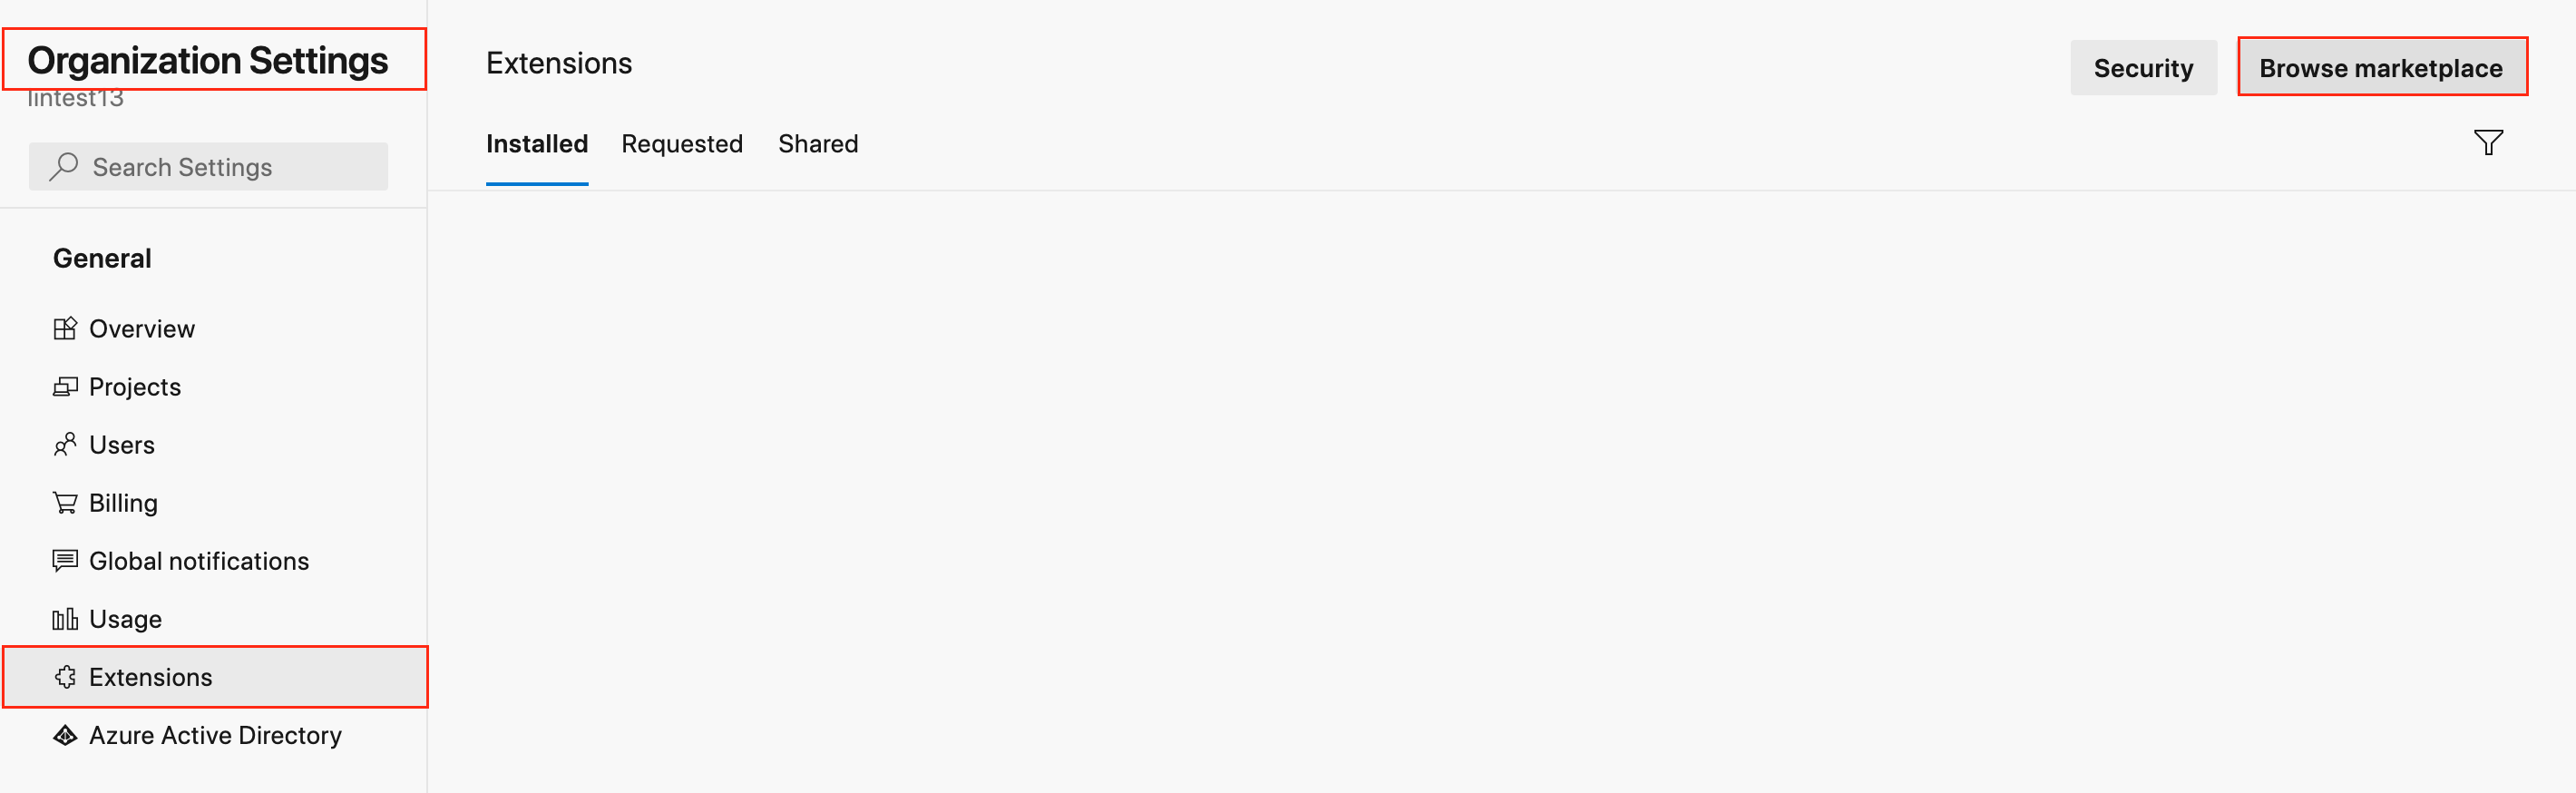
- Navigate to Organization Settings -> Extensions -> Browse marketplace.
- Navigate to
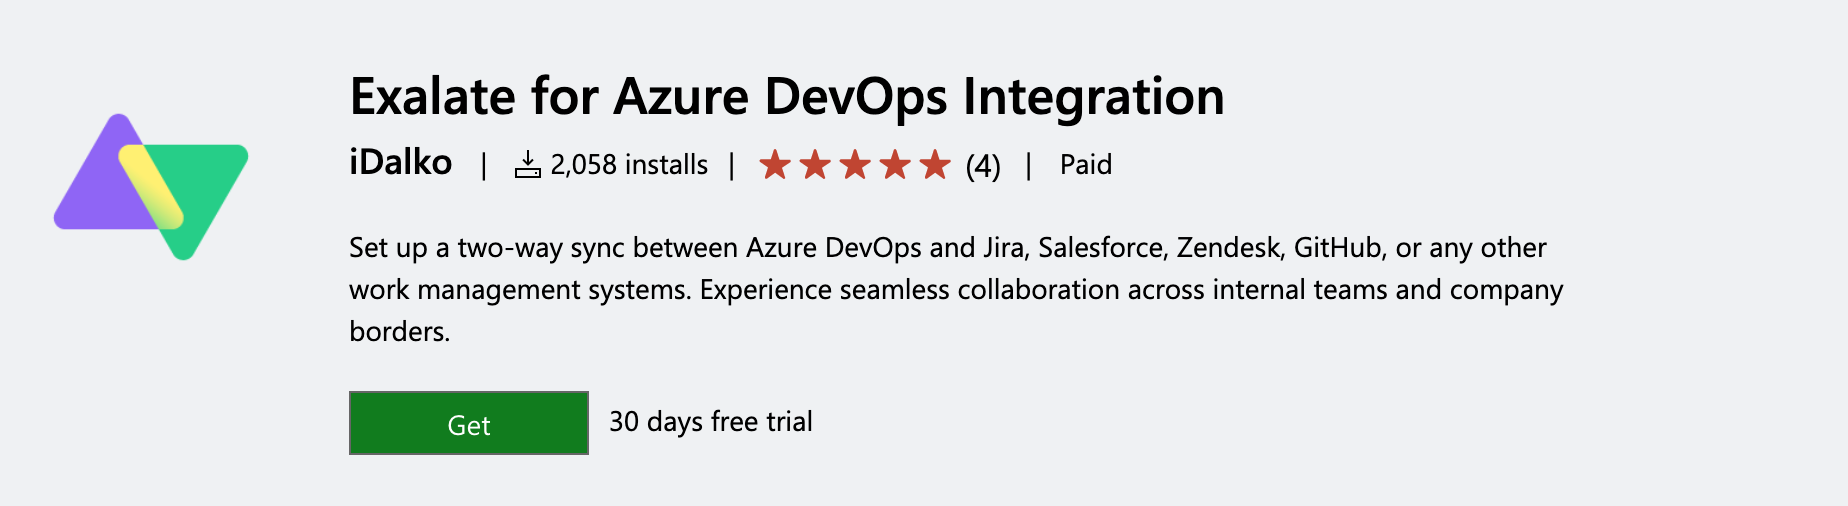
- Find Exalate for Azure DevOps.
- Press Get.
- Select the organizationin your Azure DevOps.
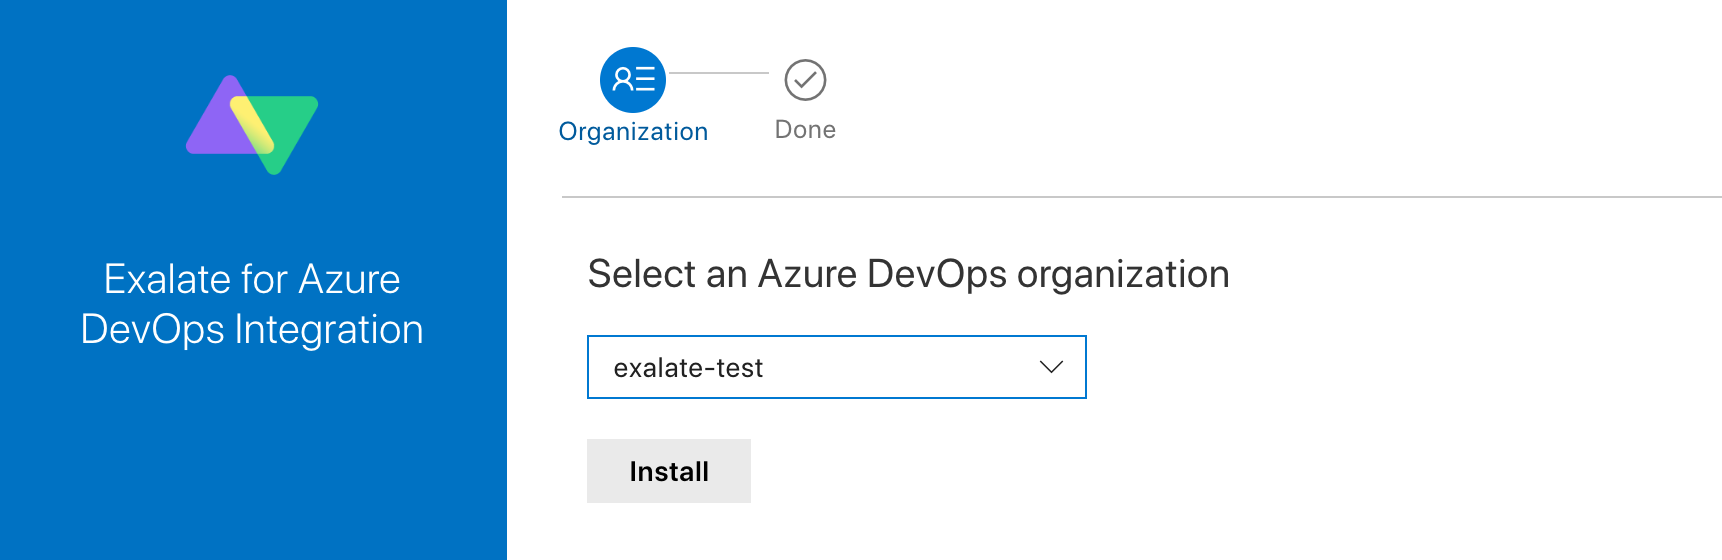
- Press Install.


You are all set!
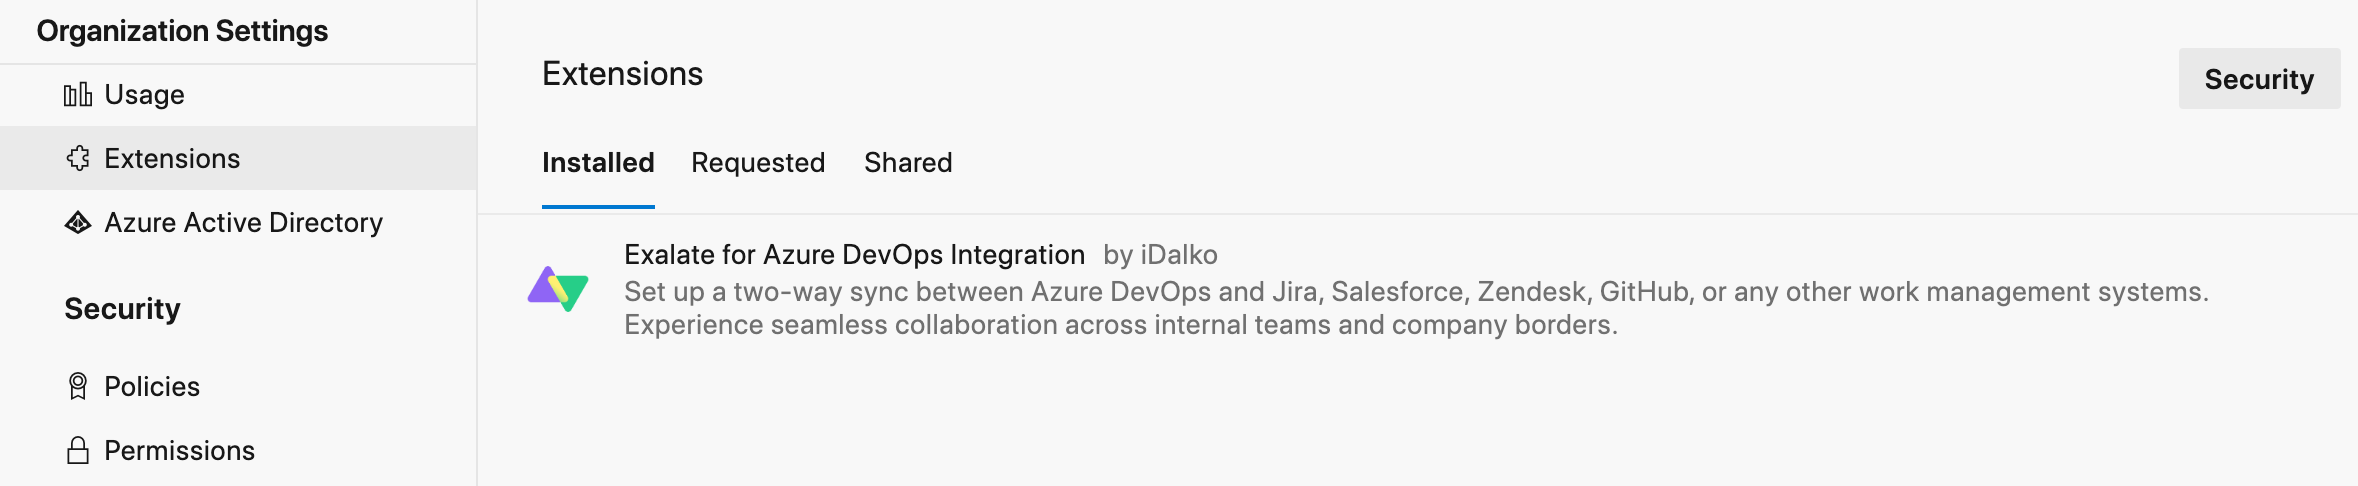
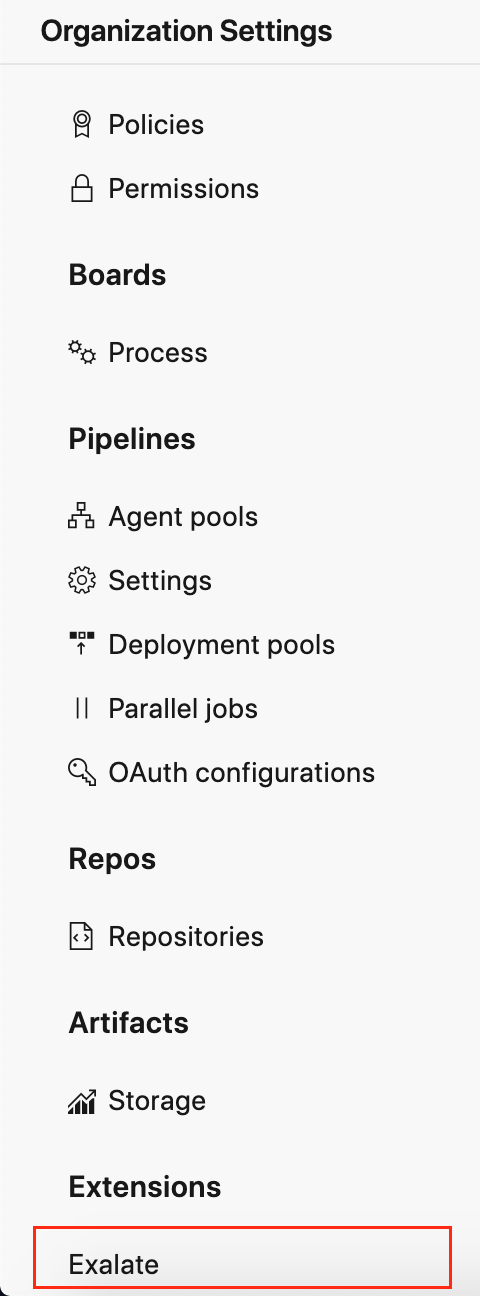
Exalate is available under Organization Settings -> Extensions.
Install Exalate for Azure DevOps on Docker
Exalate App for Azure DevOps can be installed on the server using Docker.
Note: You need to install Docker. Check the docker documentation for more details.
For details on the step-by-step procedure to install Exalate for Azure DevOps on Docker visit this page.
Verify Exalate for Azure DevOps
You need to verify Exalate for Azure DevOps after installing it from the marketplace or on Docker.
Note: The verification process is different for Marketplace and Self-hosted versions.
Marketplace
1. Open Exalate.
To access Exalate, navigate to Organization Settings -> Extensions.
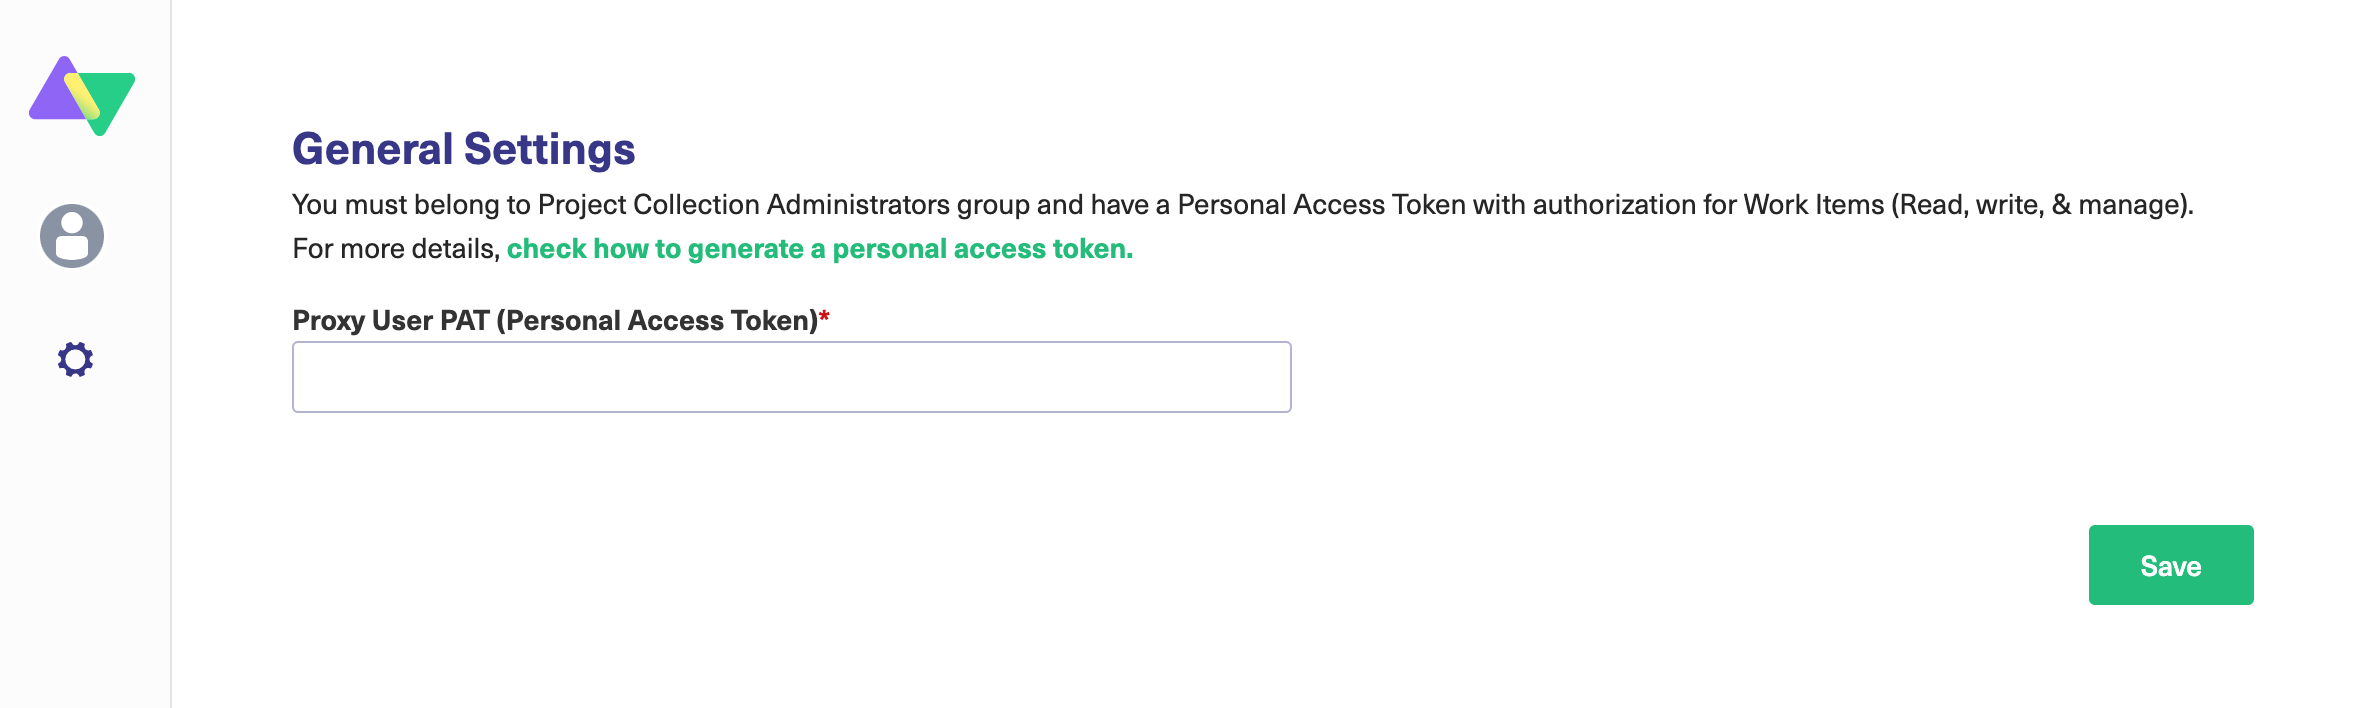
2. Enter your personal access token in the Proxy User PAT (Personal Access Token) field.
Note: You can generate a personal access token (PAT) in Azure DevOps. For more information, please read Azure DevOps: How to generate a personal access token.
3. Enter your contact details in the Registration screen.
Exalate uses this info to:
- Verify your instance.
- Activate an evaluation license.
- Create an admin account to receive error notifications.
4. Select Agree and submit.
After selecting Agree and submit you get an email to complete our security check.
Note: After clicking Agree and submit you accept our End User License Agreement (EULA). You can read it before accepting. It is also available here:
5. Open your email and select Verify Exalate instance.
You are redirected back to your Exalate console.
6. Select Continue.

Self-Hosted
1. Configure General Settings.
You need to connect the Exalate app with your Azure DevOps instance.
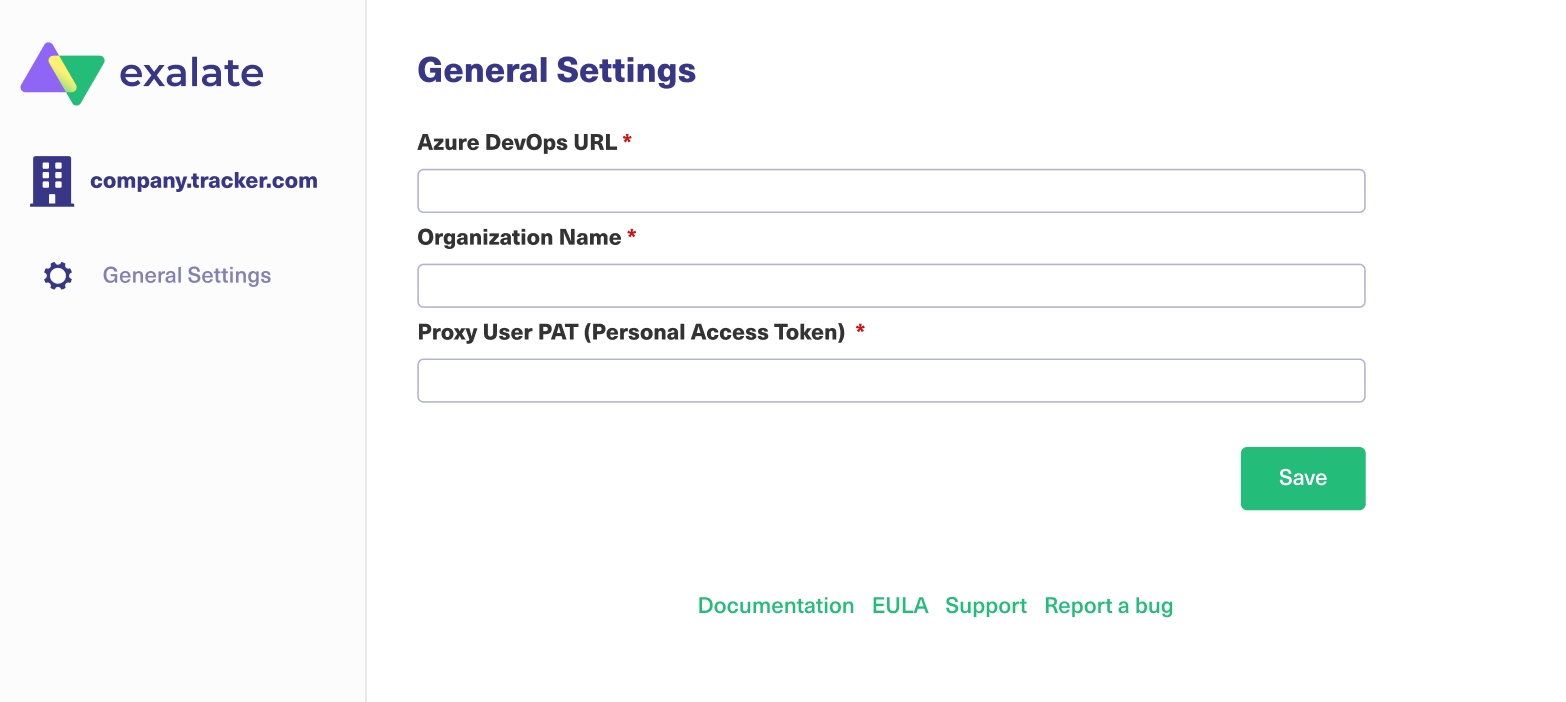
Pre-requisites:
-
The URL of your Azure DevOps instance.
-
A Personal Access Token(PAT).
Note: You can generate a personal access token (PAT) in Azure DevOps. For more information, check out Azure DevOps: How to generate a personal access token.
2. Enter your contact details in the Registration screen.
Exalate uses your info to:
- Verify your instance.
- Activate an evaluation license.
- Create an admin account to receive error notifications.
3. Select Agree and submit.
After selecting Agree and submit you get an email to complete our security check.
Note: After clicking Agree and submit you accept our End User License Agreement (EULA). You can read it before accepting. It is also available here:
4. Open your email and select Verify Exalate instance.
You are redirected back to your Exalate console.
5. Select Continue.
Configuring the Proxy User Permissions for Azure DevOps
By default, the Exalate proxy user is the Project administrator and a member of the Project Collection Administrator group.
To integrate Exalate with the Azure DevOps instance you need a Proxy User.
The proxy user is the Azure DevOps user account that fetches information from the Azure DevOps instance and updates work items with incoming changes.
Access to Azure DevOps
Exalate needs to authenticate to the Azure DevOps instance. You can provide such access using the Personal Access Token(PAT).
Use the PAT to access the Exalate admin console. Please read how to generate the PAT(Personal Access Token) in your Azure DevOps instance.
Proxy User Permissions
This user must have the following permissions:
-
be a Project Administrator and a member of the Project Collection Administrator group on the Organization level
Note: You can add the project administrator to the Project Collection Administrator in your Azure DevOps under Organization Settings → Permissions → Project Collection Administrators.
- Personal Access Token with authorization to Read, Write, and Manage work items.
Video Tutorial
Also, watch our video on how to install Exalate on Azure DevOps: