This article applies to Exalate Classic only. For New Exalate, refer to this documentation.
Introduction
In this article we will show you how to install Exalate on Zendesk from the Marketplace, as well as how to configure the proxy user permissions.
Install Exalate on Zendesk from the Marketplace
1. Log in to your Zendesk account.
2. From the Admin Center, go to Apps and Integrations > Apps > Zendesk Support Apps.
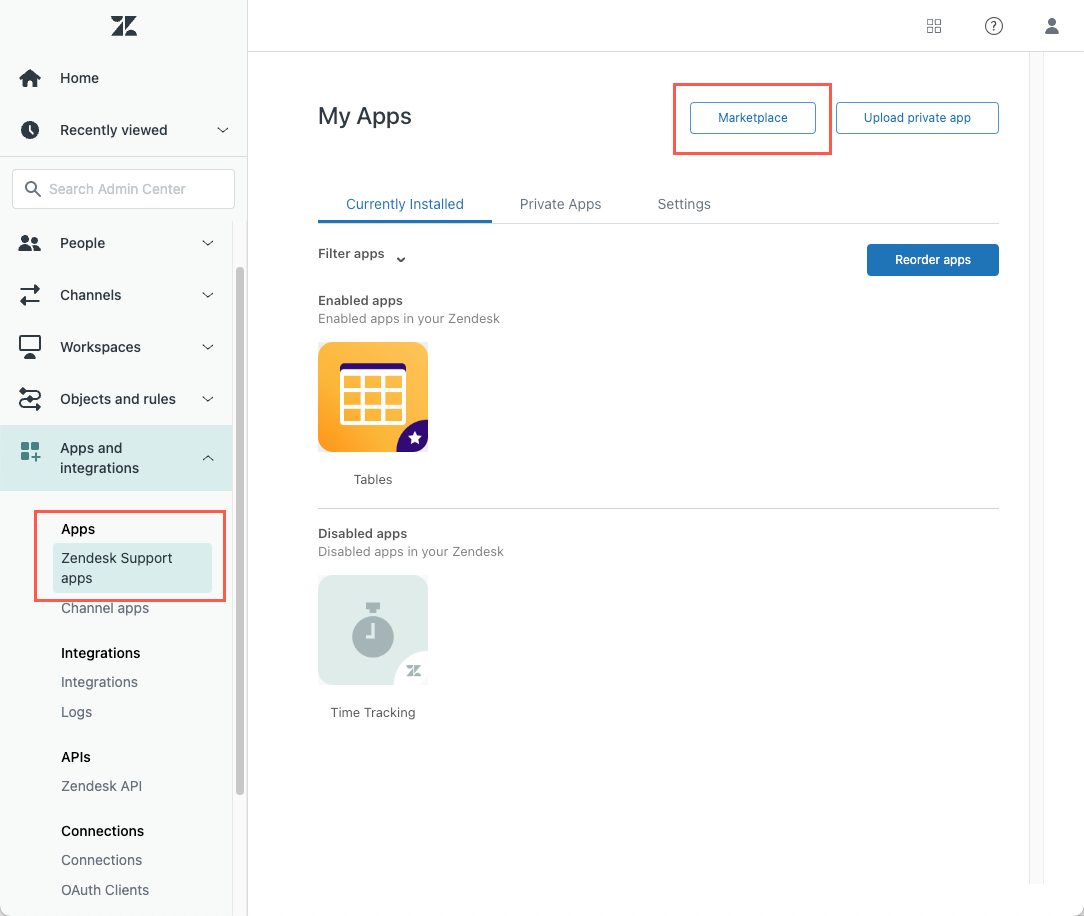
3. Select Zendesk Support app, click on Marketplace and type in Exalate.

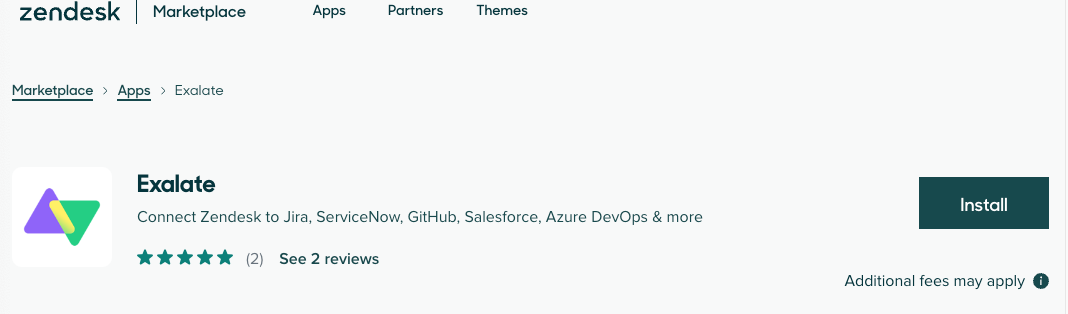
4. Click on Exalate, then on the Install button to begin the installation.
5. Select an account you want to install the app with (applicable only if you have multiple Zendesk accounts) and click Install.

6. Now you need to configure the app before installation. You can update the name of the app and set which roles and groups will be able to access it.

- Title - Your custom name of the app. Required field. The default value for the field is
Exalate - Enable role restrictions? - If checked, you can set which roles can access the app.
- Enable group restrictions? - If checked, you can choose which user groups can access the app.
Limiting Admin Access
In Zendesk it is possible to configure the access to the exalate Admin Console without granting Zendesk admin permissions.
With this feature, only users who have at least one of the following access permissions can access the admin console UI:
- user is not the issue tracker admin but has permission to access the Exalate Console
- user is the system admin within the issue tracker
In this way it is possible to configure the access to the exalate Admin Console without granting full admin permissions to a user.
Limited admin console access can be set up in two ways:
- Create a Custom Role with limited permissions
- Assign an agent to a Custom Role with minimal permissions (Contributor role)
In order to allow access to all internal Zendesk users, Exalate must not have any roles and groups restrictions enabled on the app settings.
7. Click Install when done.
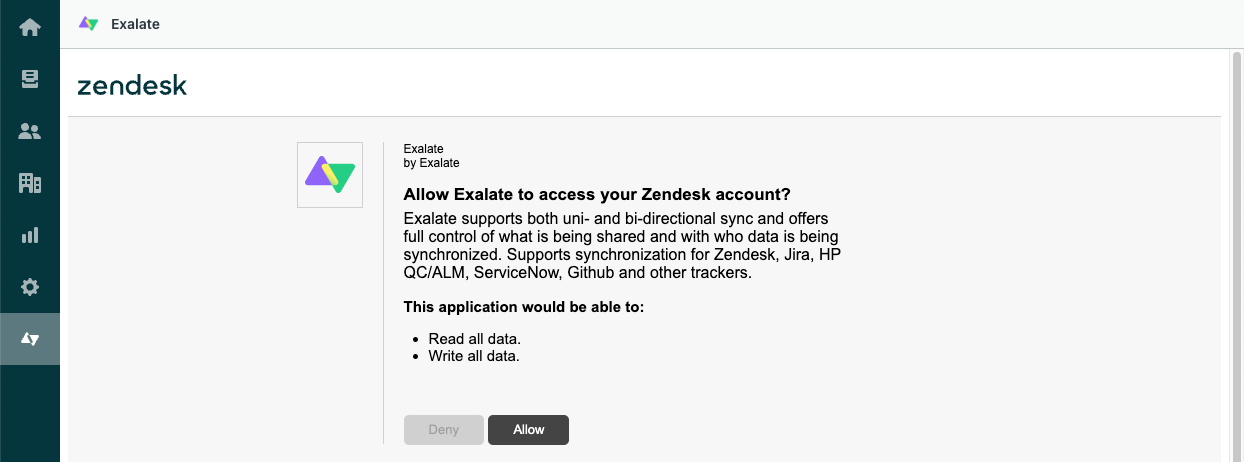
8. Select Exalate in the side panel, then click Allow to confirm that Exalate can have access to read and write your data.
10. Input your credentials in the Registration screen.
Exalate uses this info to:
- Verify your instance.
- Activate an evaluation license.
- Create an admin account to receive error notifications.

11. Select Agree and submit.
After selecting Agree and submit you will get an email to complete our security check.
Note: After clicking Agree and submit you can check our End User License Agreement (EULA). You can also read it here:
12. Open your email and select Verify Exalate instance.
You will be redirected back to your Exalate console.
 14. Select Continue.

Congratulations, you have successfully installed the app!
Proxy User Permissions
Exalate requires a dedicated Zendesk admin as a proxy user.
The proxy user can restrict the roles or groups that can access Exalate. It is possible to enable or disable these restrictions when installing the app, or when managing the app settings.

Note: You can also change the Proxy user in Zendesk if required.