When a user in the new Exalate console requests to import a node, the Exalate Classic Console administrator must approve or decline the request within the Exalate Classic App.
Receiving an Import Request
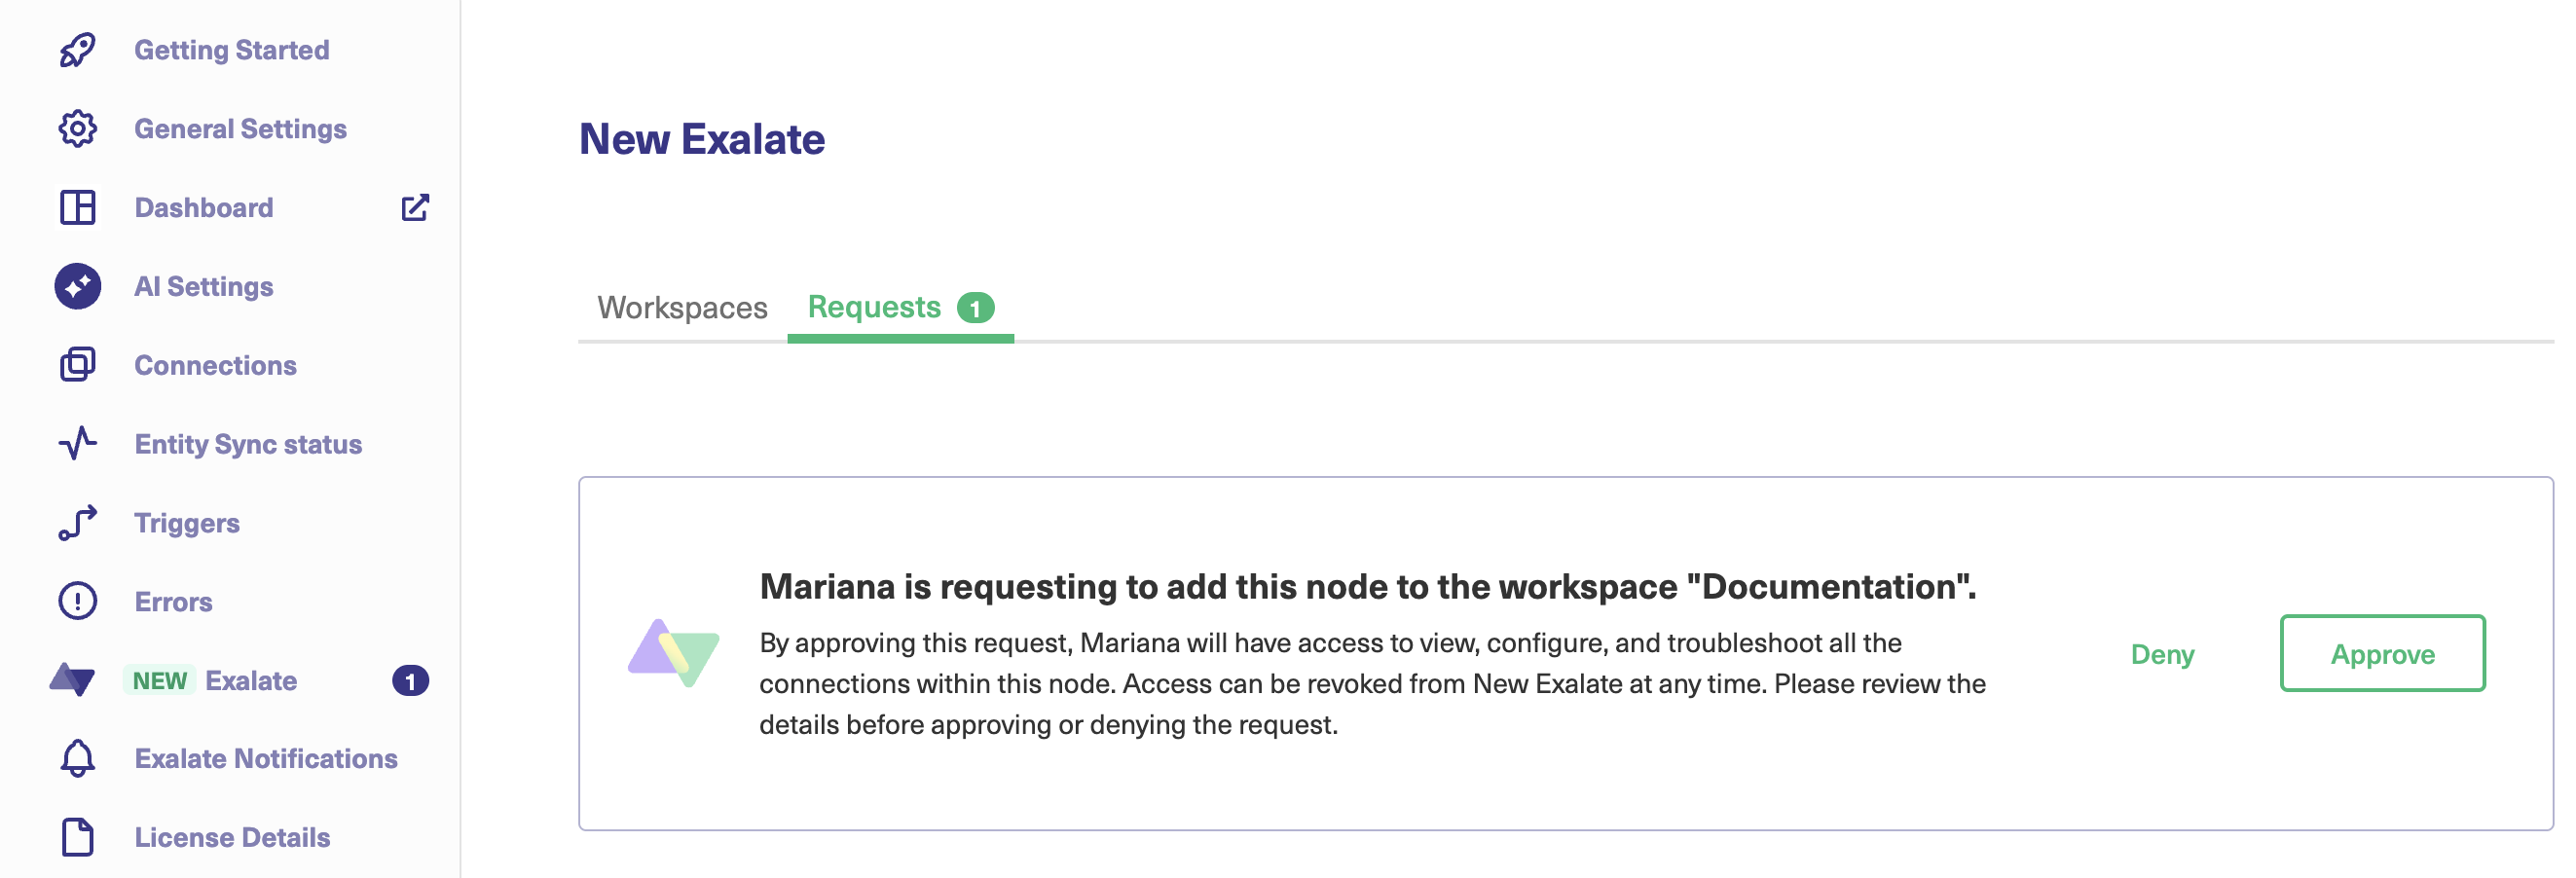
Once a request is sent from New Exalate, the node administrator will receive a notification in the UI.
To review the request:
- Open the Exalate application.
- Navigate to the New Exalate tab.
- Select the Requests section.
- Locate the request, which displays the username of the requester and the workspace name where the node is being imported.
Approving or Denying a Request

- Click Approve to allow the node to be imported into the specified workspace.
- Click Deny to reject the request.
Important: Once a request is denied, the notification will disappear from Exalate. If a request was denied by mistake, a new request must be sent from New Exalate for approval.
What Happens After Approval?
Once an Exalate admin approves a node import request:
- The node is added to the specified New Exalate workspace.
- Any connections involving this node can now be managed via New Exalate. This includes:
- Viewing and configuring connection sync rules.
- Changing connection status.
- Troubleshooting.
- The access can be revoked from New Exalate UI at any time.