This article applies to Exalate Classic only. For New Exalate, refer to this documentation.
Important: You cannot toggle between the different modes. To do so, you need to create a new Connection in Visual mode, Script mode, or Basic mode.
Note: Before you set up a Connection in Visual mode ensure that:
- your instance is public.
- you have admin access to the destination instance.
- you are either in the Evaluation (trial) period or have a Paid license.
Initiate a Connection in Visual Mode from Zendesk
Note: It doesn't matter which side you start initiating the Connection from. The Exalate UI remains the same.
1. Navigate to the Connections tab in the Exalate console.
To navigate to the Connections tab:
1. Click Exalate in the list of apps.

2. Click Connections.
2. Click Initiate Connection.

3. Enter the Destination Instance URL.
The Destination Instance URL is the link to the instance you want to set up a connection with. You can directly enter the link of that instance or the Exalate URL from the General Settings tab in the Exalate admin panel.

Exalate suggests available Configuration Modes based on the destination instance..
4. Select the Configuration Mode. In this case, Visual Mode.
Note: We are exploring ways to enhance or replace Visual Mode with an AI-Configuration mode for a better user experience. Check the Beta label added to the Visual mode screens. Your feedback is crucial, so let us know what you think.

5. Click Next.
6. Enter the Connection Information
Field | Description |
|---|---|
Local instance short name | A short name for your instance |
Destination instance short name | A short name for the destination instance |
Connection name | Name of the connection |
Description | Description of the connection |

7. Click Next.
8. Click Verify admin access to confirm you have admin rights to the destination instance. Then click Initiate.
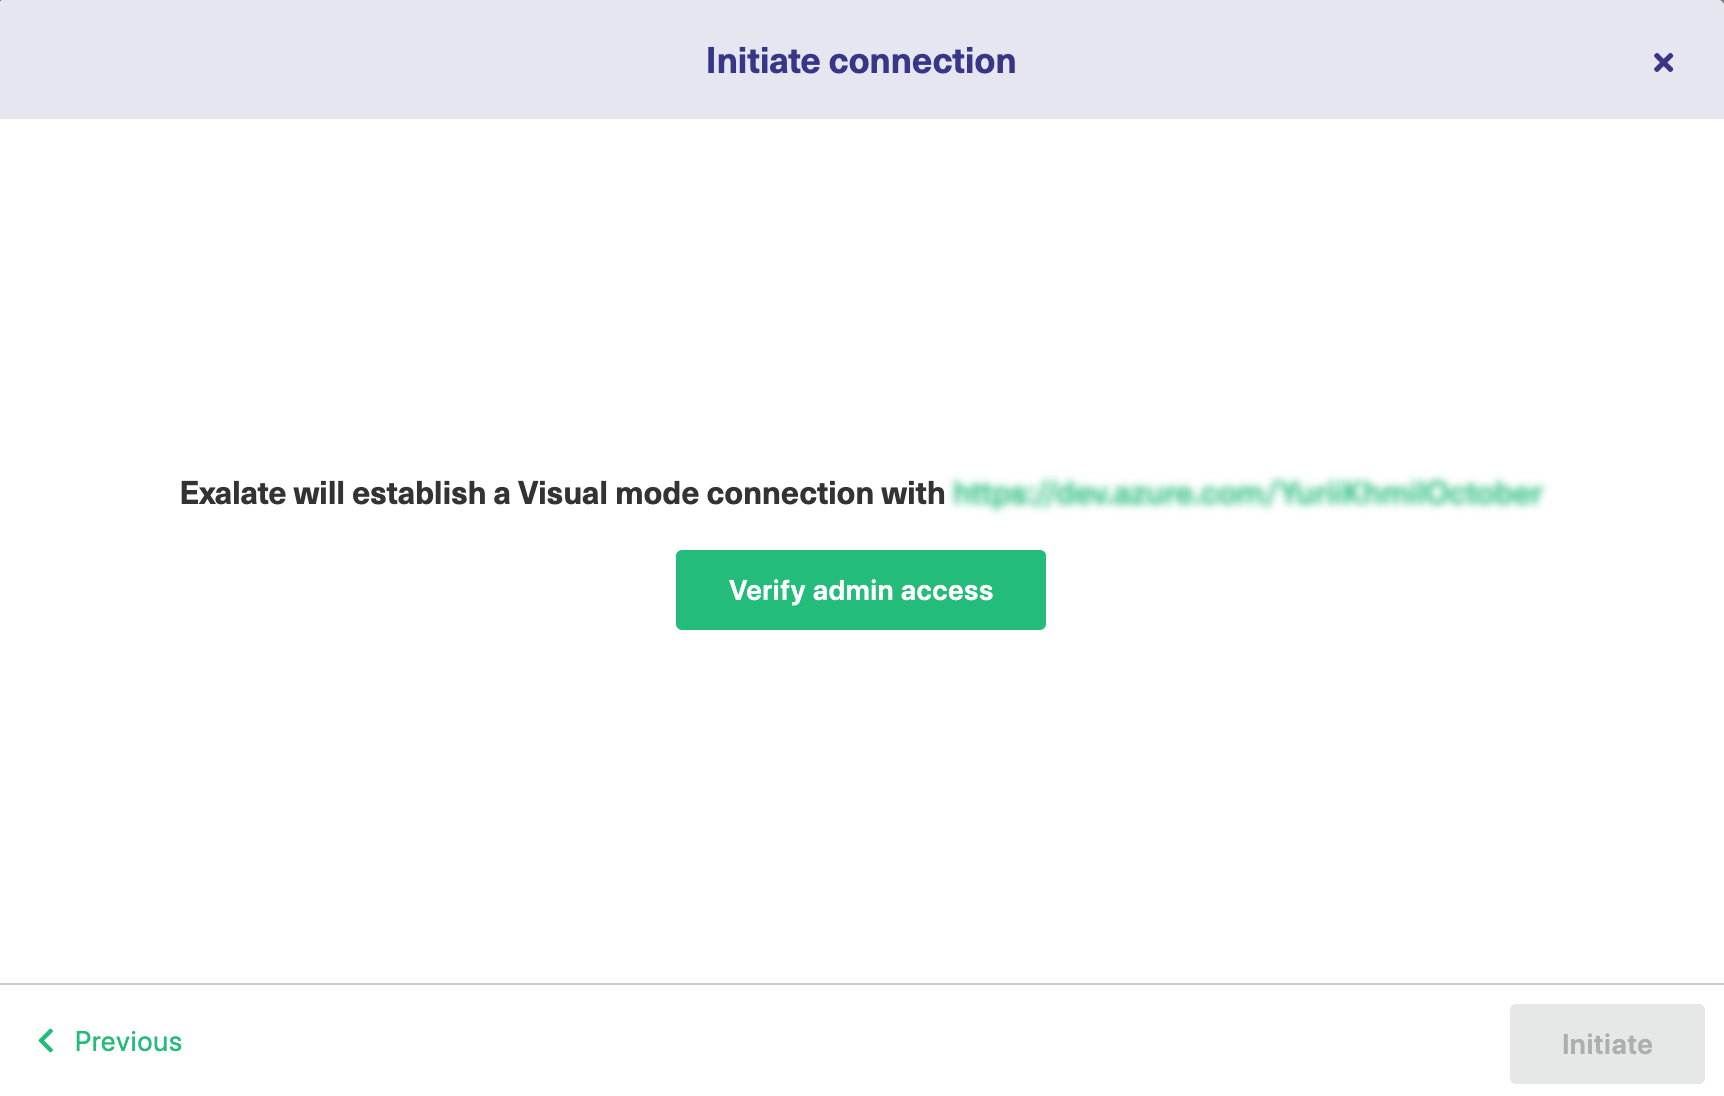
9. Click Accept to finish the verification process.
You see a pop-up window within the remote instance to finish the verification. You are also notified about the permissions that the destination instance user has.
The destination instance user has different permissions based on the platforms to be synced.
10. Click Initiate.

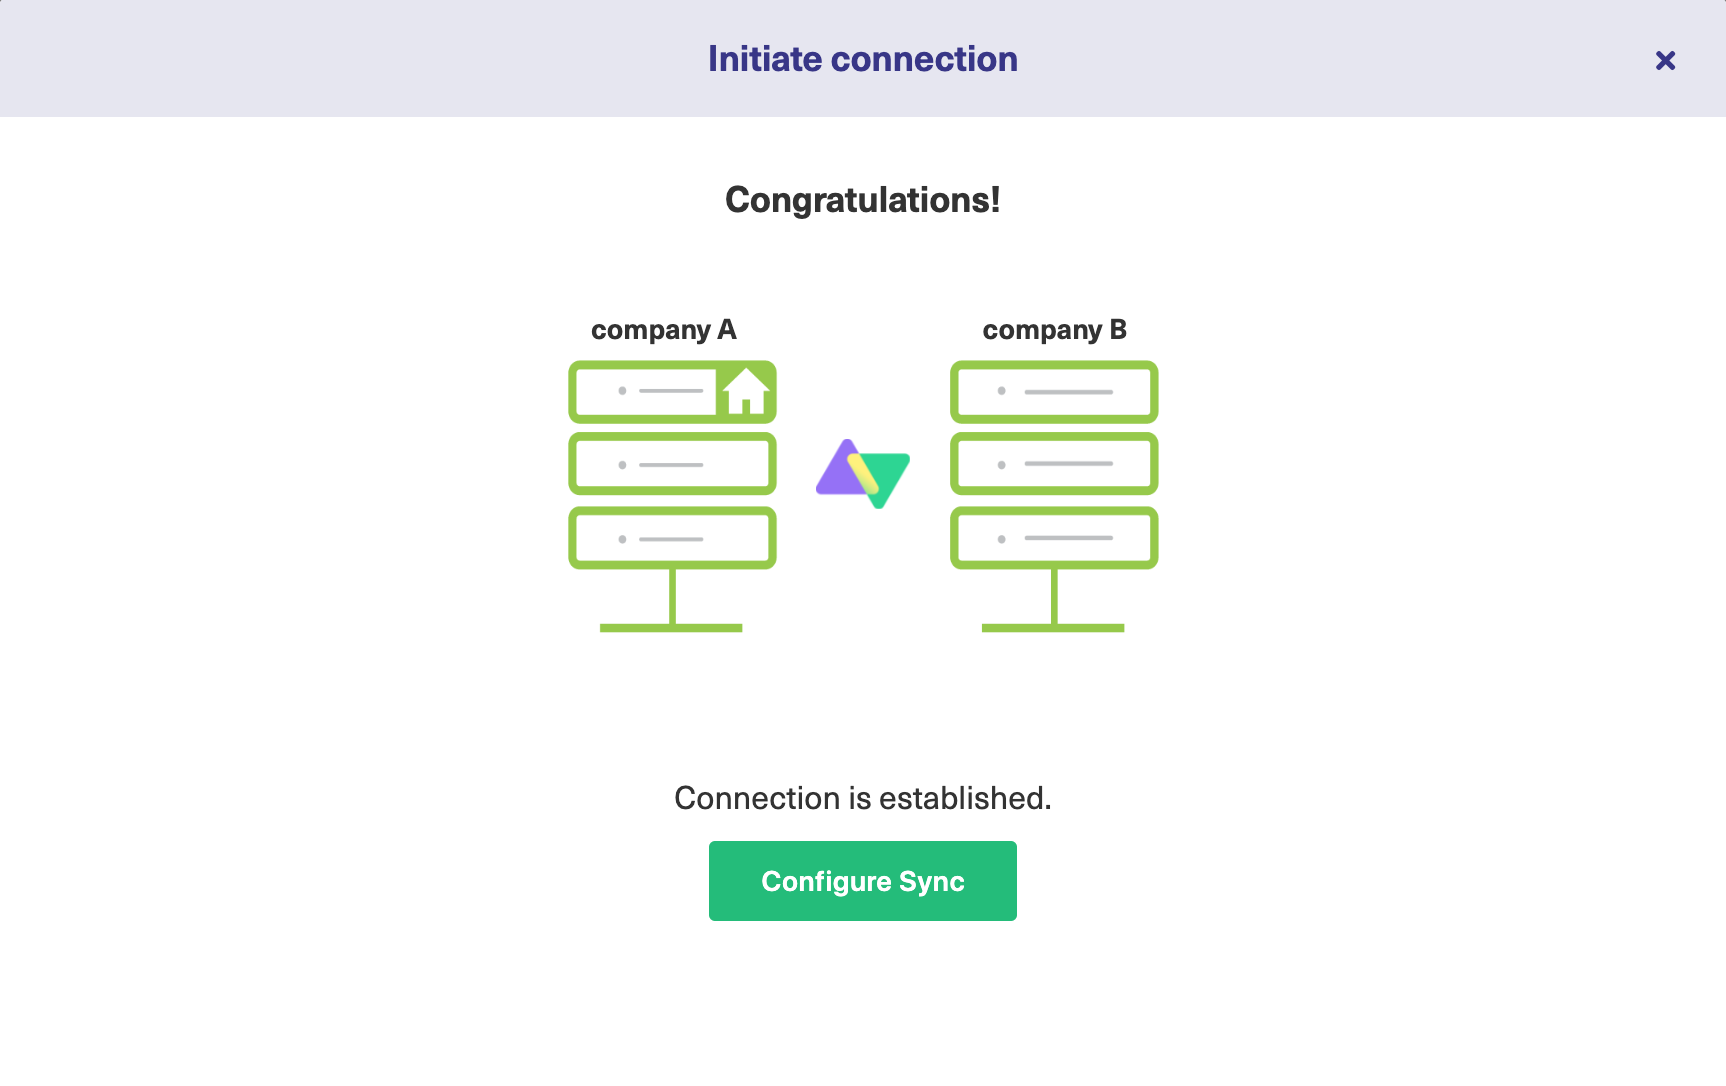
11. The Connection has been set up.