To structure your workspace in New Exalate, you can import your existing nodes and their connections. This ensures that all integrations are managed from a central location.
Importing Nodes
To add an existing node to your network:
- Go to the Systems tab and click Import Node.

- Provide the required details:
- Node Name (any name for reference).
- Node URL (link to the Exalate node).
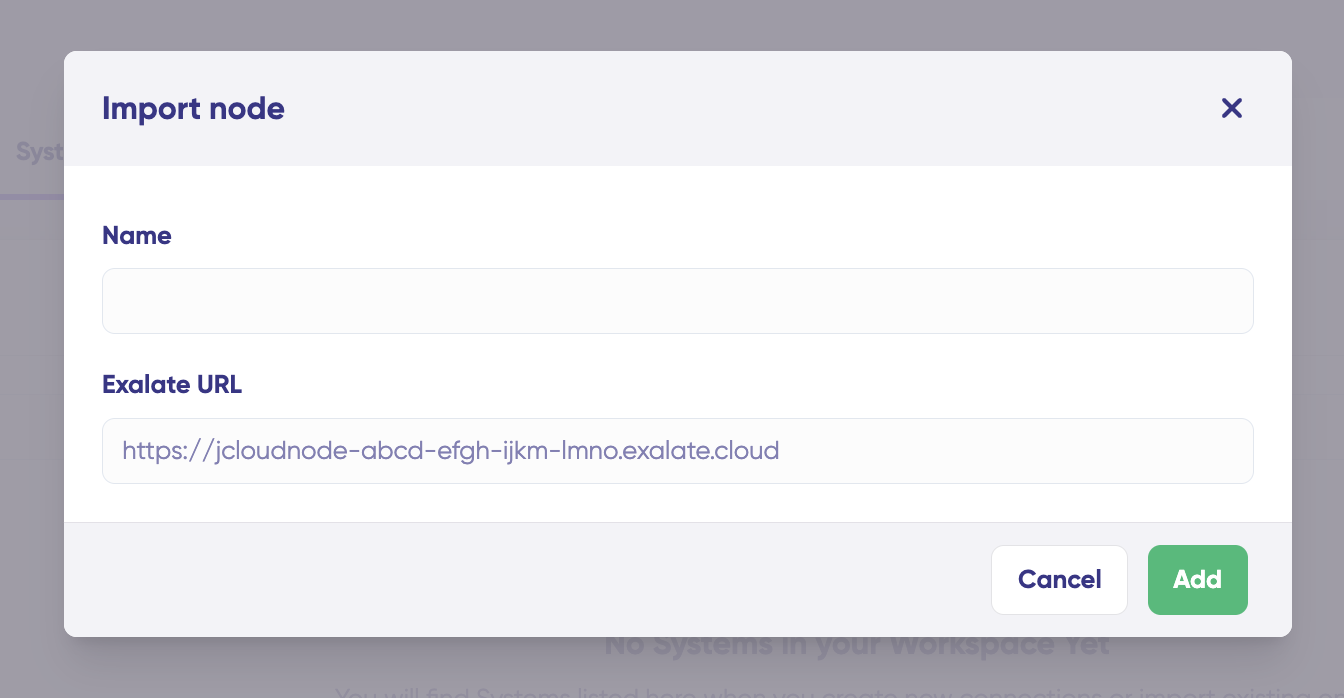
- Click Add to submit the request to the Exalate administrator of that node.
The node will appear in Pending status until the request is either approved or declined by the Exalate admin.
Approved Nodes
Once a node request is approved:
- It will show as Approved in the System list.
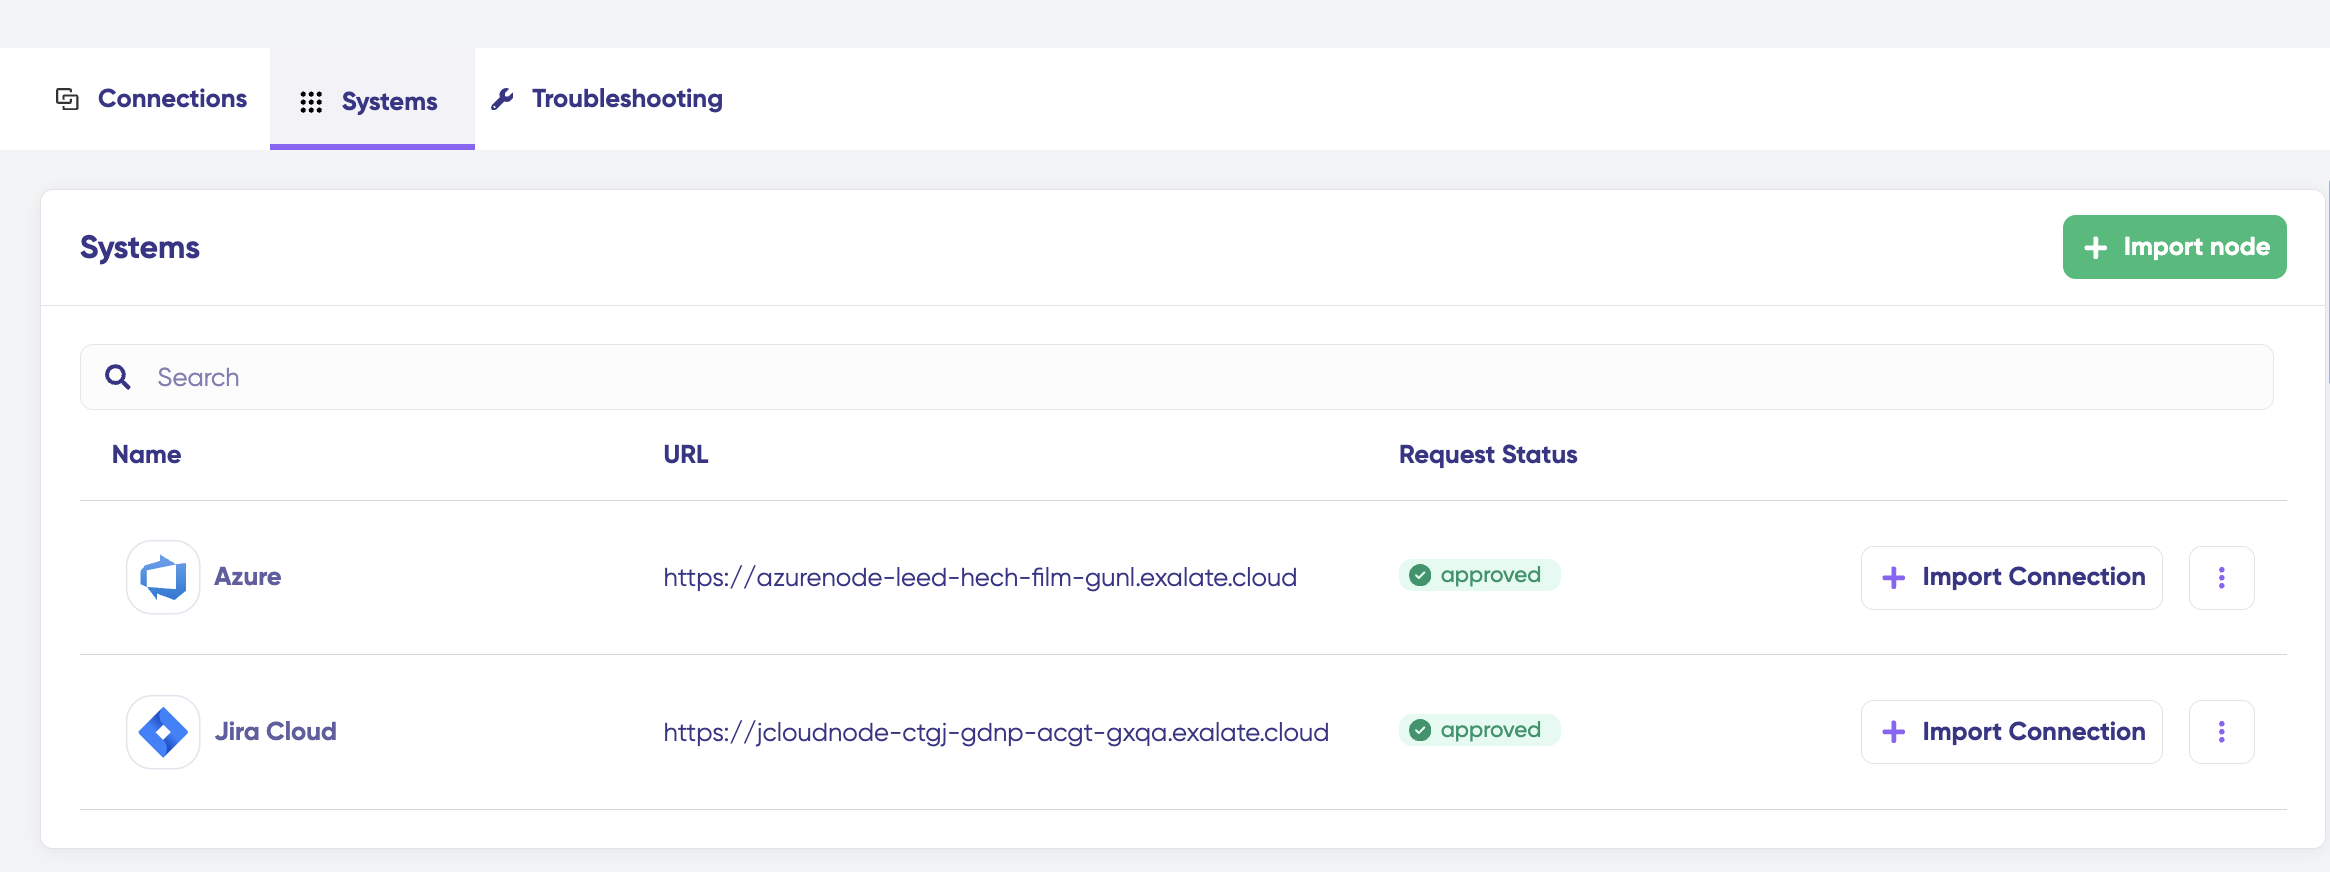
- In the Connections tab, the approved nodes will appear in the visual network representation.
With at least two approved nodes, you can start importing connections between them.
Importing Connections
You can import connections in two ways:
1. From the Connections Tab
- Go to the Connections tab and click Add Connections > Import Existing Connections.
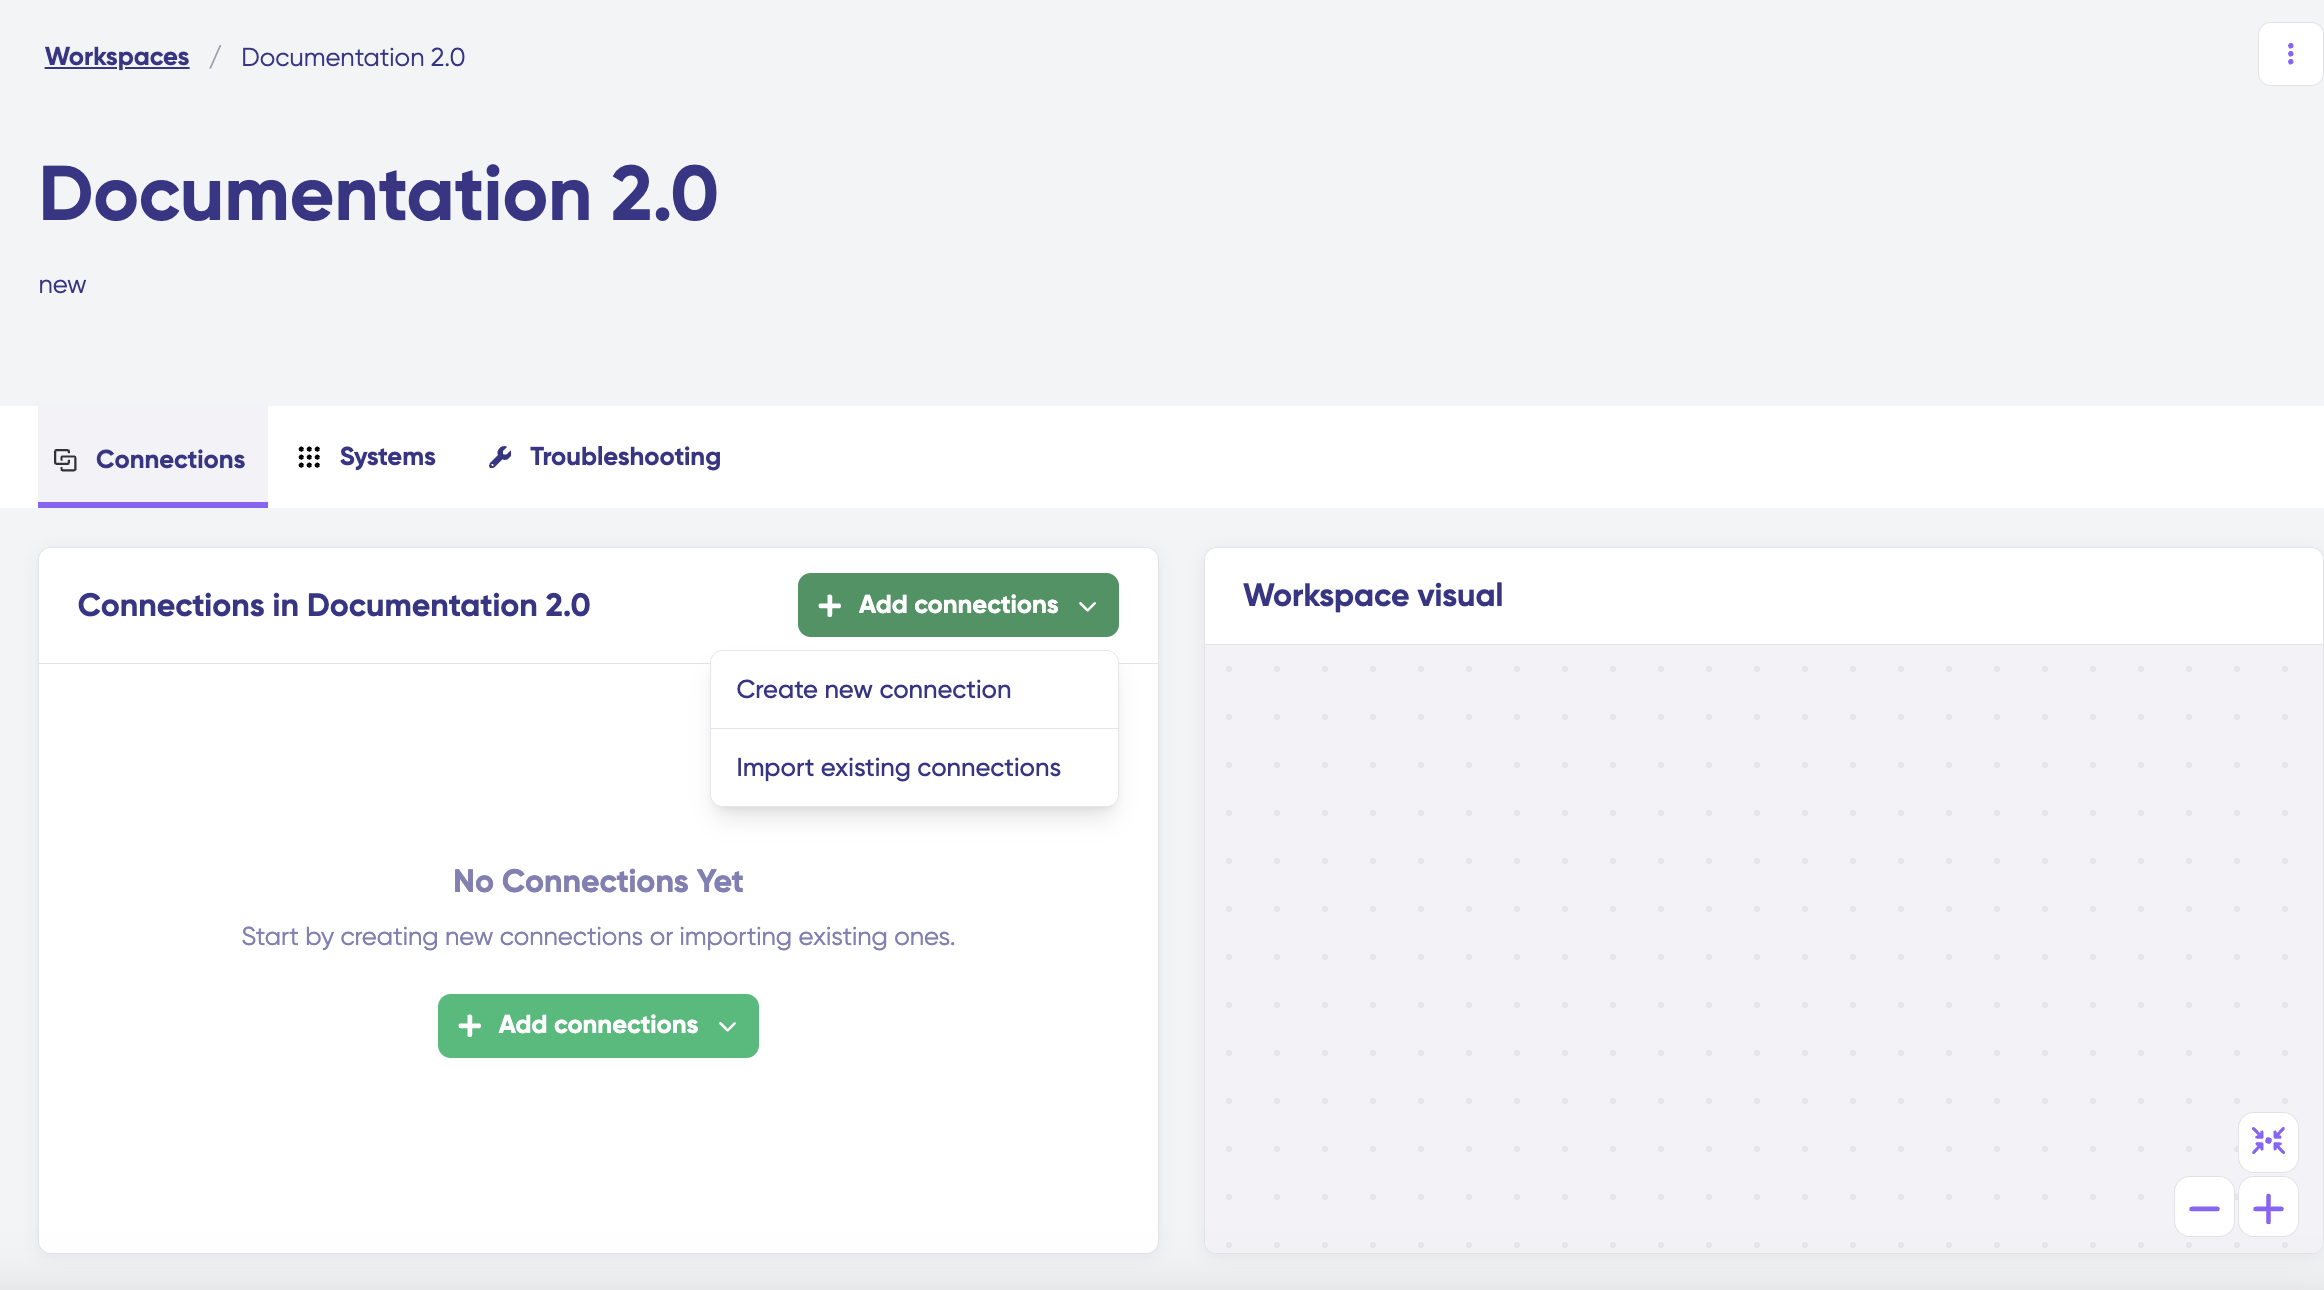
- Select the node you want to import connections from. A list of available connections will be displayed.
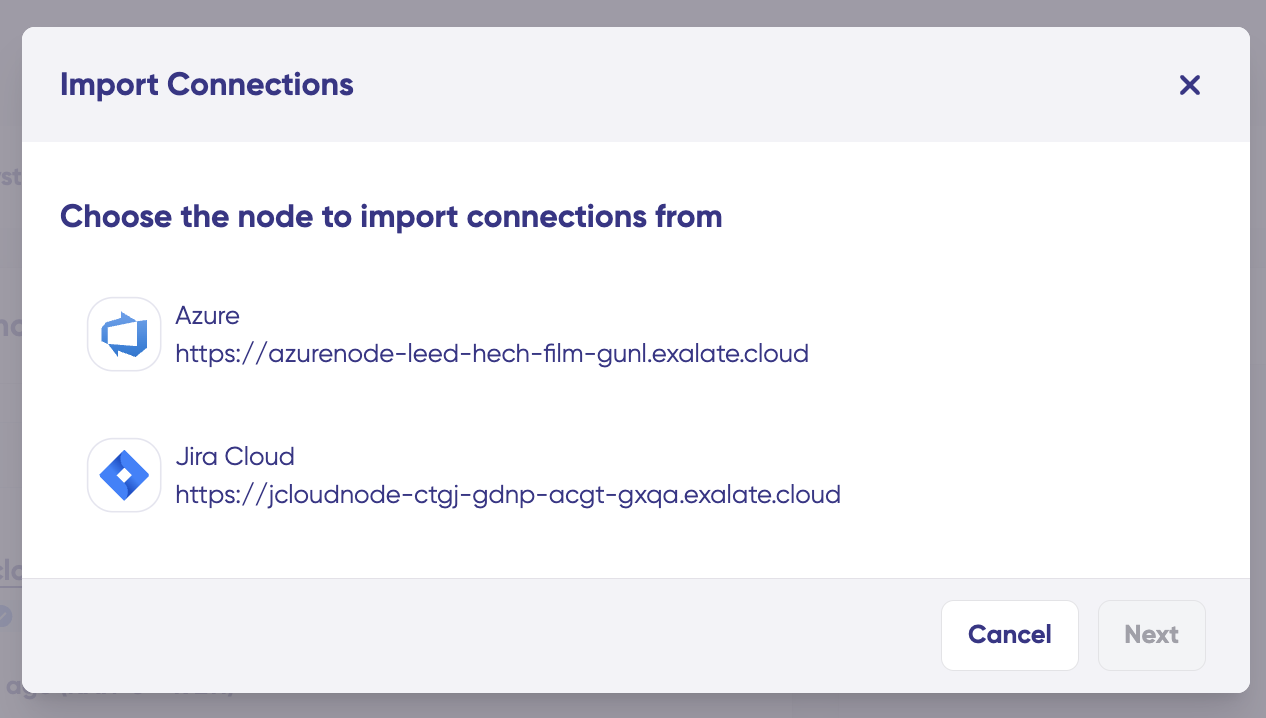
- Select the connections you want to import.
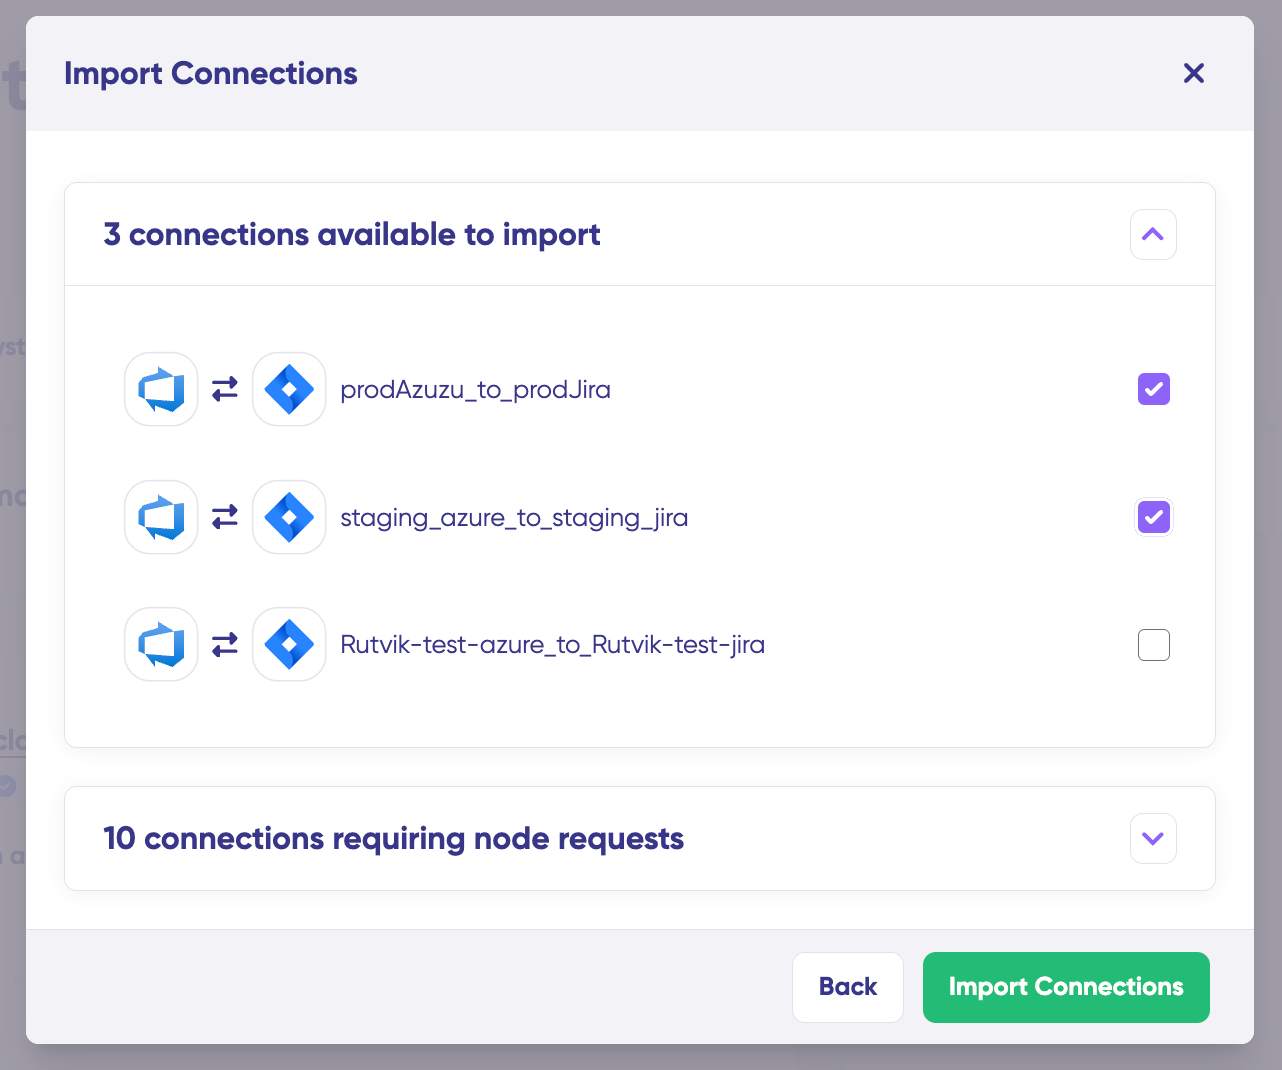
- (Optional) You will also see other connections linked to this node. You can send connection requests to those nodes to enable additional connections for import.
- Click Import Connections.
Once the import is successful:
- The connections will appear in the Connections list.
- The visual workspace representation will update, showing arrows that indicate how nodes are interconnected.
2. From the Systems Tab
- In the Systems tab, once a node request is approved, an Import Connections button will appear next to it.
- Click Import Connections.
- Select the connections you want to import from the available list.
- (Optional) You can also send requests to other connected nodes to enable more connections for import.
- Click Import Connections to finalize the process.
Once completed, the imported connections will be listed under Connections, and the visual network will update accordingly.


