Note: To improve Exalate performance it is possible to add a custom configuration that allows Exalate to skip certain events, like comments or pull requests sync.
It is also possible to indicate a list of specific repositories that Exalate will be working with while skipping events related to all the other repositories.
If you do not wish to sync comments, or pull requests, or you want Exalate to work with specific repositories only, feel free to contact our support team to help you with this configuration.
This article applies to Exalate Classic only. For New Exalate, refer to this documentation.
Before we start the synchronization process:
Test your Connection from GitHub
Manual synchronization in GitHub happens via the Exalate button in the Entity Sync Status Panel present under the Exalate admin console.
Note: The Sync Status Panel is available under the specific entity (i.e issue, work item, tickets, Cases, etc) view in Jira, Zendesk, Azure DevOps, and Salesforce.
For other platforms like GitHub, ServiceNow, HP ALM/QC including Jira, Zendesk, Azure DevOps, and Salesforce this button is available under the Exalate admin console in the Entity Sync Status tab.
Exalate the Issues from GitHub.
- Go to the Entity Sync status tab in the Exalate admin console.
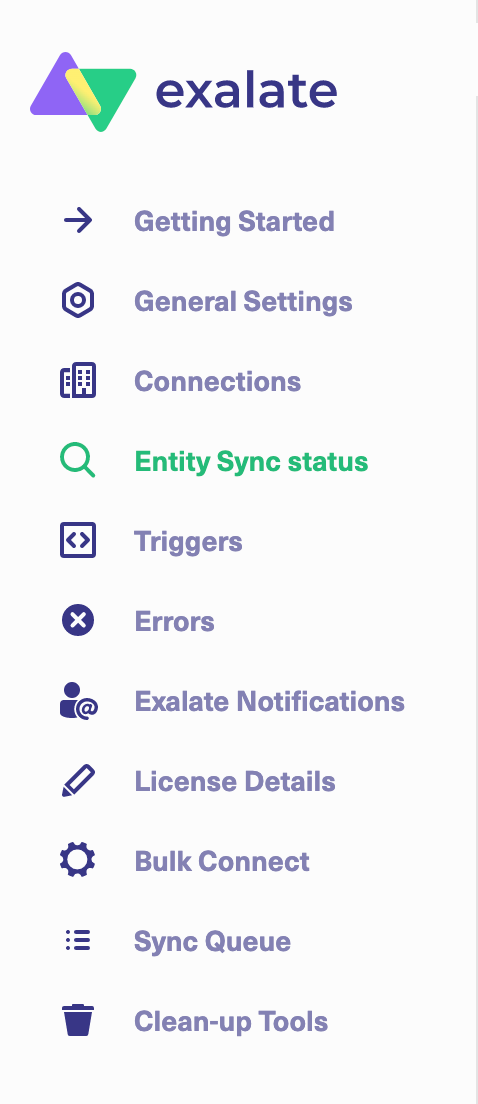
- This sync panel provides a view of the status of the entity under sync. You can also find the remote entity link in there if it is available.
Select the repository from a drop-down list.
Enter the Entity URN. Then click on the Search button.
In case the entity is already under synchronization you will see the entity status and the remote issue link in case it's available.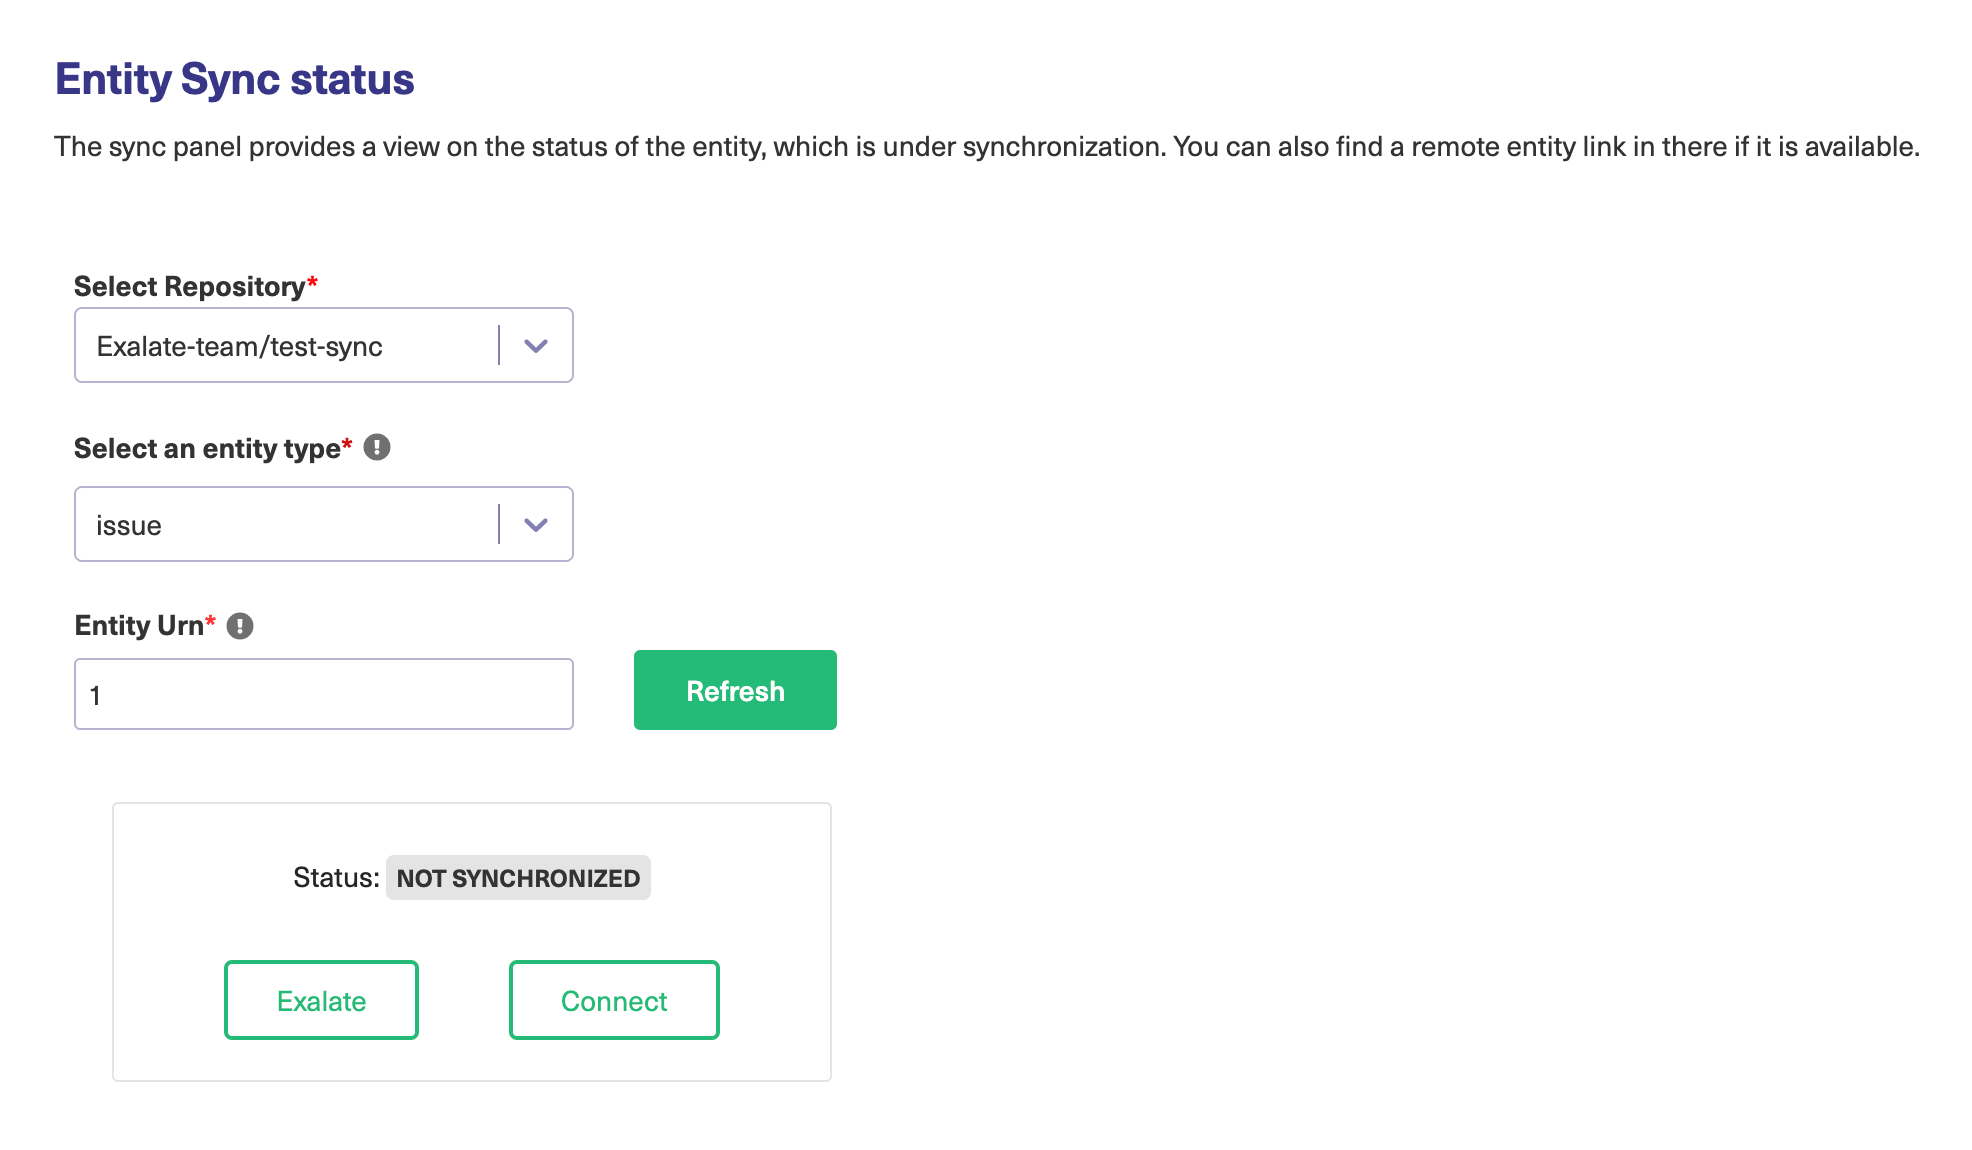
- Exalate the Issue
You can see 2 buttons at the bottom on the Exalate panel: Exalate & Connect. If the entity is not synchronized the following status will be displayed.
Exalate allows you to synchronize & create a new entity on the destination instance.
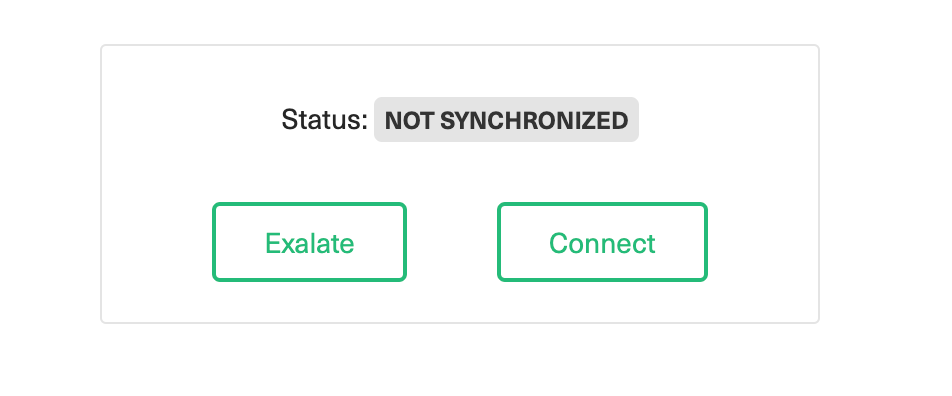
Connect allows you to connect 2 existing entities present in both instances.- To Exalate an issue, click the Exalate button.
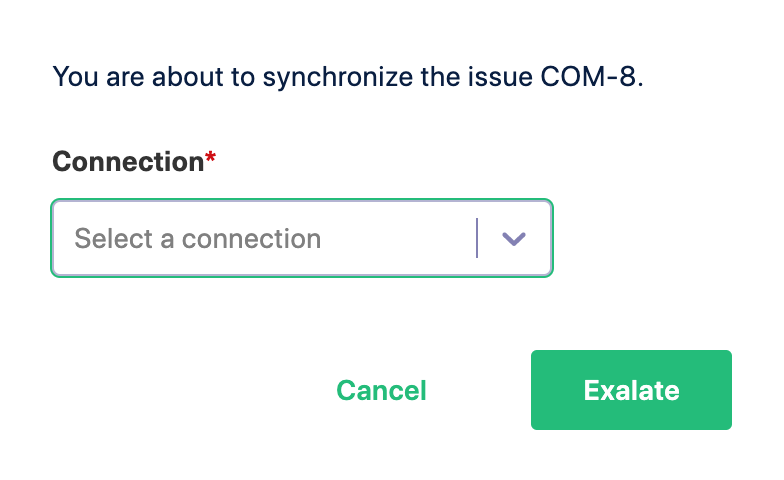
- Choose the name of the Connection you have created.
- Click Submit.


You will be able to see the progress of the synchronization within the panel.