Note: For Private Connections:
- an instance you have access to is considered a public side.
- an instance you don't have access to is considered a private side: destination instance.
The main difference between private and public connection types is whether the HTTP/HTTPS requests are initiated from one side or from both sides. In this case, HTTP/HTTPS requests are initiated from the destination's private side only.
Initiate a Private Connection from Jira Cloud
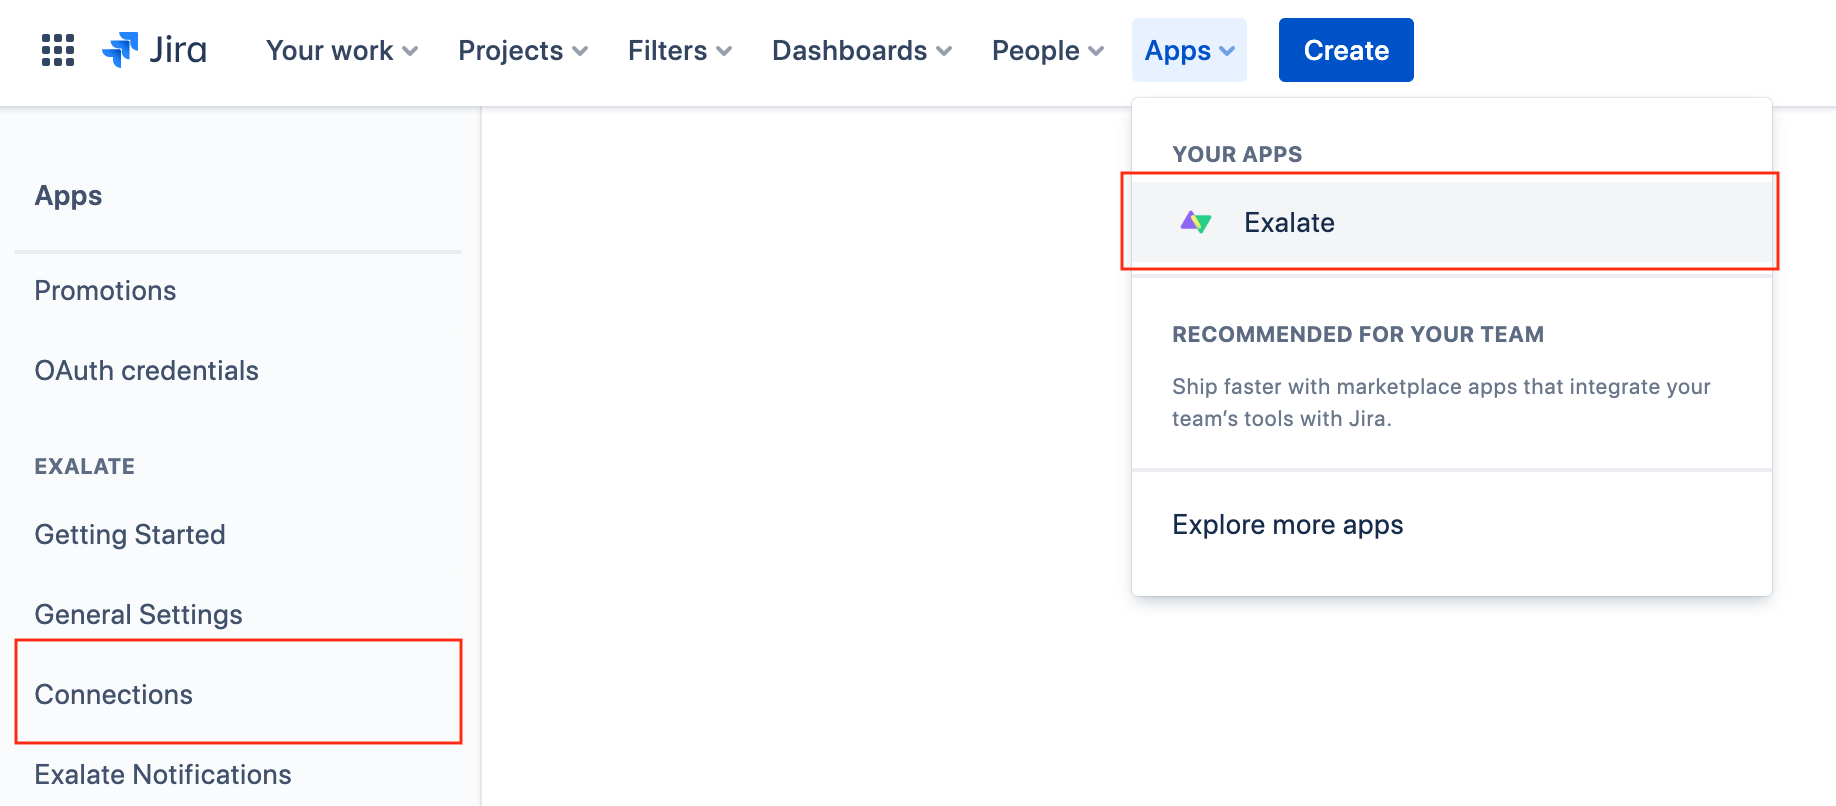
1. Navigate to the Connections tab in the Exalate console.
Click Settings → Apps & click Connections under the Exalate menu.

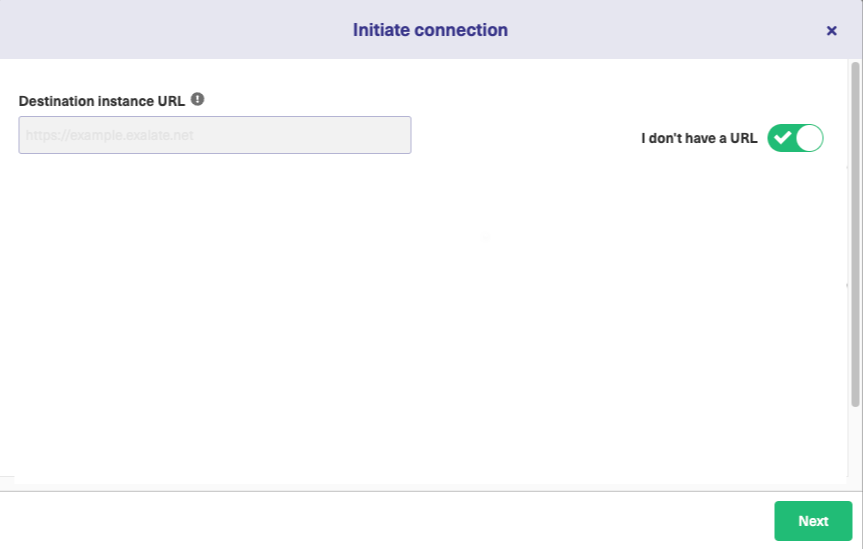
2. Click Initiate Connection.

3. Click 'I don't have a URL'
If the destination instance is in a private network toggle I don't have a URL.

4. Choose a Script connection mode.
5. Click Next.

6. Enter Connection information & Click Next
|
Field |
Description |
|---|---|
|
Local instance short name
|
A short name for your instance
|
|
Destination instance short name
|
A short name for the destination instance
|
|
Connection name
|
Name of the connection
|
|
Description
|
Description of the connection
|

7. Select a project for the incoming sync.
8. Click Next.
Note: As this is a Public-Private connection and you don't have admin access to the other side, you can continue to configure on your end and then send an invitation to your partner.
9. Click Copy Invitation Code
Here you can copy the invitation code and send it over to your partner. The destination side is shown as "unknown" since this is a private side.

10. Click Done
Once your partner accepts the invitation, you can start synchronization.
Note: When the connection is set up on the Public source side, the Private side administrator should accept the invitation in the Private-Public connection.