Supported Salesforce Editions
Exalate supports the following Salesforce editions:
- Developer Edition
- Enterprise Edition
- Unlimited Edition
- Professional Edition
For Professional Edition organizations, all requests for API access must be purchased according to Salesforce guidelines.
Editions without API Access like Group Edition and Essentials Edition are not supported at the moment.
Exalate is fully compatible with Salesforce
- Spring '23
- Summer '23
- Winter '24
- Spring '24
- Summer '24
- Winter '25
- Spring '25
- Summer '25
Introduction
In this article, we are going to show you how to:
- Install Exalate on Salesforce from the AppExchange
- Generate a security token to log into the Exalate Admin console on Salesforce.
- Install Exalate on Salesforce on Docker.
Install Exalate on Salesforce from the AppExchange
Note: When installing Exalate for Salesforce, the account used to initiate the installation will automatically be designated as the proxy user. If you plan to use an Integration User, ensure that the user is created and set up beforehand, then proceed with the installation using that account.
This article describes how to install Exalate to Salesforce from the AppExchange marketplace.
1. Access the AppExchange marketplace and search for the Exalate app
2. Click Get it Now to install it on Production

or Click Try It Free to install it on Sandbox

Note: For alternative installation on the Sandbox instance, append /packaging/installPackage.apexp?p0=04tQs00000014hVIAQ to your sandbox URL.
For example: https://{mydomain--sandbox.salesforce.com}/packaging/installPackage.apexp?p0=04tQs00000014hVIAQ
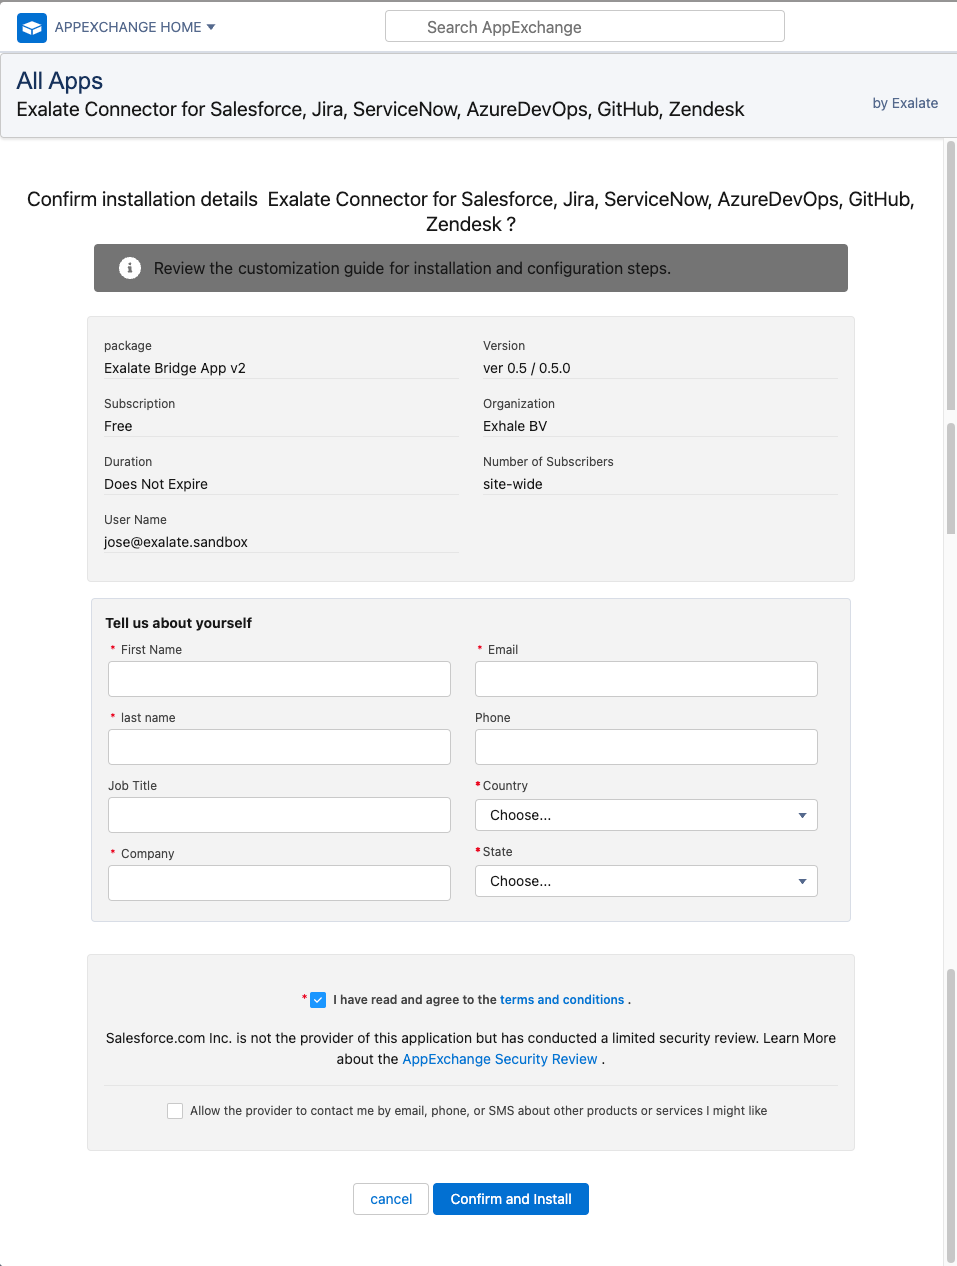
3. Confirm installation details

- Fill out the required fields
- Check that you have read and agree to the terms and conditions
- Click Confirm and Install

4. Log in to your Salesforce account
You are automatically redirected to the Salesforce login screen once you confirm the installation

5. Select a group of users that has permission to use the Exalate app
If you install Exalate for Admins Only, only the administrators have permission to use Exalate. You can grant permissions to other users later. Check out How to manage users' permissions in Exalate for Salesforce.
Installing Exalate for All Users grants permission to use the app to all registered users.
If you choose to install Exalate for Specific Profiles, you see the list of the available profiles and their permissions that should be set before you proceed.

6. Click Install
7. Approve third-party access

- Check Yes, grant access to these third-party websites
- Click Continue
8. Installation complete. Click Done to go back to your Salesforce instance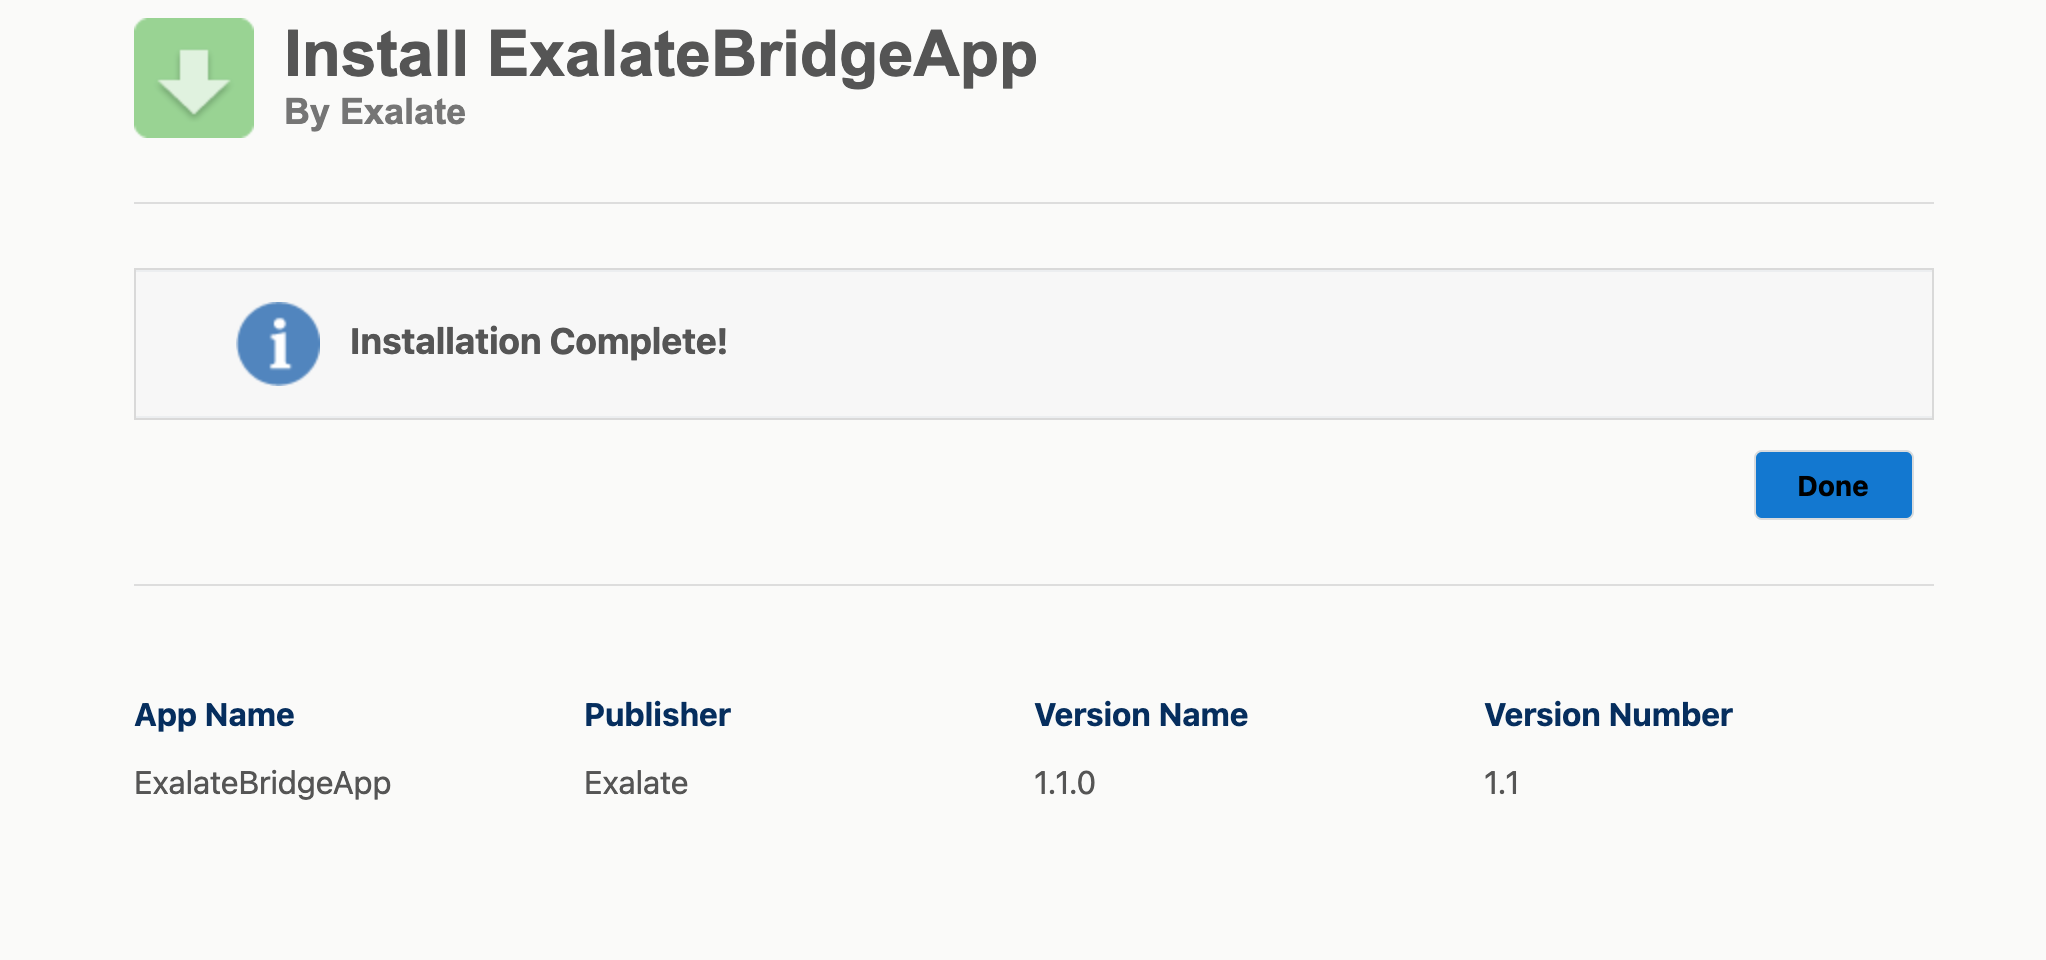
9. Add new trusted URL
- Go to Setup and search for Trusted URLs
- Click Add new trusted URL
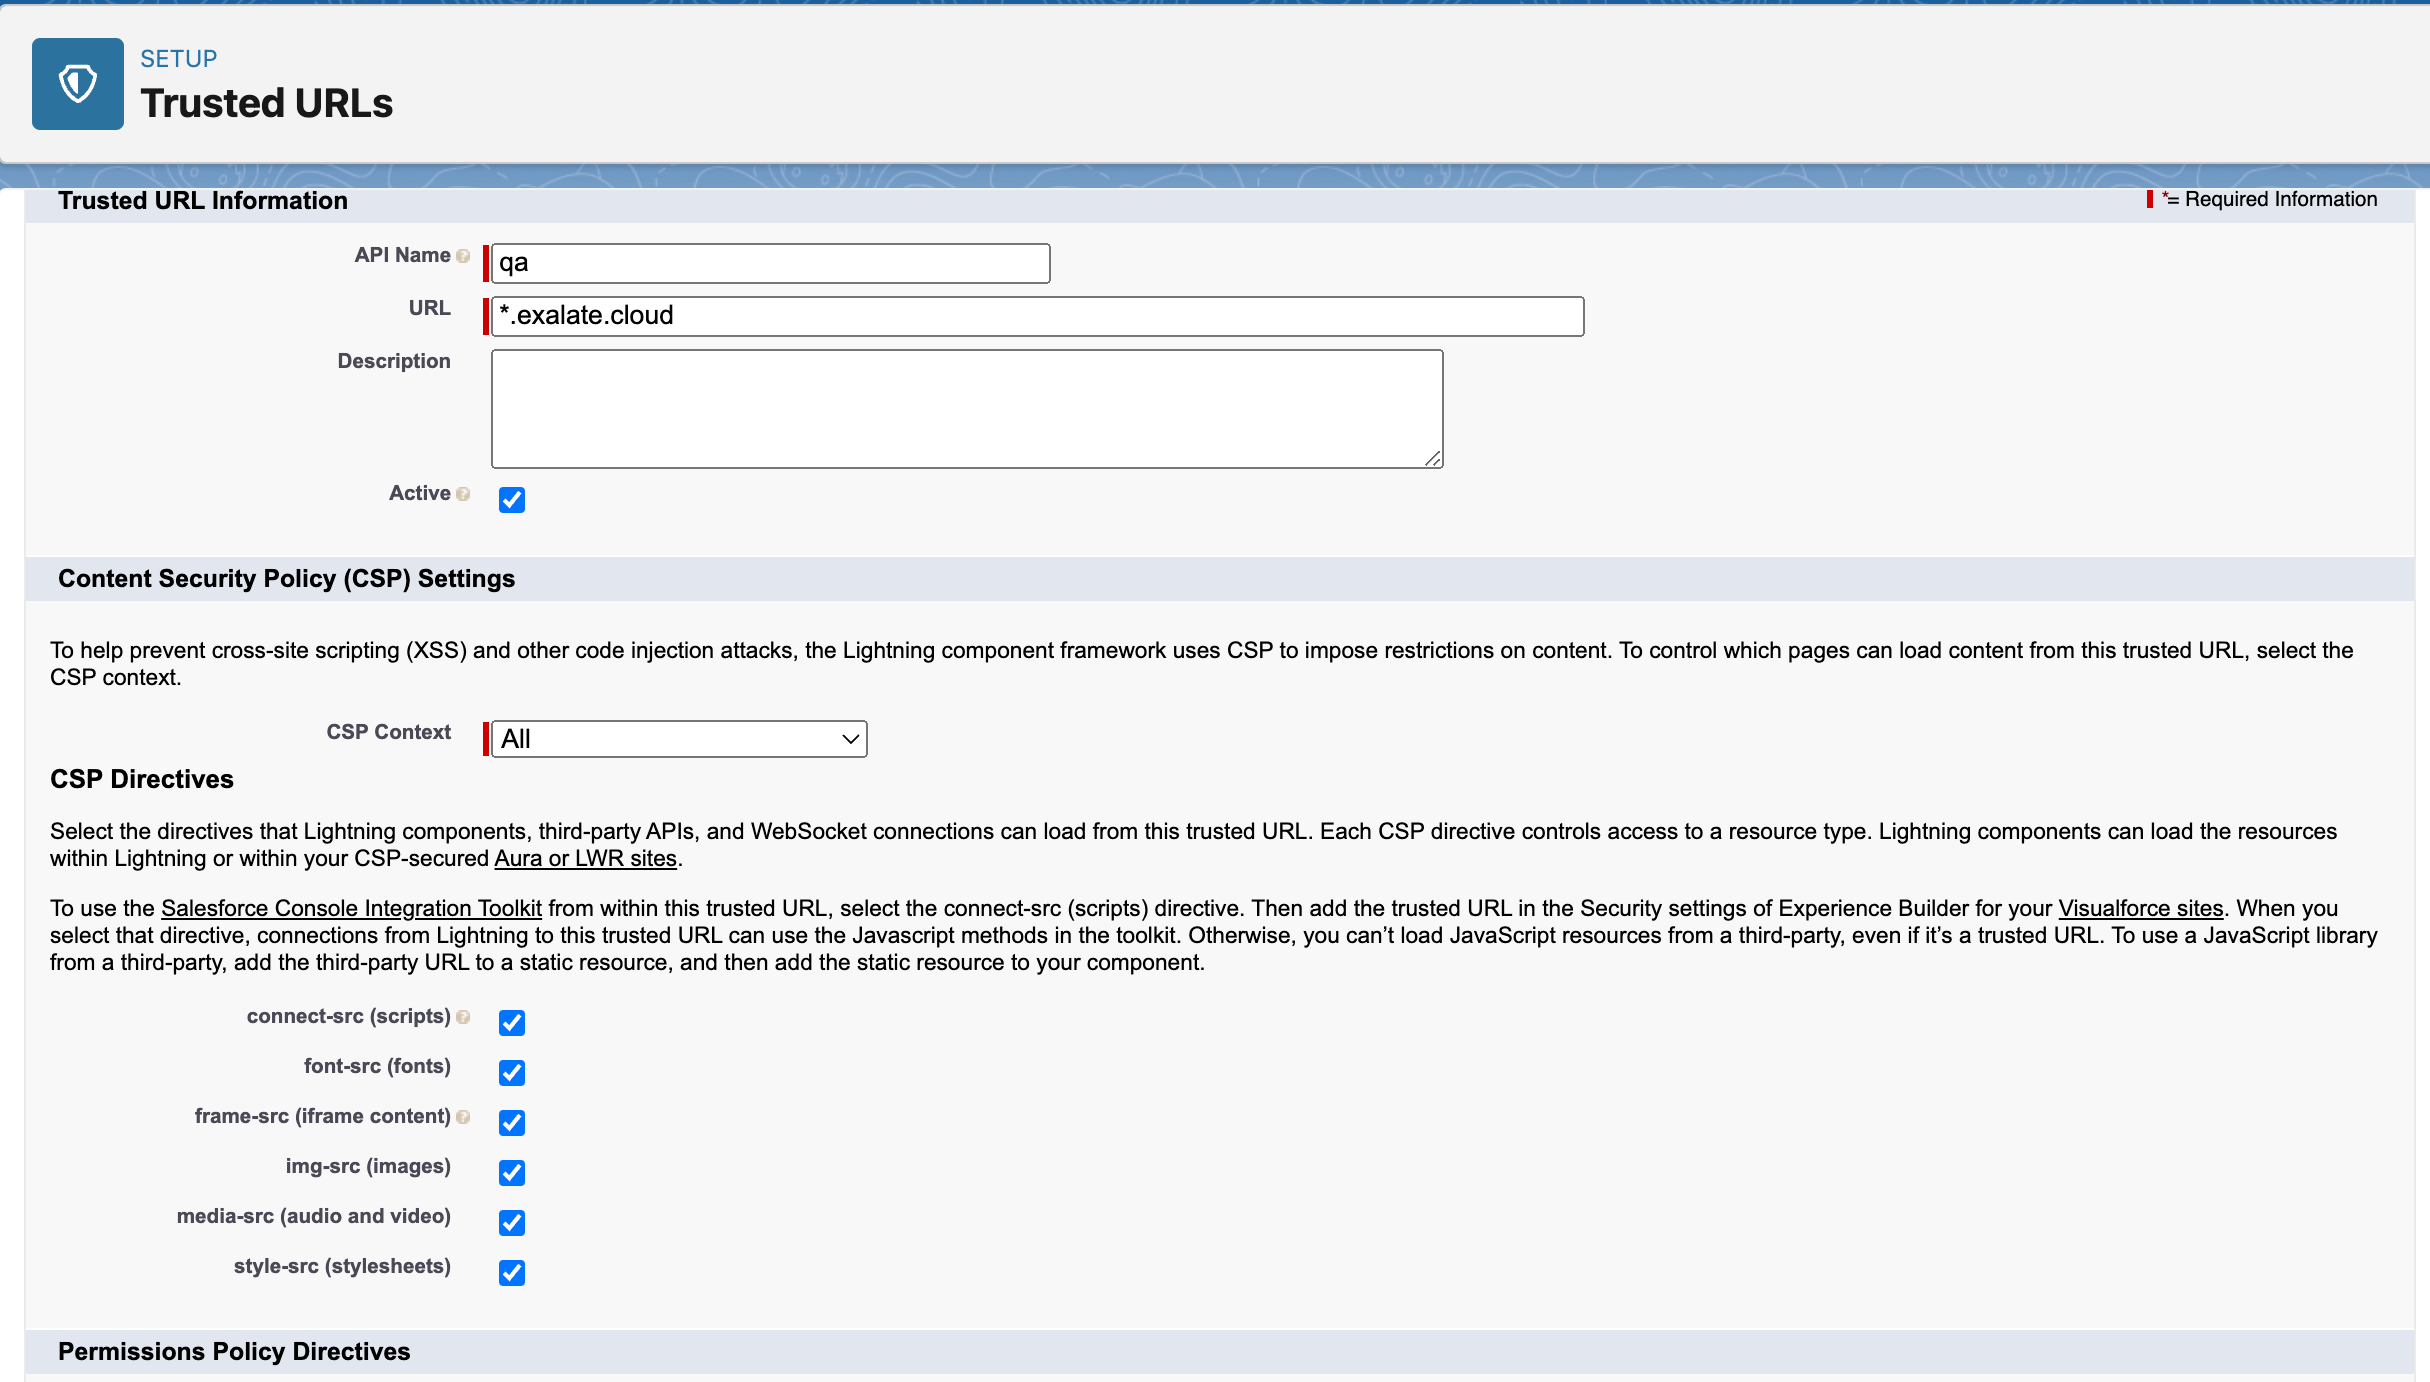
- Fill in Trusted URL Information:
- API Name: free input string
- URL: *.exalate.cloud
- Check all the boxes in CSP Directives section
- Click Save

10. Next, you need to set the Permissions. Go to Setup> Permission sets.
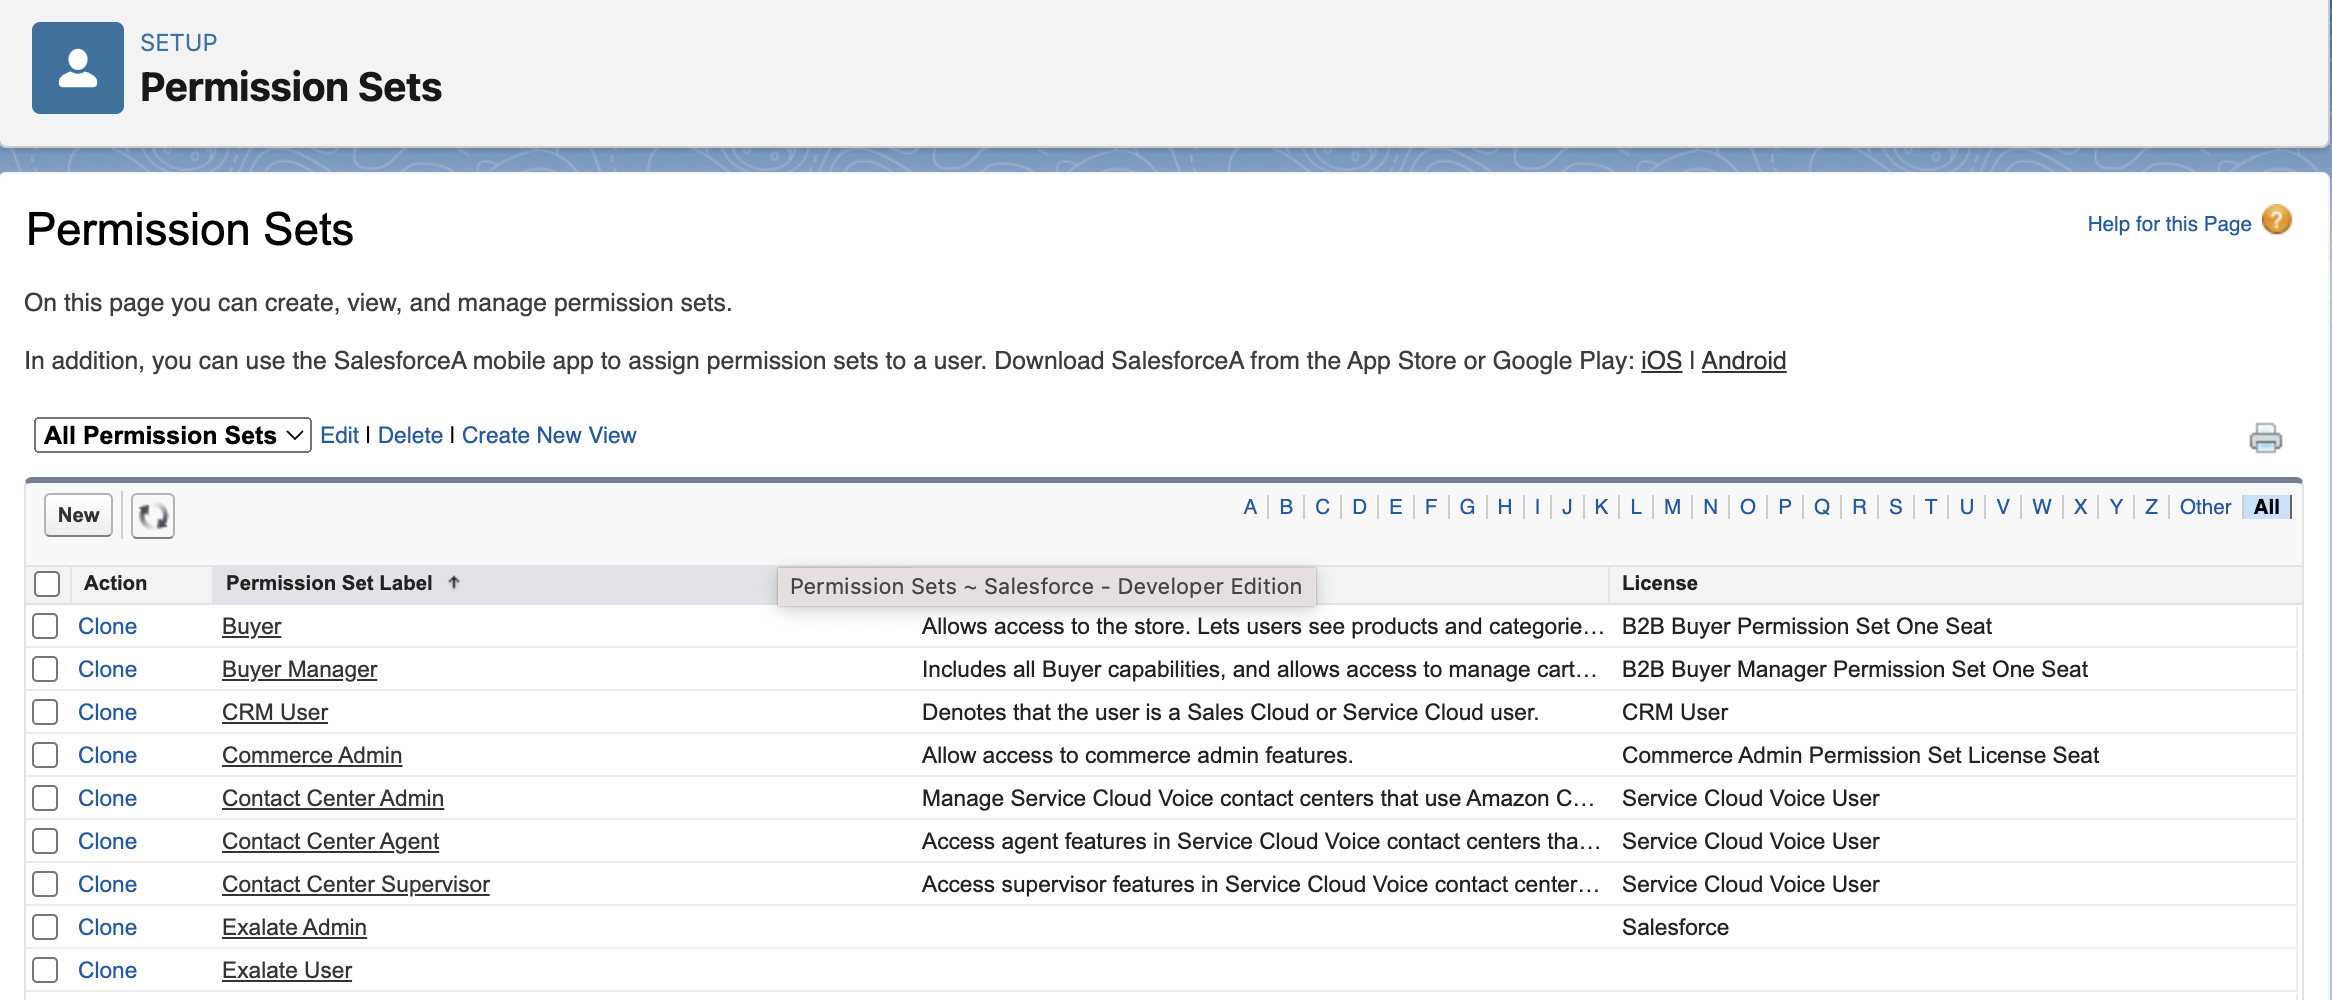
To assign a permission set to a user, go through these steps: Exalate Admin > Manage Assignments > Add assignment > Select User with System Administrator Profile > Assign > Done.
11. Create the New External Client App
The next step is to create the New External Client App. Go to Setup > Apps> App Manager and click on New External Client App.

Fill in these fields:
- External Client App Name
- API Name
- Contact Email
- In API (Enable OAuth Settings), check Enable OAuth Settings
- In the Callback URL field paste: https://connect.exalate.net/rest/oauth/callback
- Select and add all rows in Selected OAuth Scopes
- Require Secret for Web Server Flow should be selected
- Require Secret for Refresh Token Flow is optional
Important: Do not select Require Proof Key for Code Exchange (PKCE)!
In case this field is not editable, or this feature is required by your organization, please contact support for help with the additional steps required.
This issue is being addressed and will be resolved in an upcoming release.

Click Create when done.
Important: Wait 10-20 minutes after creating the External Client App Name for the changes to be fully applied.
Go to Setup > Apps> External Client Apps > External Client App Manager > Your created App > Settings > OAuth settings and collect the Consumer Key and Consumer Secret from the External Client App.


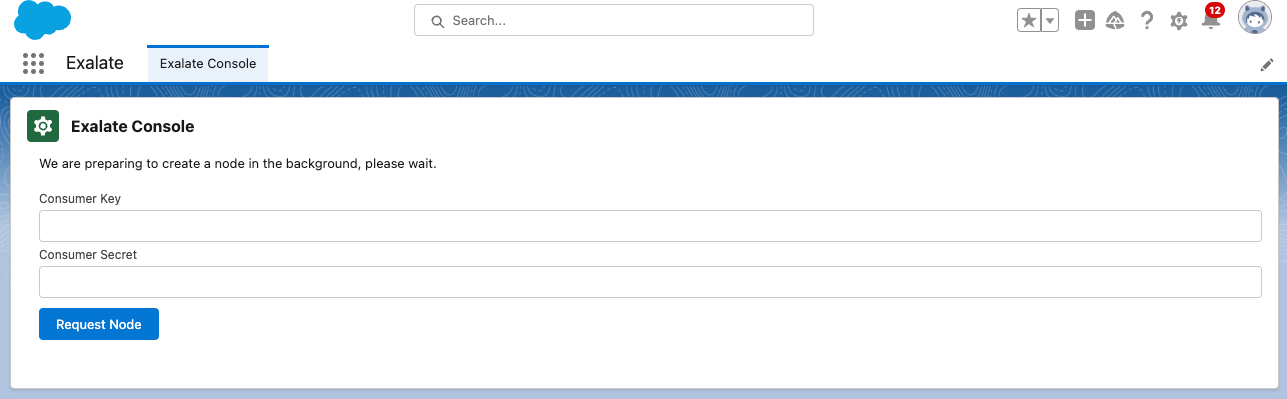
12. Request an Exalate node
Once the application is installed, you can request an Exalate node:
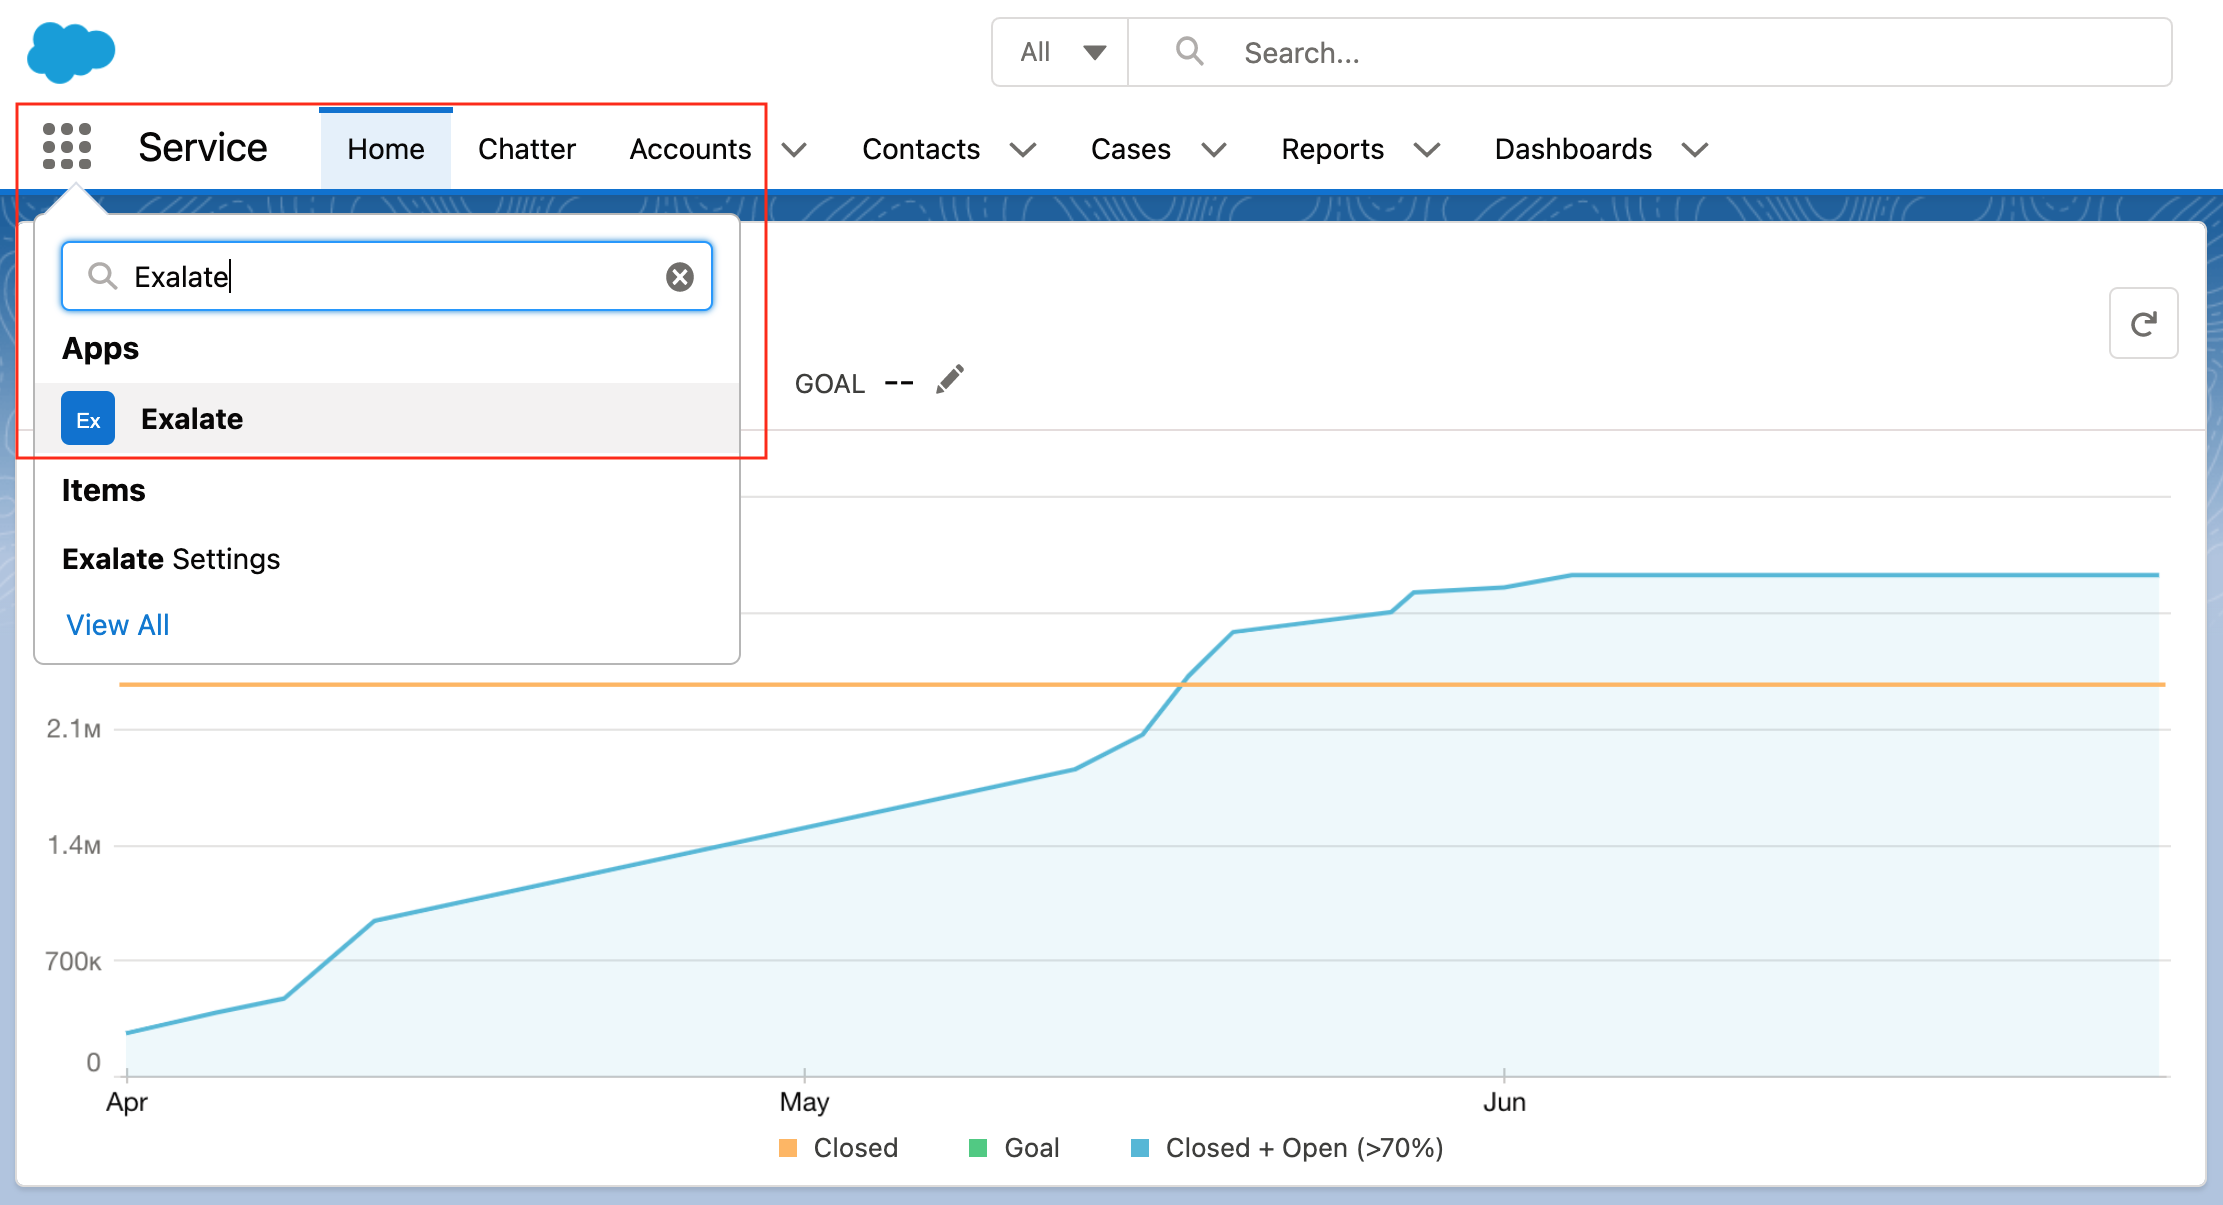
- Access the Exalate app from the search bar
- Copy the Consumer Key and Secret from the External Client App and paste here, then click on Request Node.
- Click Allow on the app permissions.
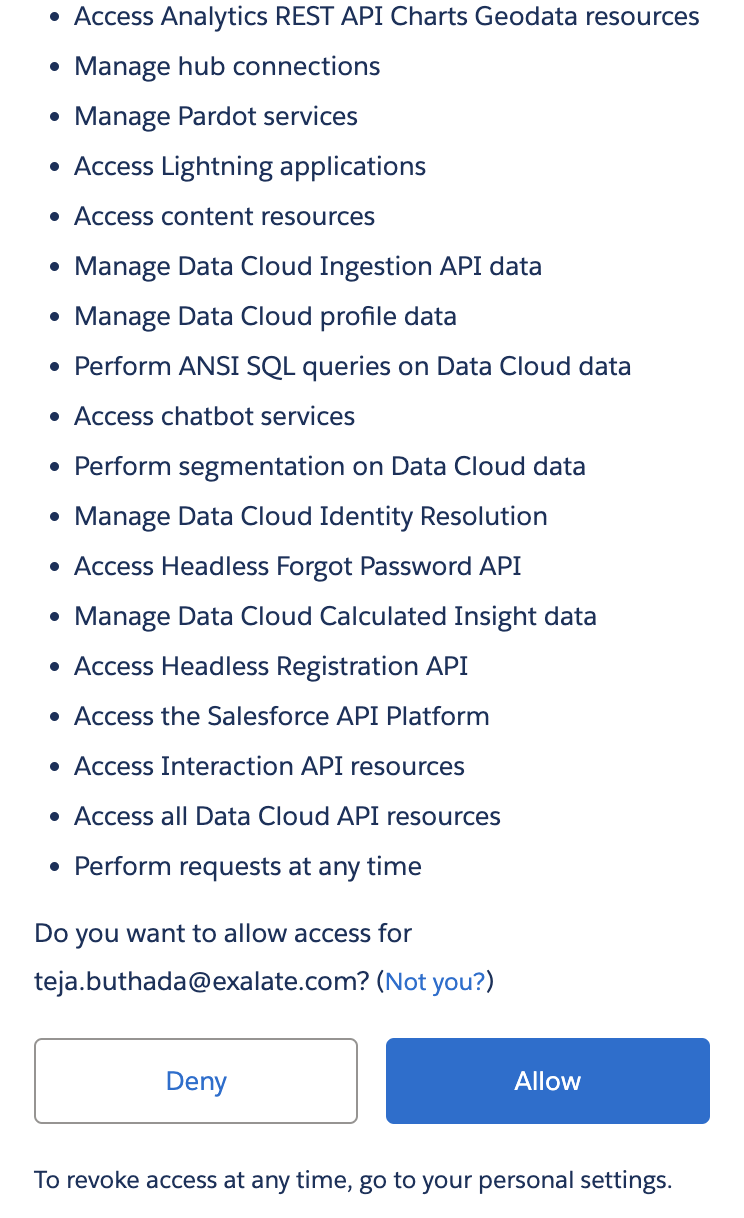
After you allow the permissions you are being redirected back to the Salesforce interface.
Note: Exalate console may render in a few minutes.


13. Configure Exalate for Salesforce
Once you have requested the node it is time to configure it. Follow the steps listed below:
1. Fill in your contact information in the registration form. Exalate sends you a verification email. With this info Exalate:
- Verifies your instance.
- Activates an evaluation license.
- Makes an admin account to receive error notifications.
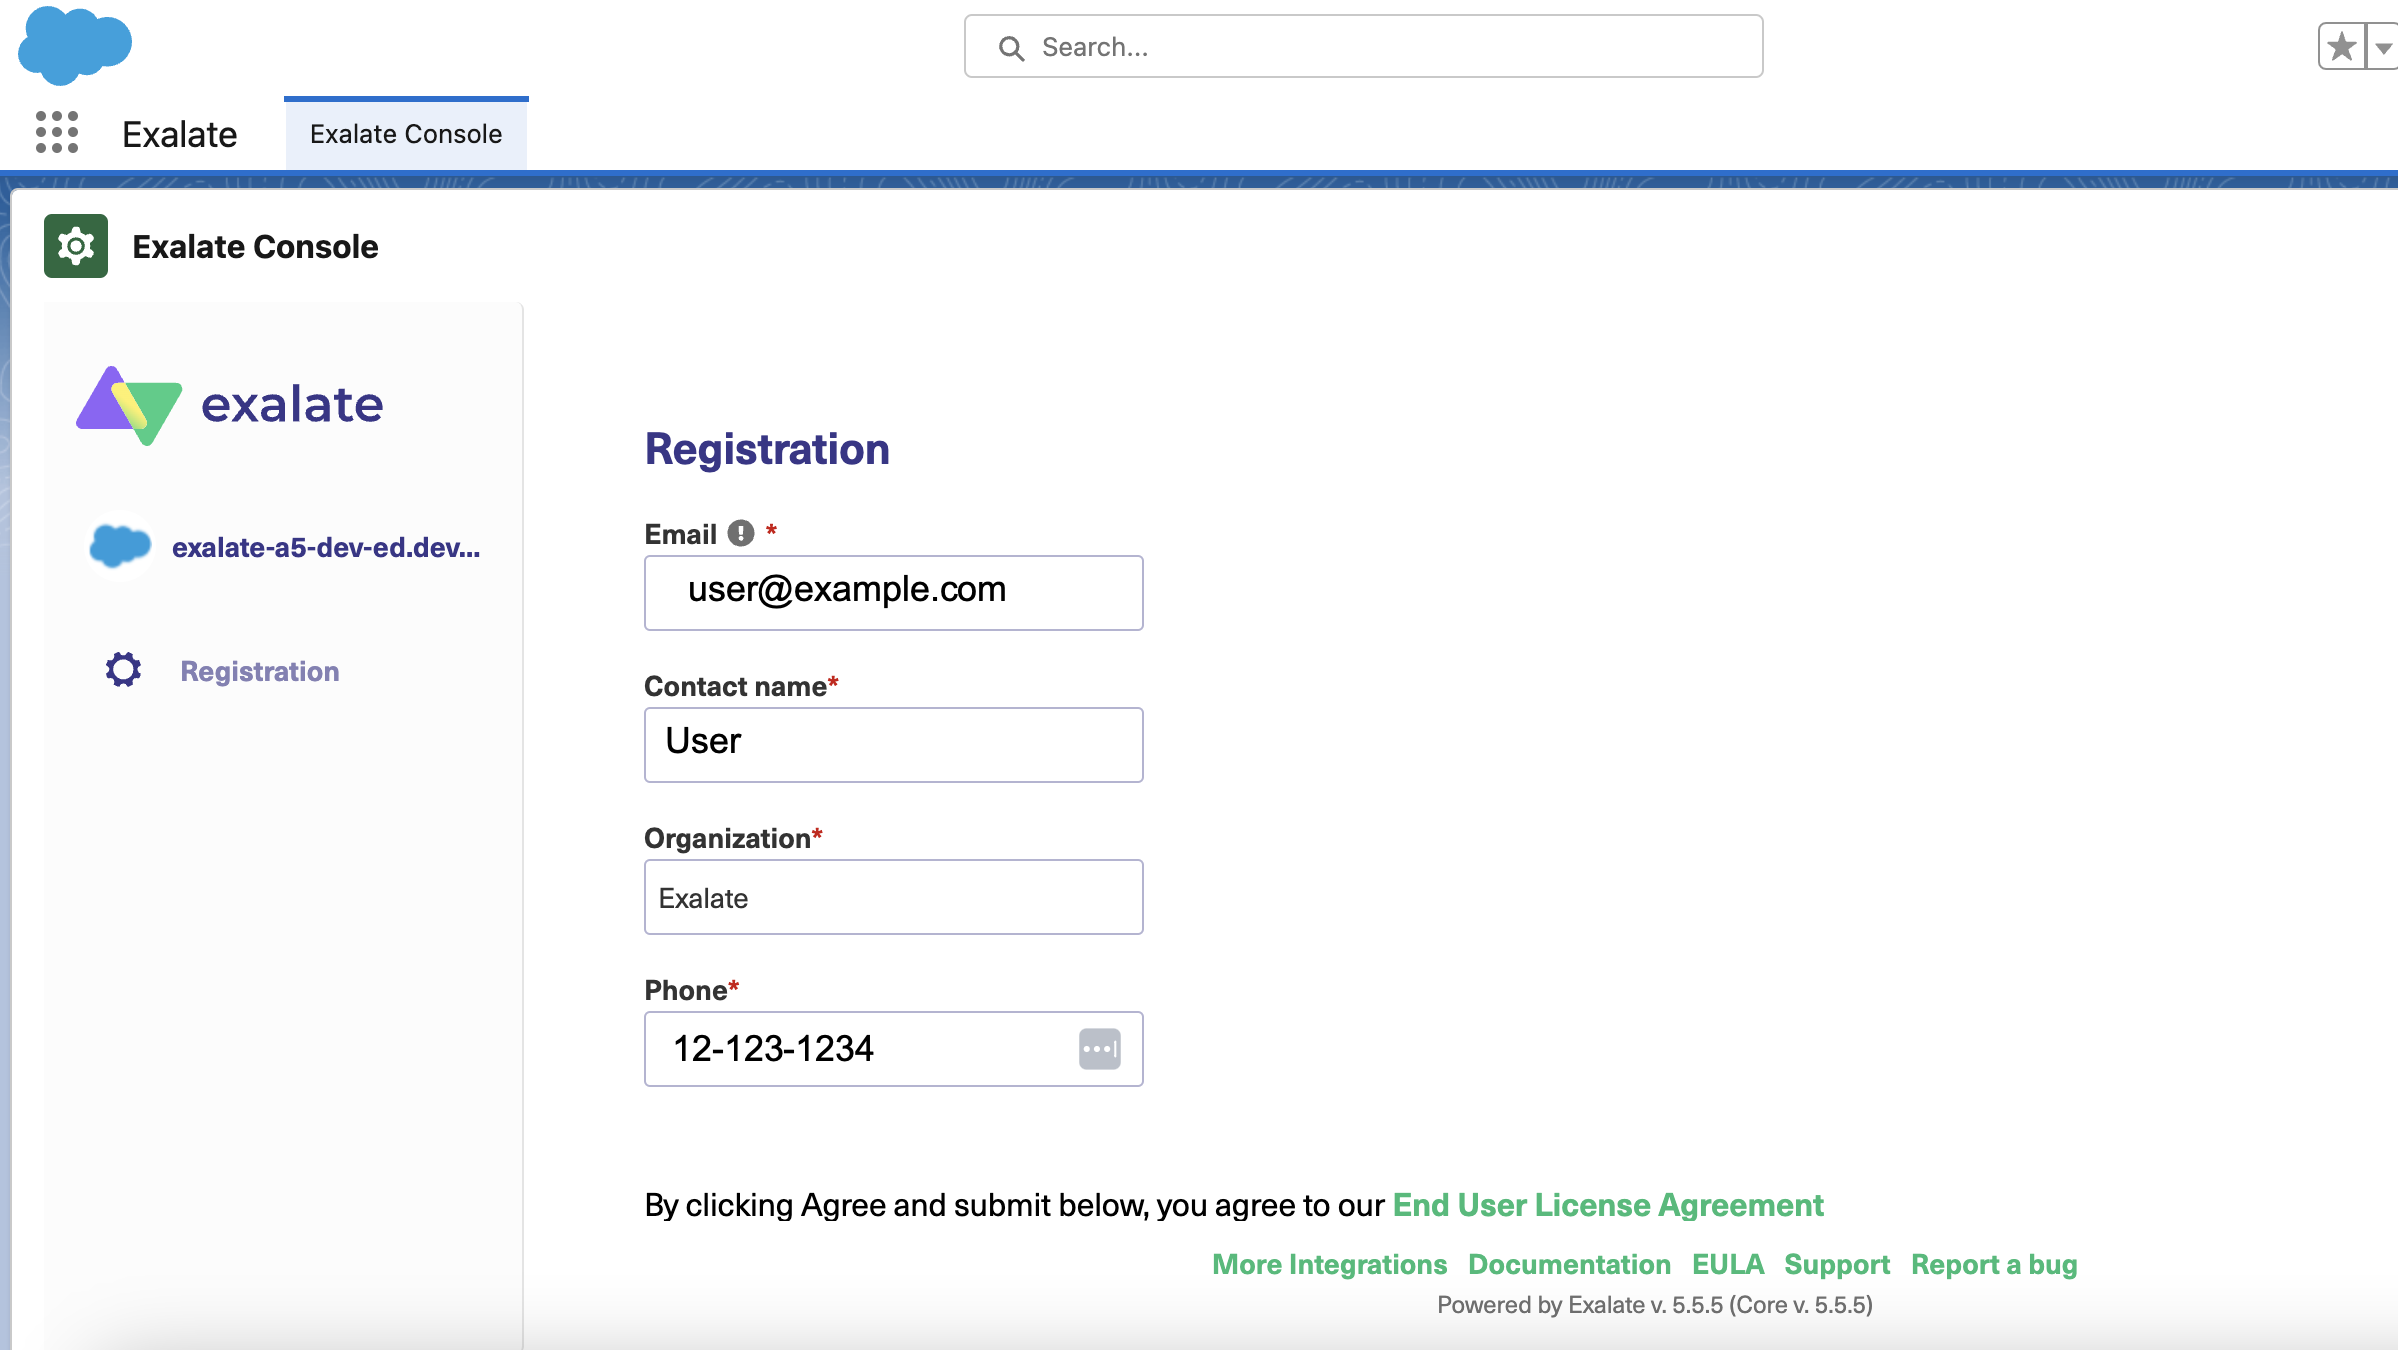

2. Click Agree and submit, to agree to the EULA and continue.
Note: After clicking Agree and submit, you accept our End User License Agreement (EULA). You can read it here: https://static.exalate.com/legal/eula-addons.pdf
Click Resend email if you have not received a confirmation email. Click Change email to modify the email address provided earlier.
Note: If you encounter an error during verification, check out Solving issues with email verification.
3. Open your email and click Verify Exalate instance
4. Once you receive the email and verify the registration of the node, you are redirected to the Exalate console admin > Connections screen.
Congratulations! The registration process has been completed.
Install Exalate for Salesforce on Docker
You can host Exalate for Salesforce on your own server. To do so, you need to install Exalate on Docker.
Note: You need to install Docker. Check the docker documentation for more details.
- How to install Exalate for Salesforce on Docker?
- Create or download the docker-compose.yml
- Ensure that a correct database is set up using a createdb.sh
- Set environment variables if necessary
- Register the node
- Start the application
- Troubleshooting
Video Tutorial