Starting with version 5.2.0, not only Global administrators but also Project administrators can set up Basic connections right from the Project settings.
This article shows how to establish a Basic connection specifically on a Project level.
How to Enable Connection Set Up on a Project Level?
A Global administrator should enable connection set up on a Project level.
To enable Project level connections:
1. Go to Apps -> Manage your apps.
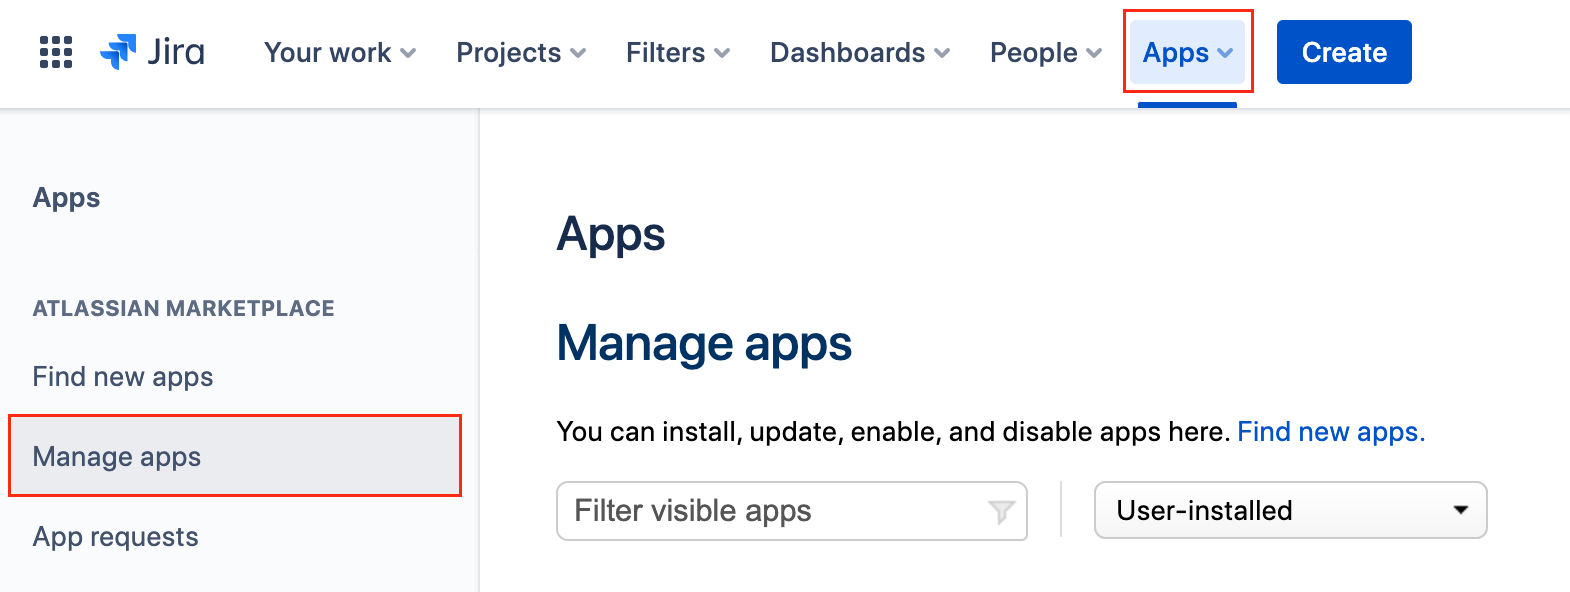
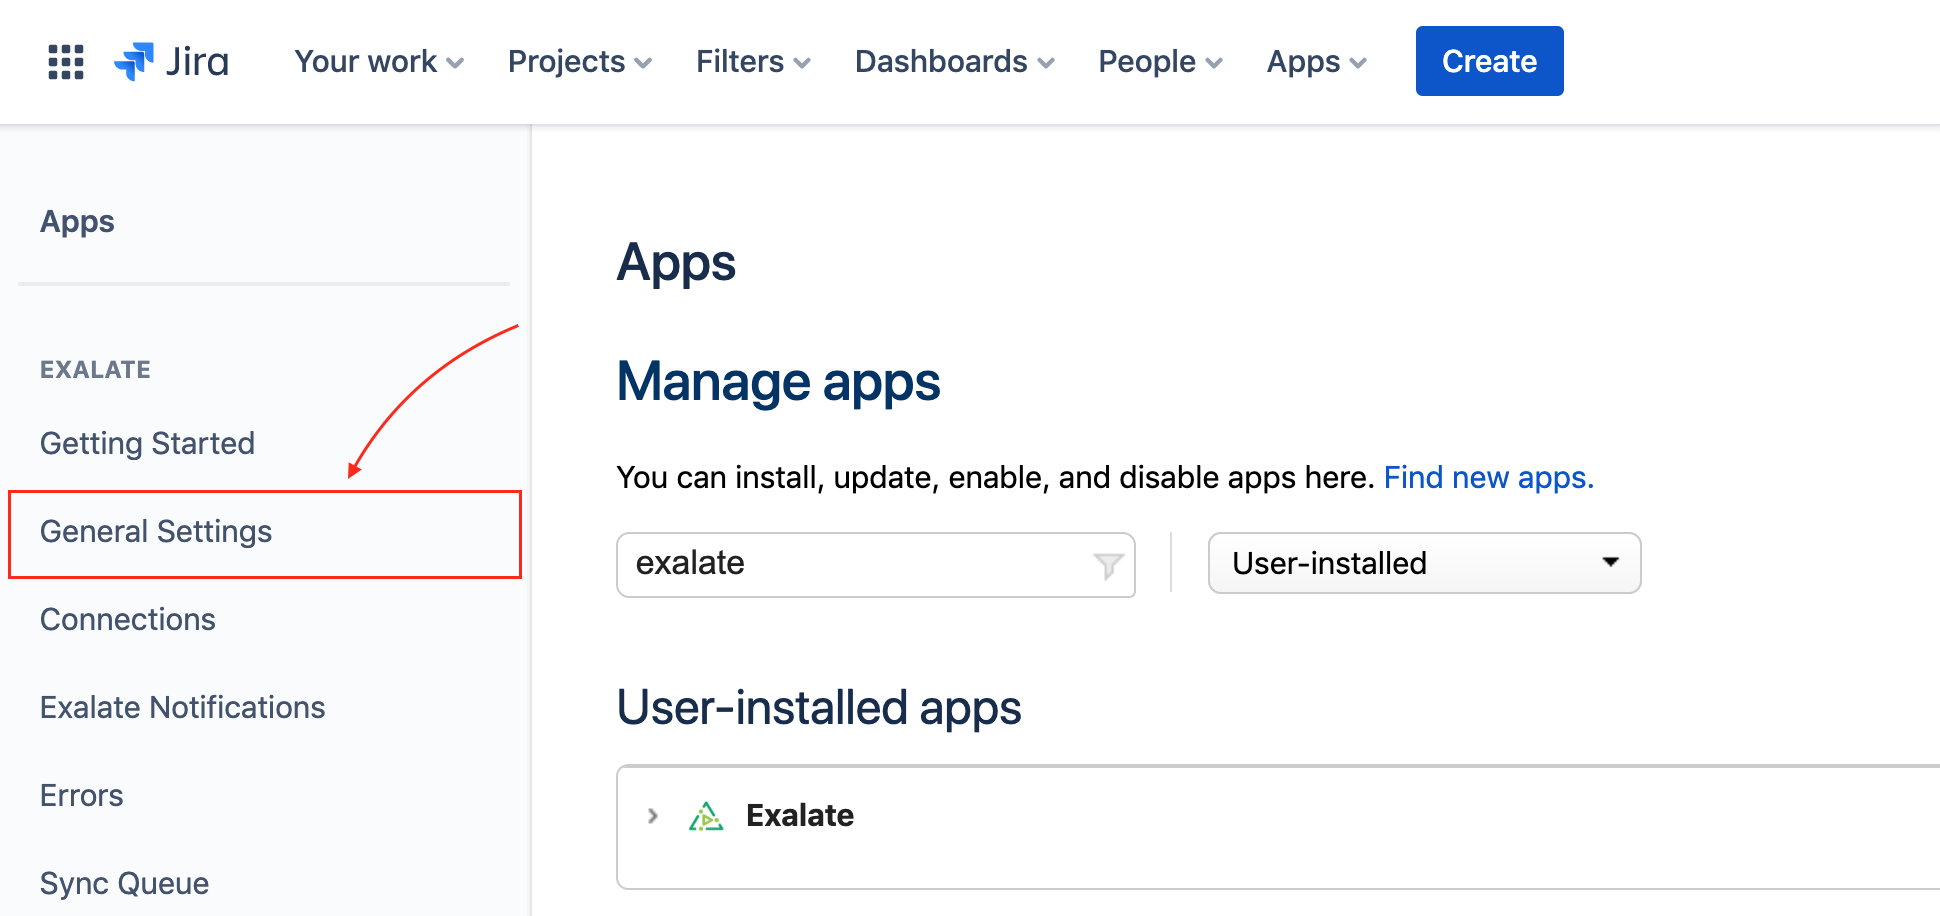
2. Under the Exalate menu click General Settings.
3. Enable the corresponding toggle to allow project admins to set up basic connections.
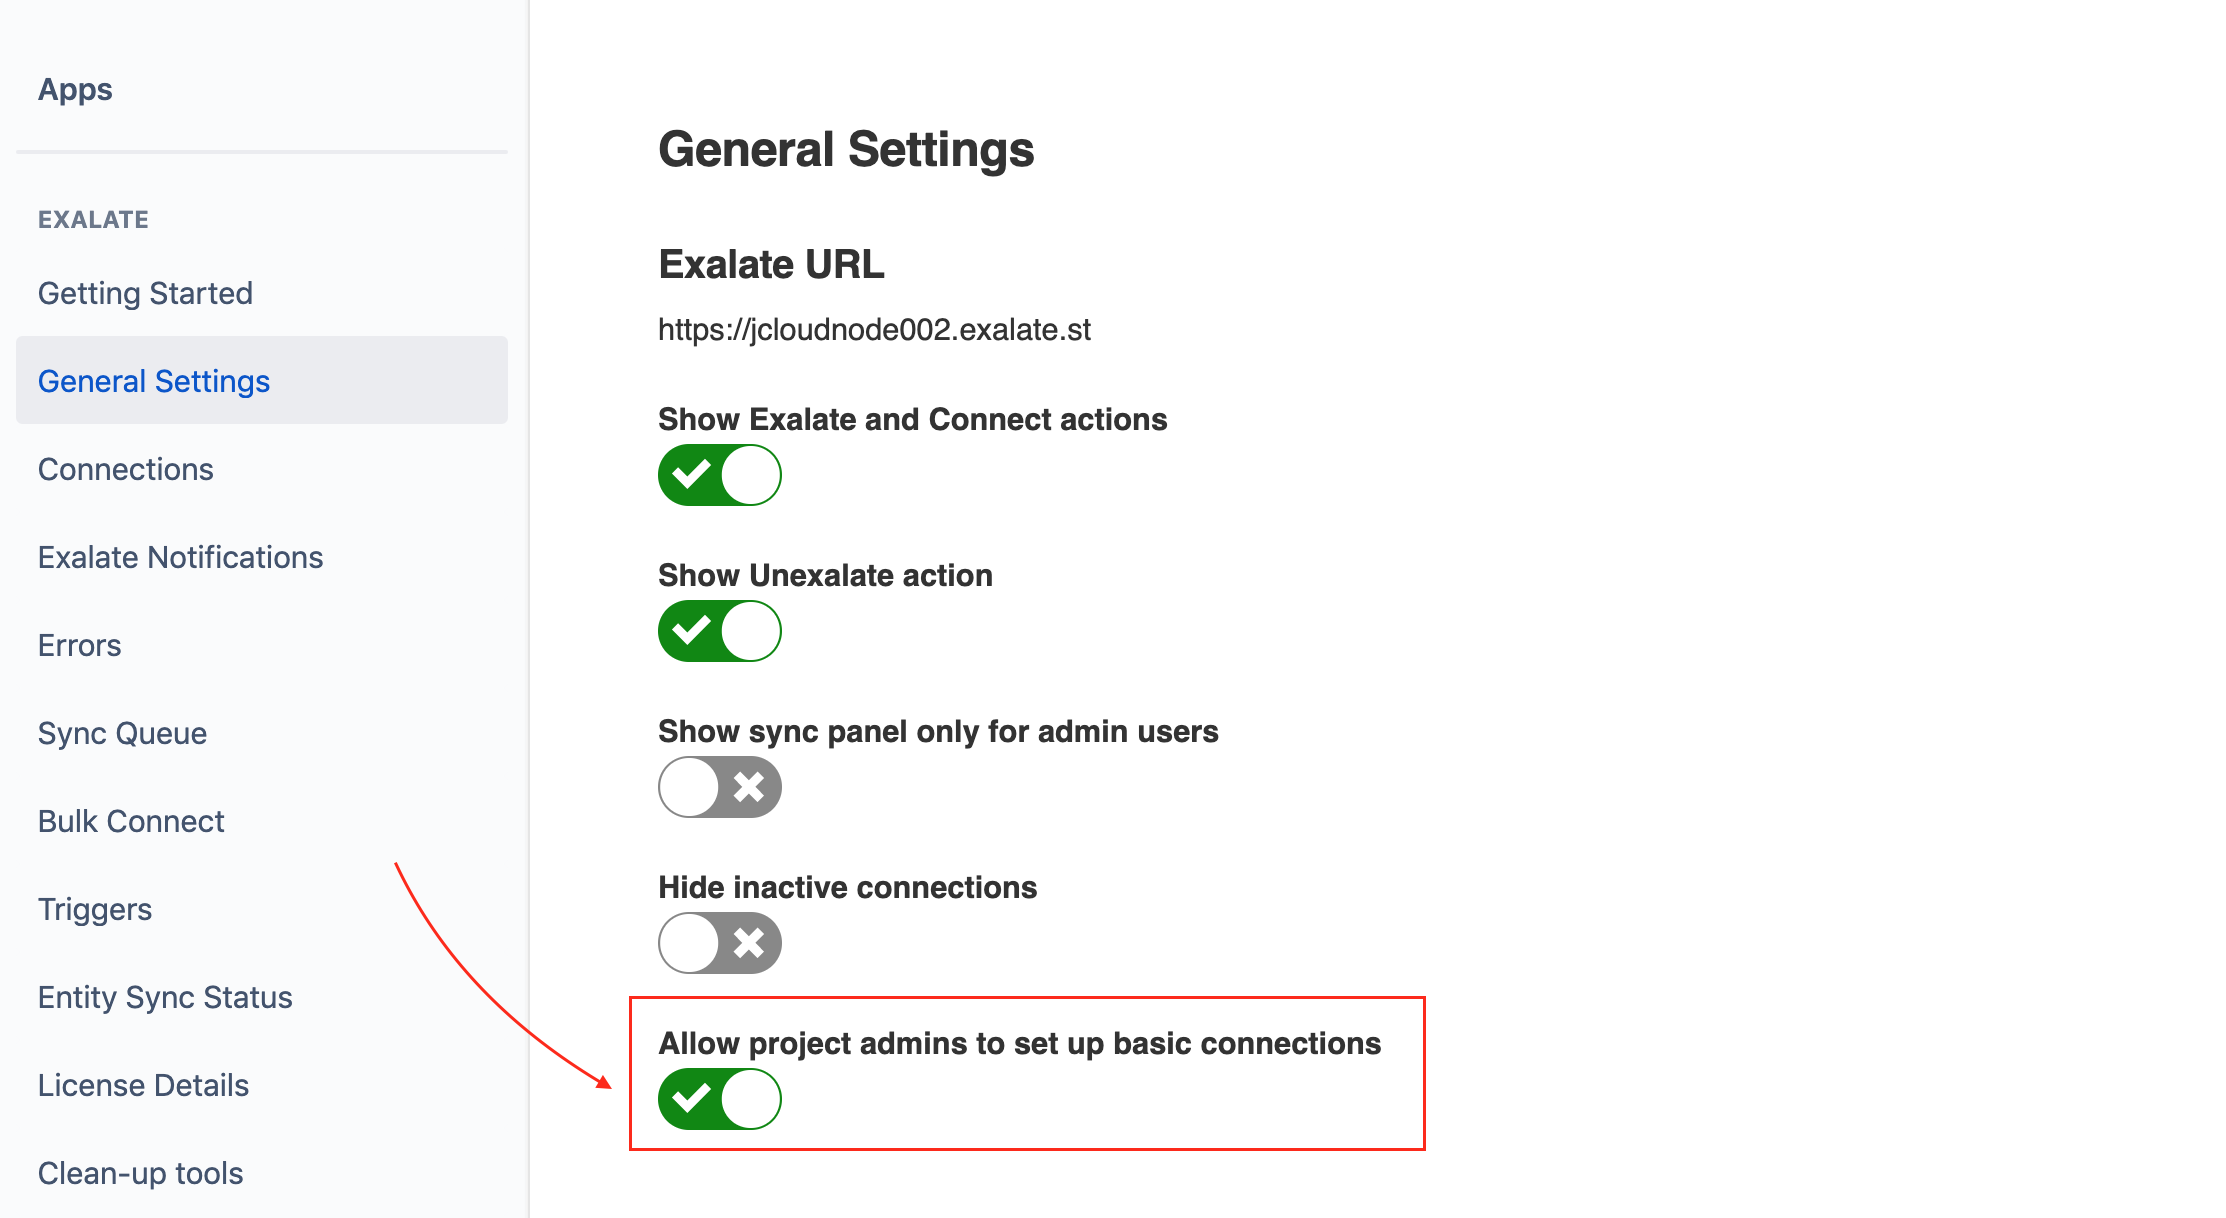
Once global admin enables this option, project admins assigned to the user group exalate-project-level-administrators is able to set up basic connections right from their Project settings.
Note: If the toggle is active, the following conditions apply:
- Users that belong to exalate-project-level-administrators group can use Exalate on a project level.
- If the user group exalate-project-level-administrators doesn't exist, all the Project admins are able to access Exalate from their Project settings.
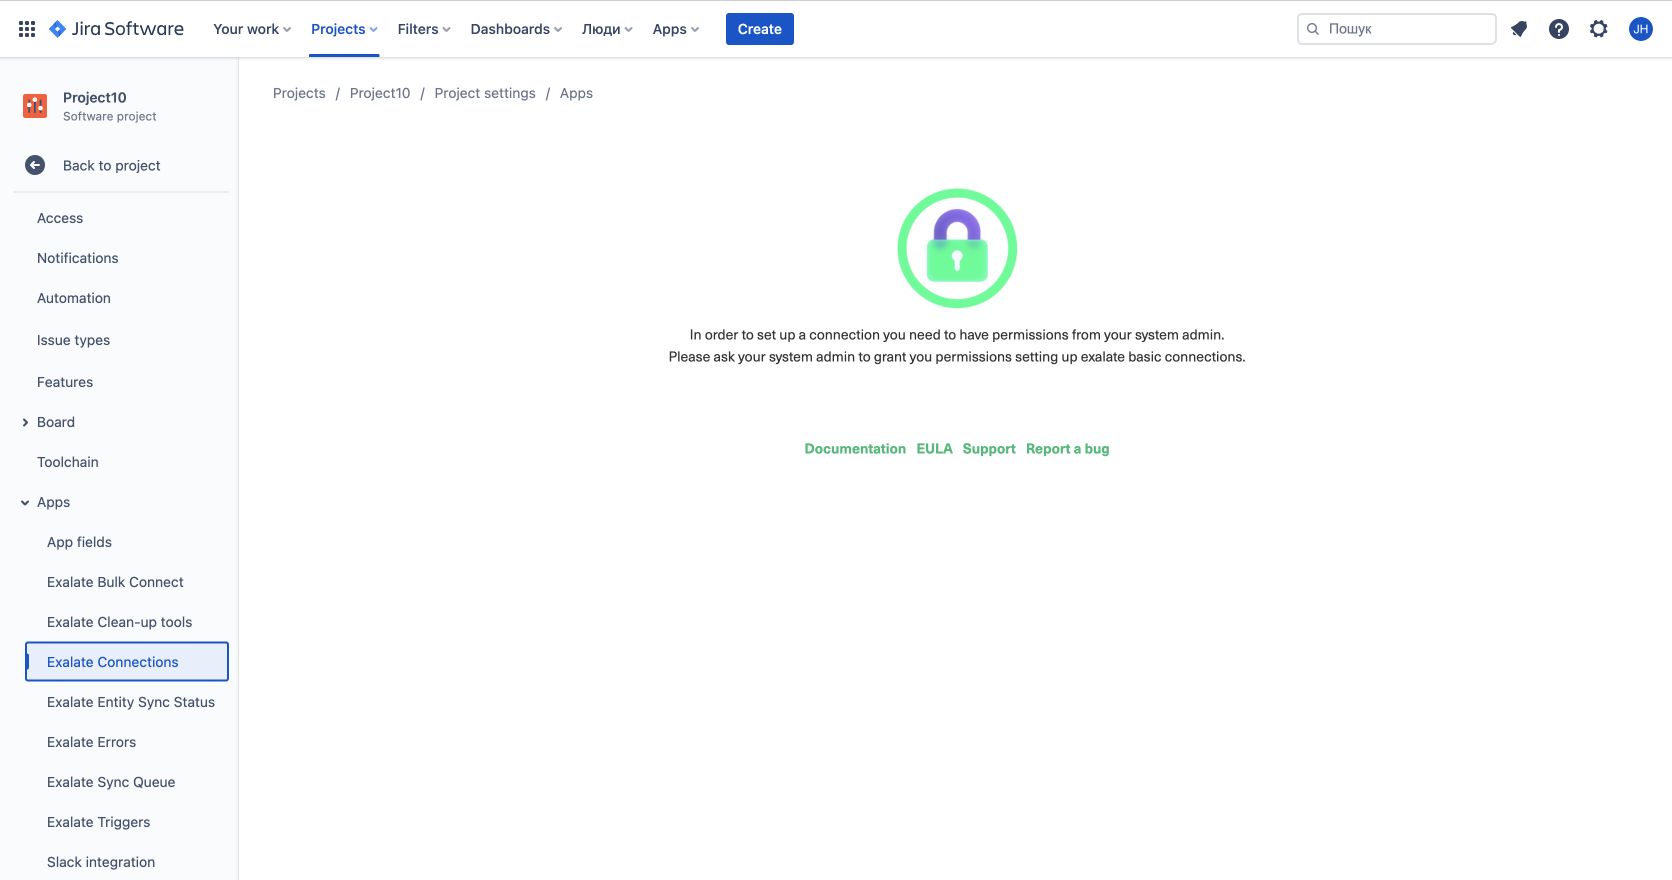
- If the group exists but is empty, none of the project admins can use Exalate on a project level.
- If the group does not exist at all, all project admins can use Exalate on a project level.
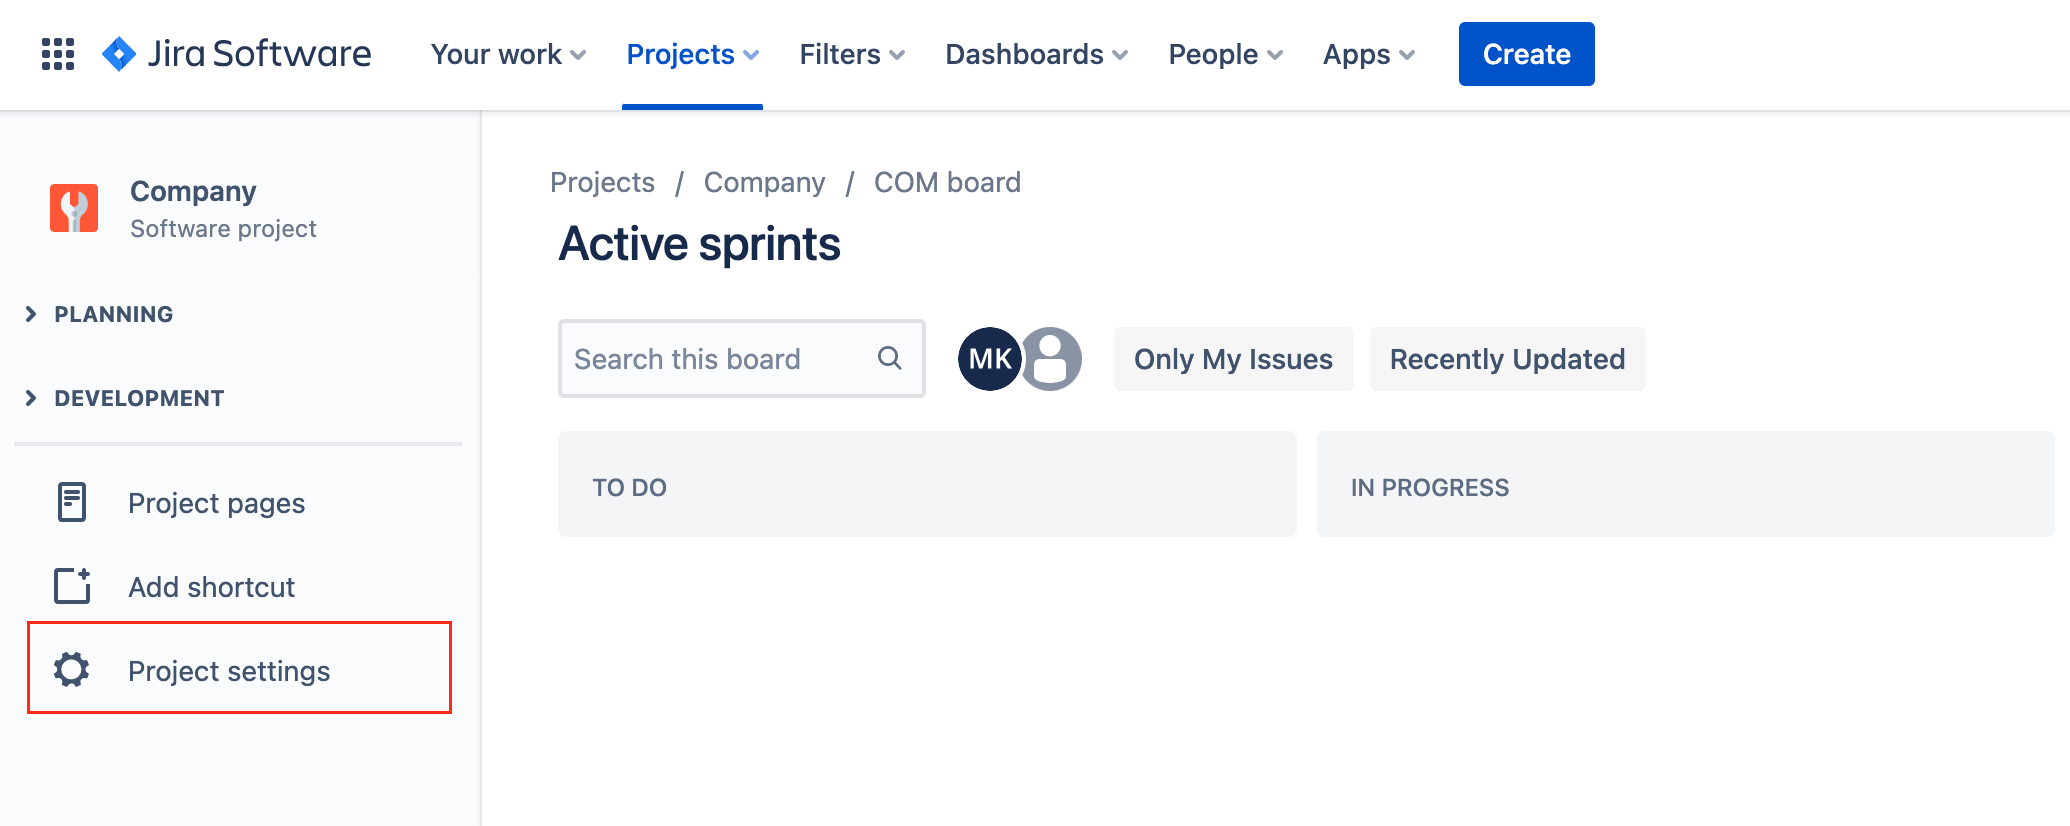
How to Initiate a Basic Connection from the Project Settings
Basic connections have a set of sync rules, generated by Exalate. You can sync a basic set of issue fields: summary, description, comments, attachments, and issue types.
To initiate a Basic connection on a Project level:
3. Click Apps.
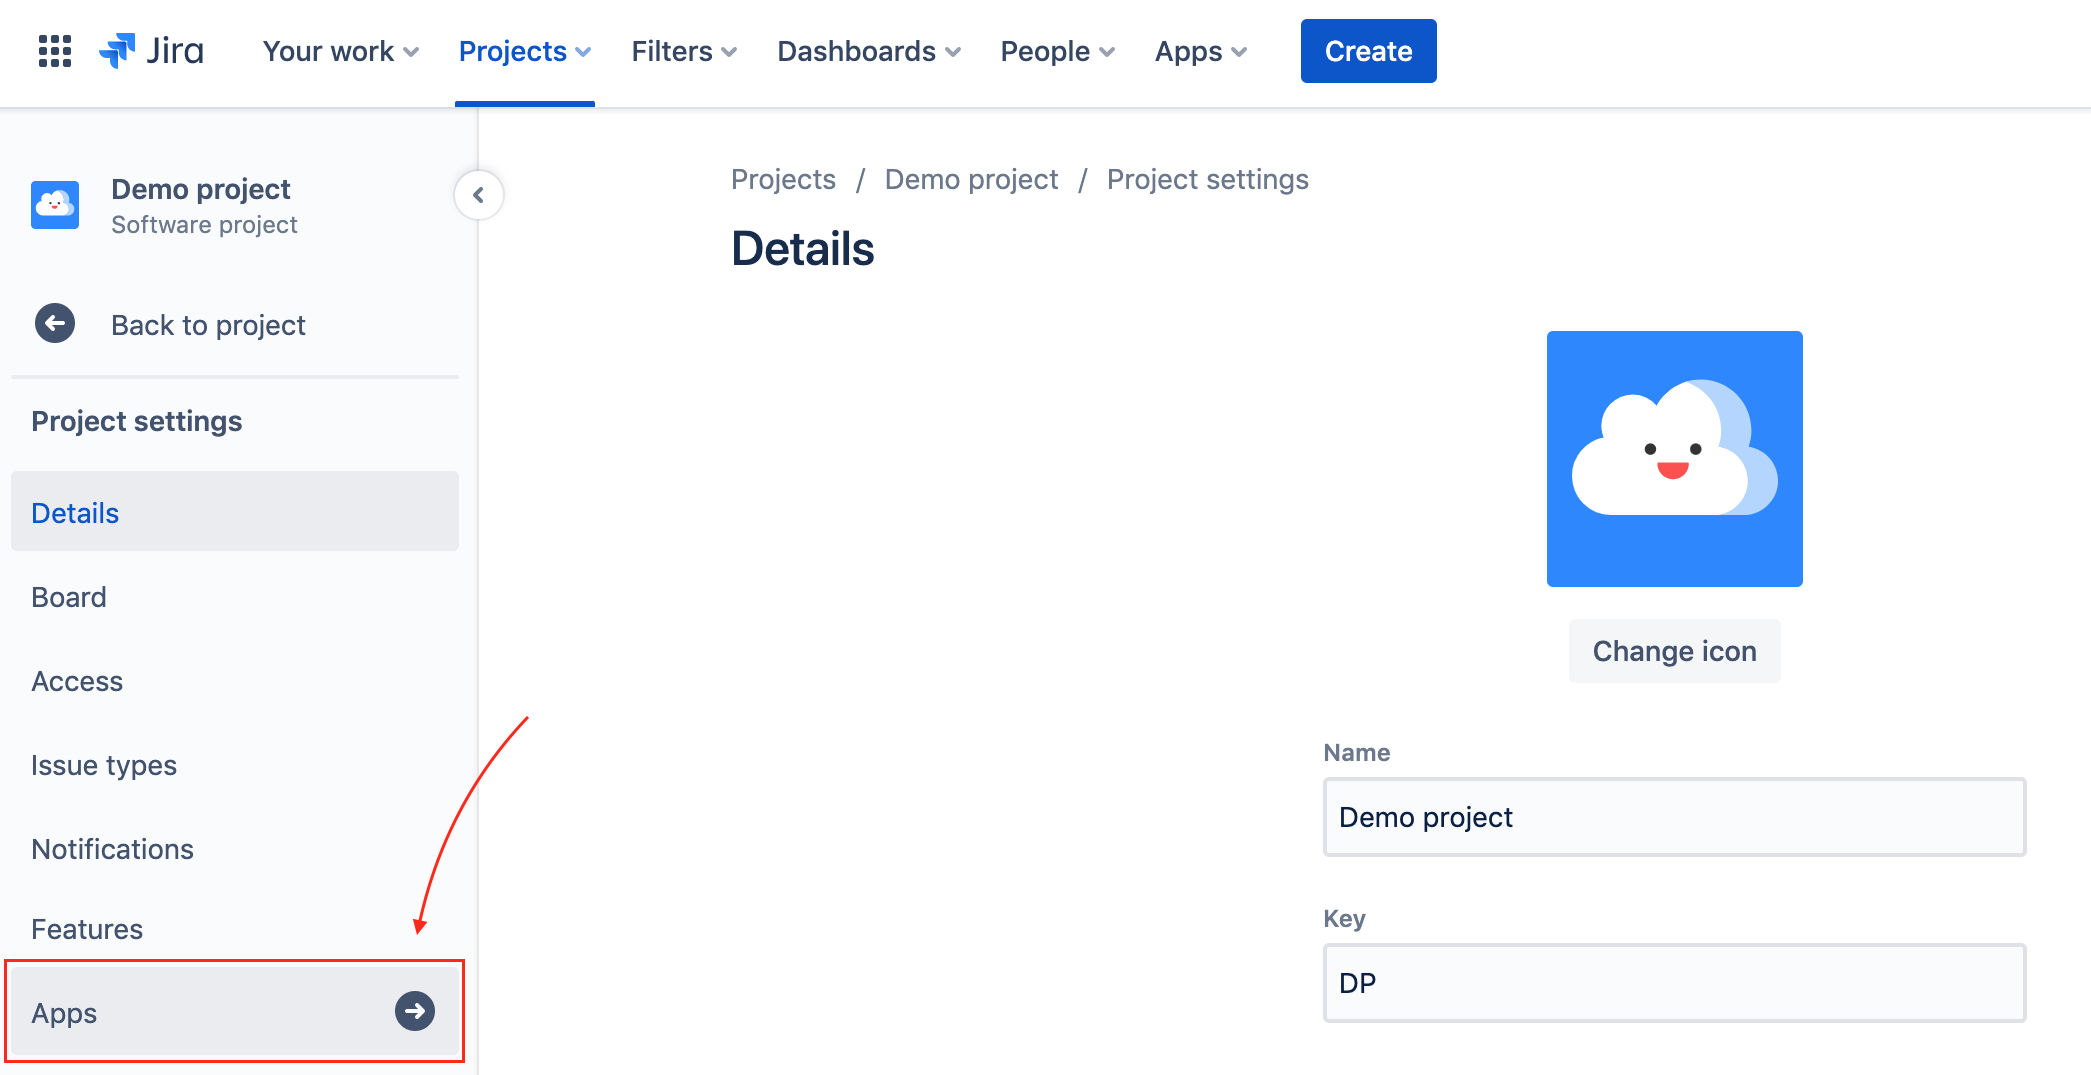
Note: If you are in a company-managed project, there is no step 3, since the Exalate menu appears right in the Project settings.
4. Click Exalate connections -> Initiate connection.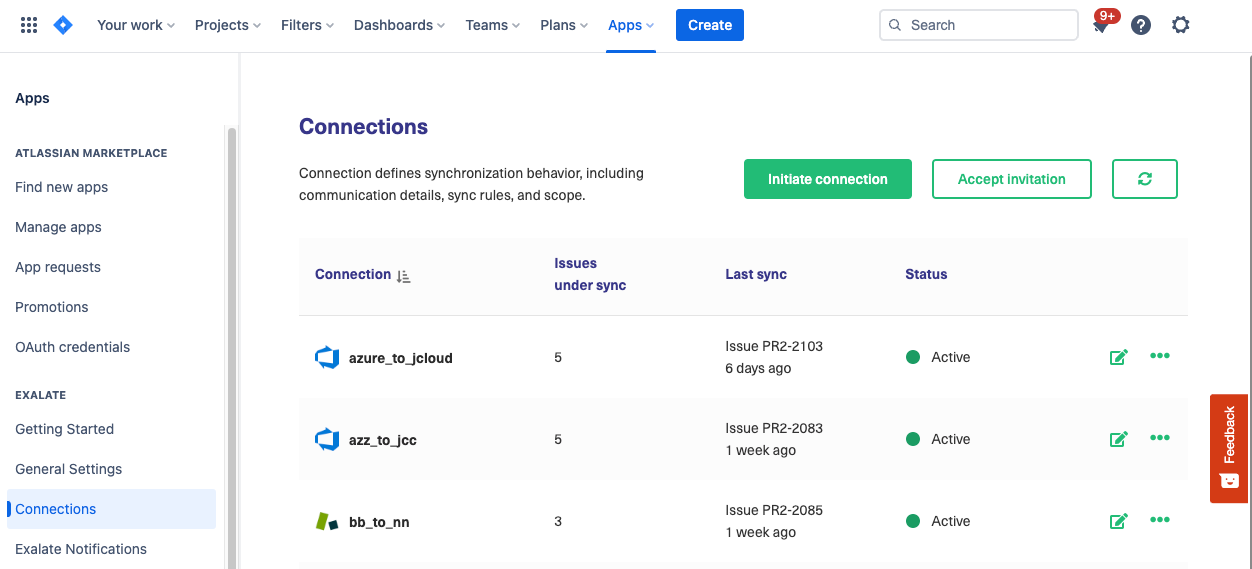
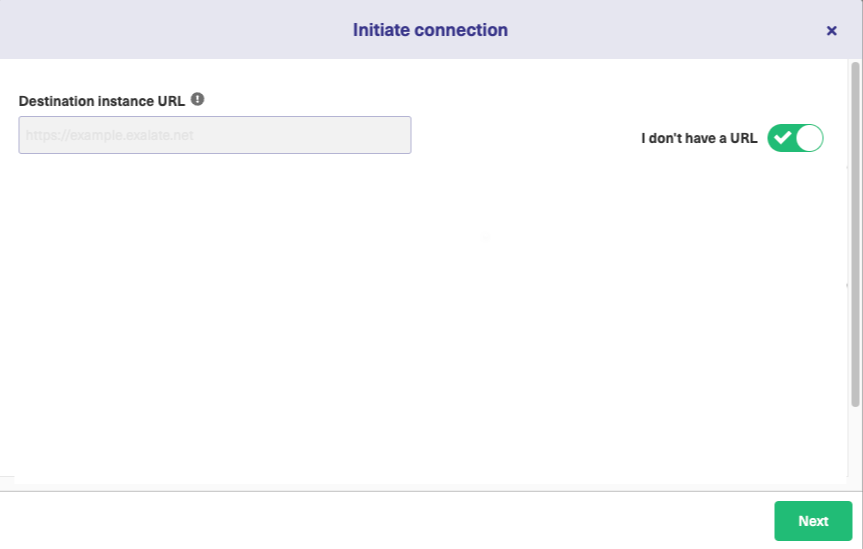
5. Specify if you have the link to the destination instance.
To set up a connection with an instance:
- Enter the link to the destination instance in the Destination instance URL field. You can enter the link to the instance you are trying to connect, or the Exalate URL from General Settings. If you enter a link to your instance, Exalate determines it's a local connection between two projects within your instance.
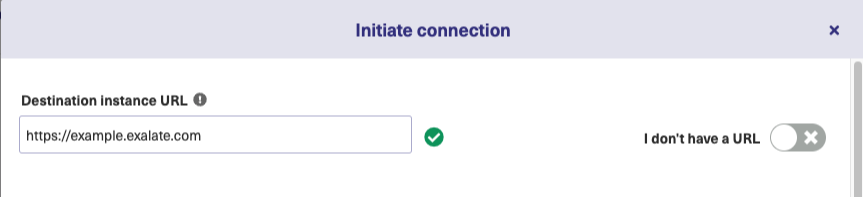
- Click I don't have a URL if the destination instance is in a private network, or you don't have the link.
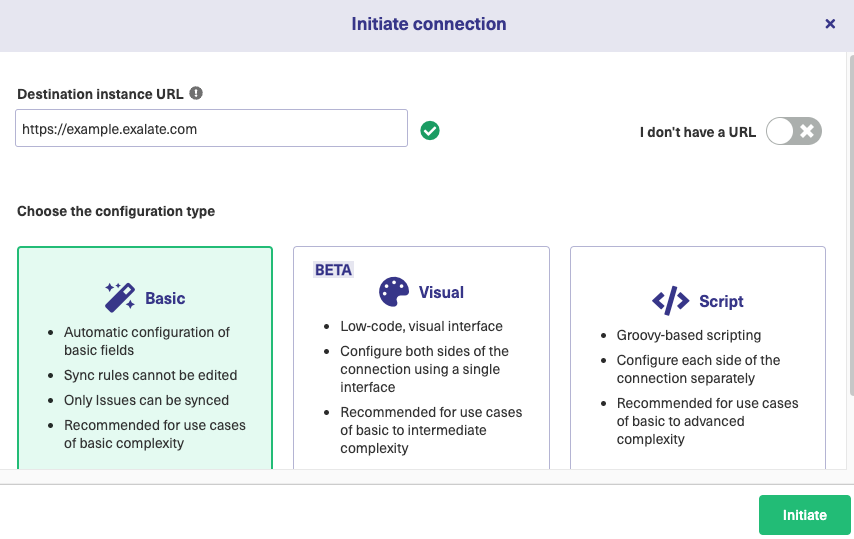
- Exalate suggests available configuration types based on the destination instance's version of Exalate.


Select the appropriate tab below:
The Destination Instance URL is Known
4. Click Initiate
Important: Basic connections cannot be initiated if the destination instance has an older Exalate version.
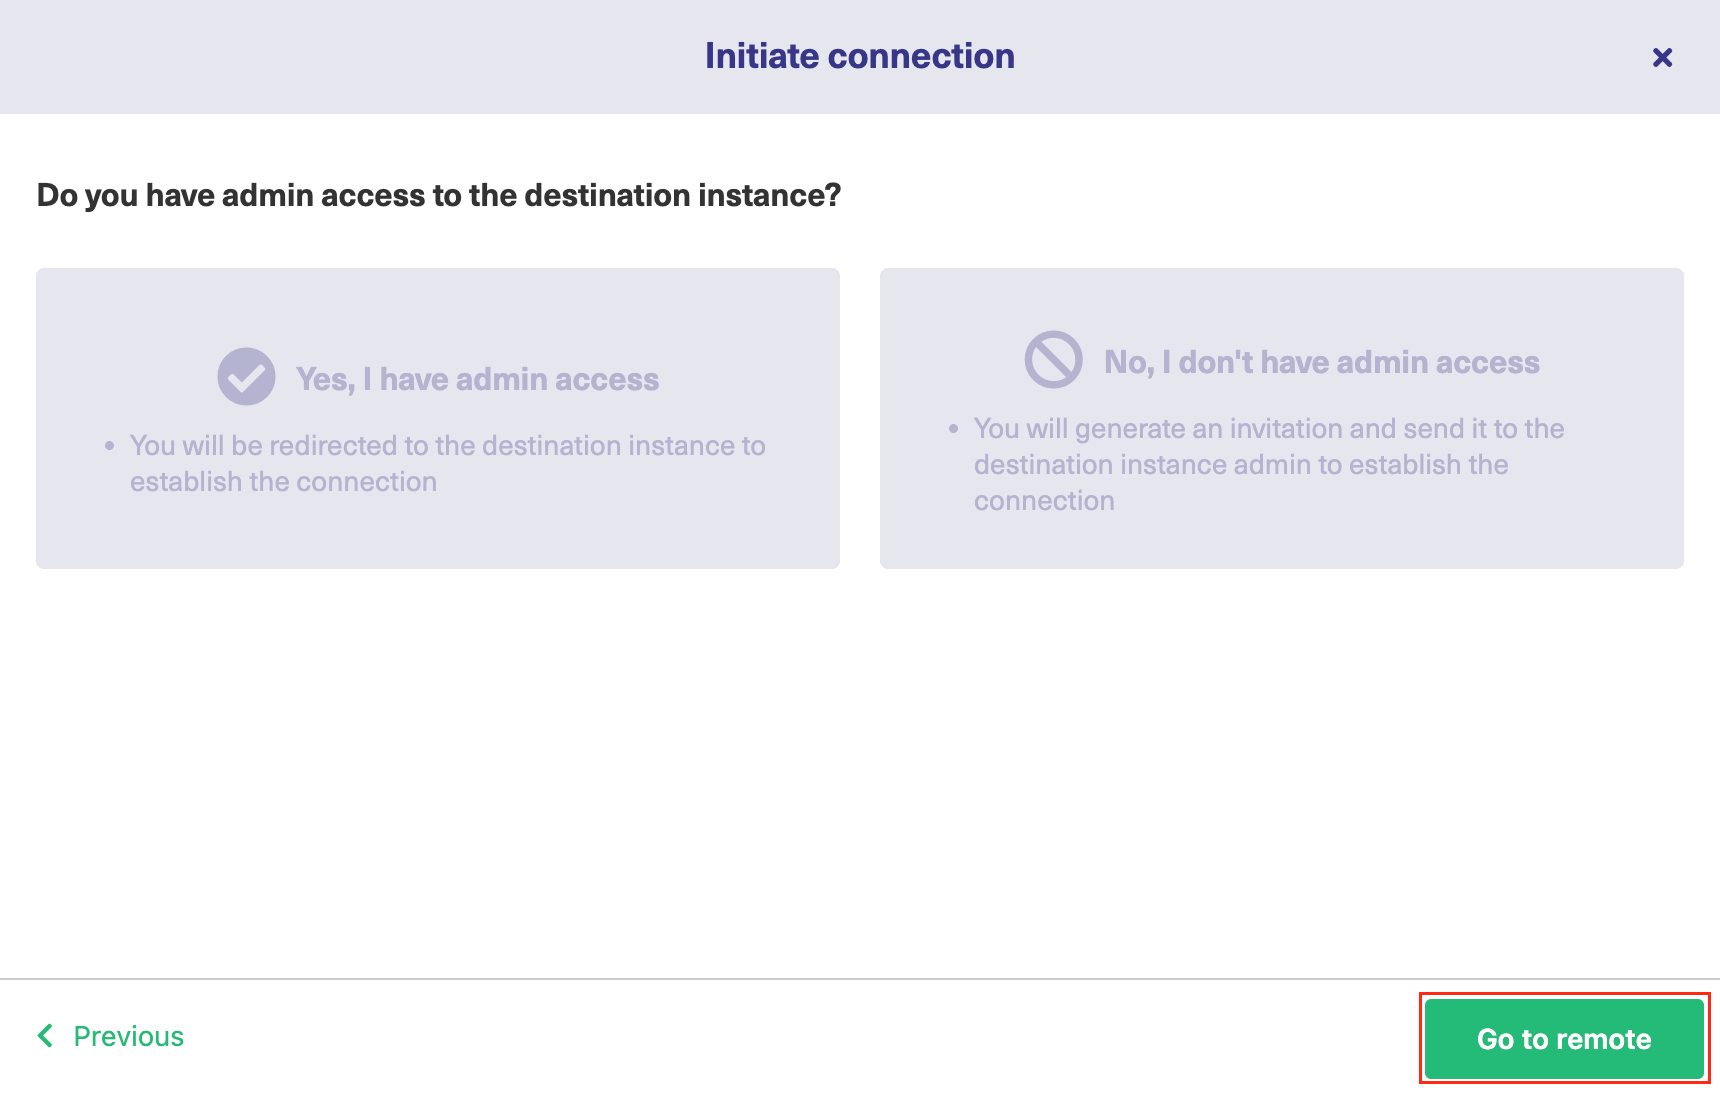
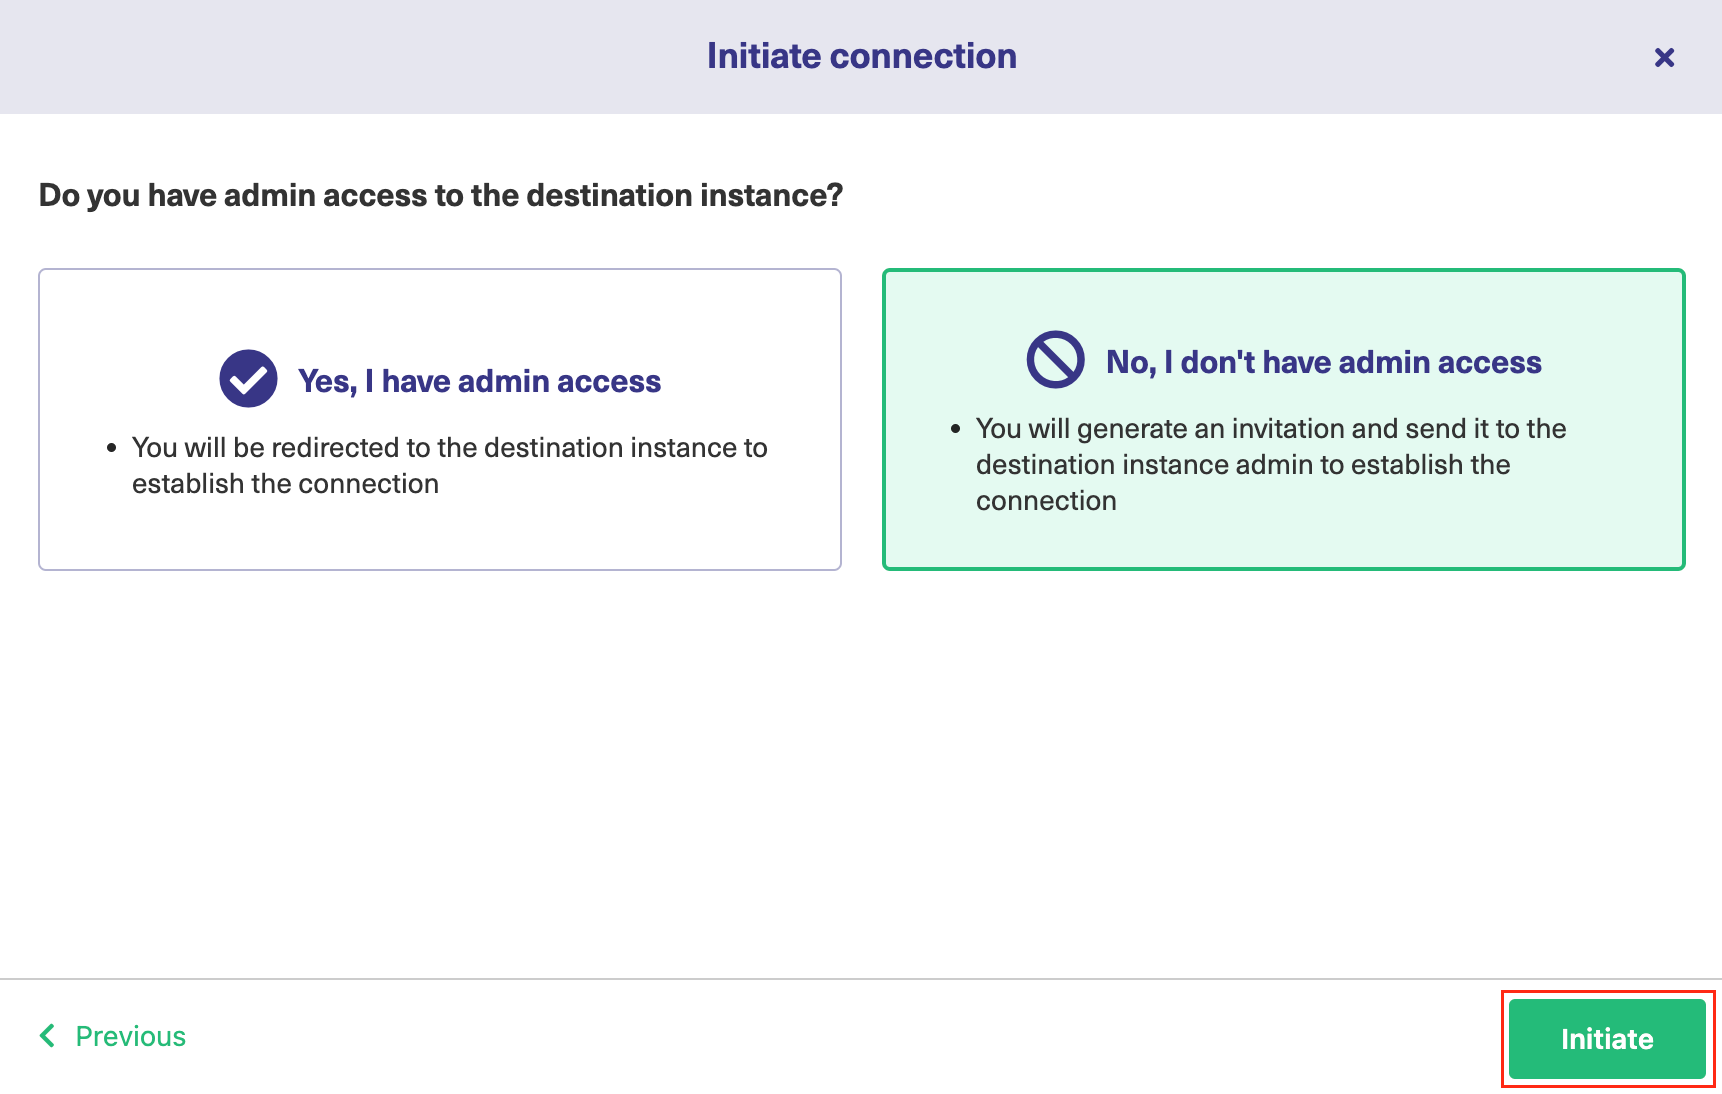
5. Specify if you have admin access to the destination instance
If You have Admin Access to the Destination Instance
Note: Complete the following steps on the destination instance.
6. Click Initiate.

You are automatically redirected to the destination instance to log in. If the redirection was not successful, click Go to remote.
Note: Complete the following steps on the destination instance.
7. Select a project for the incoming sync.
You can select one of the projects you have admin access.
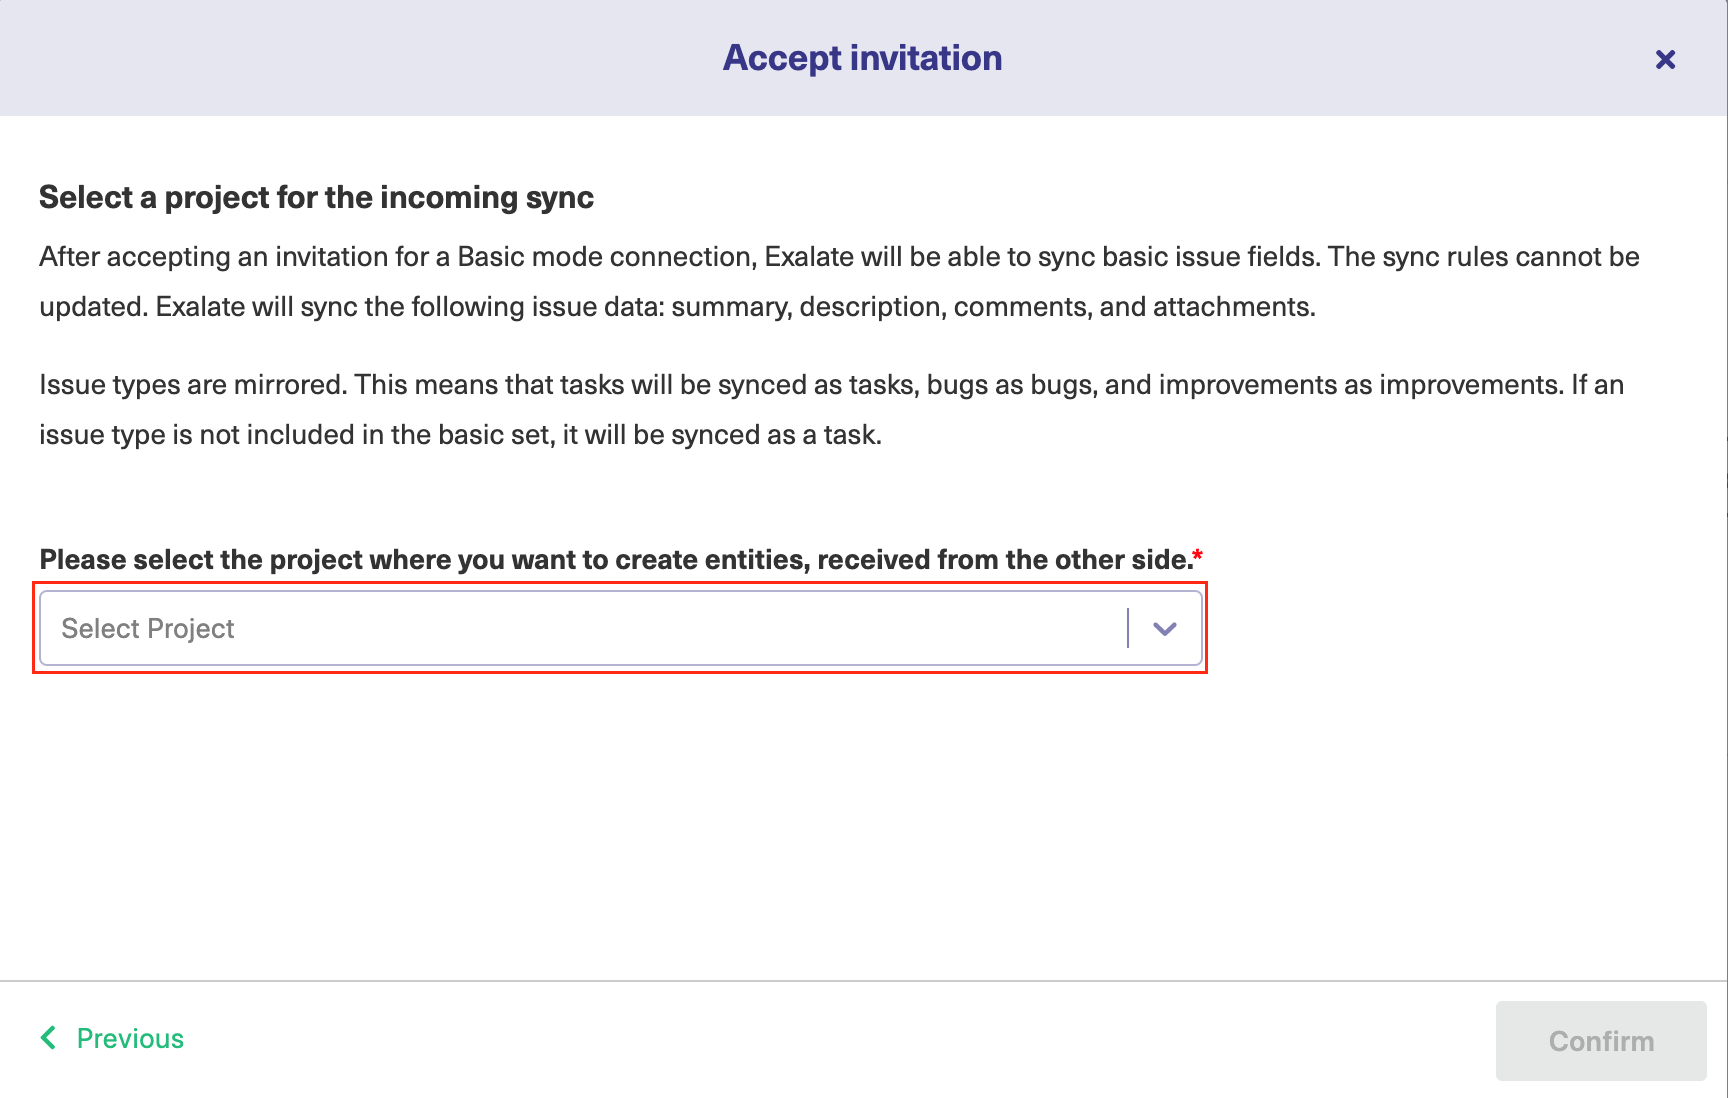
8. Click Confirm.
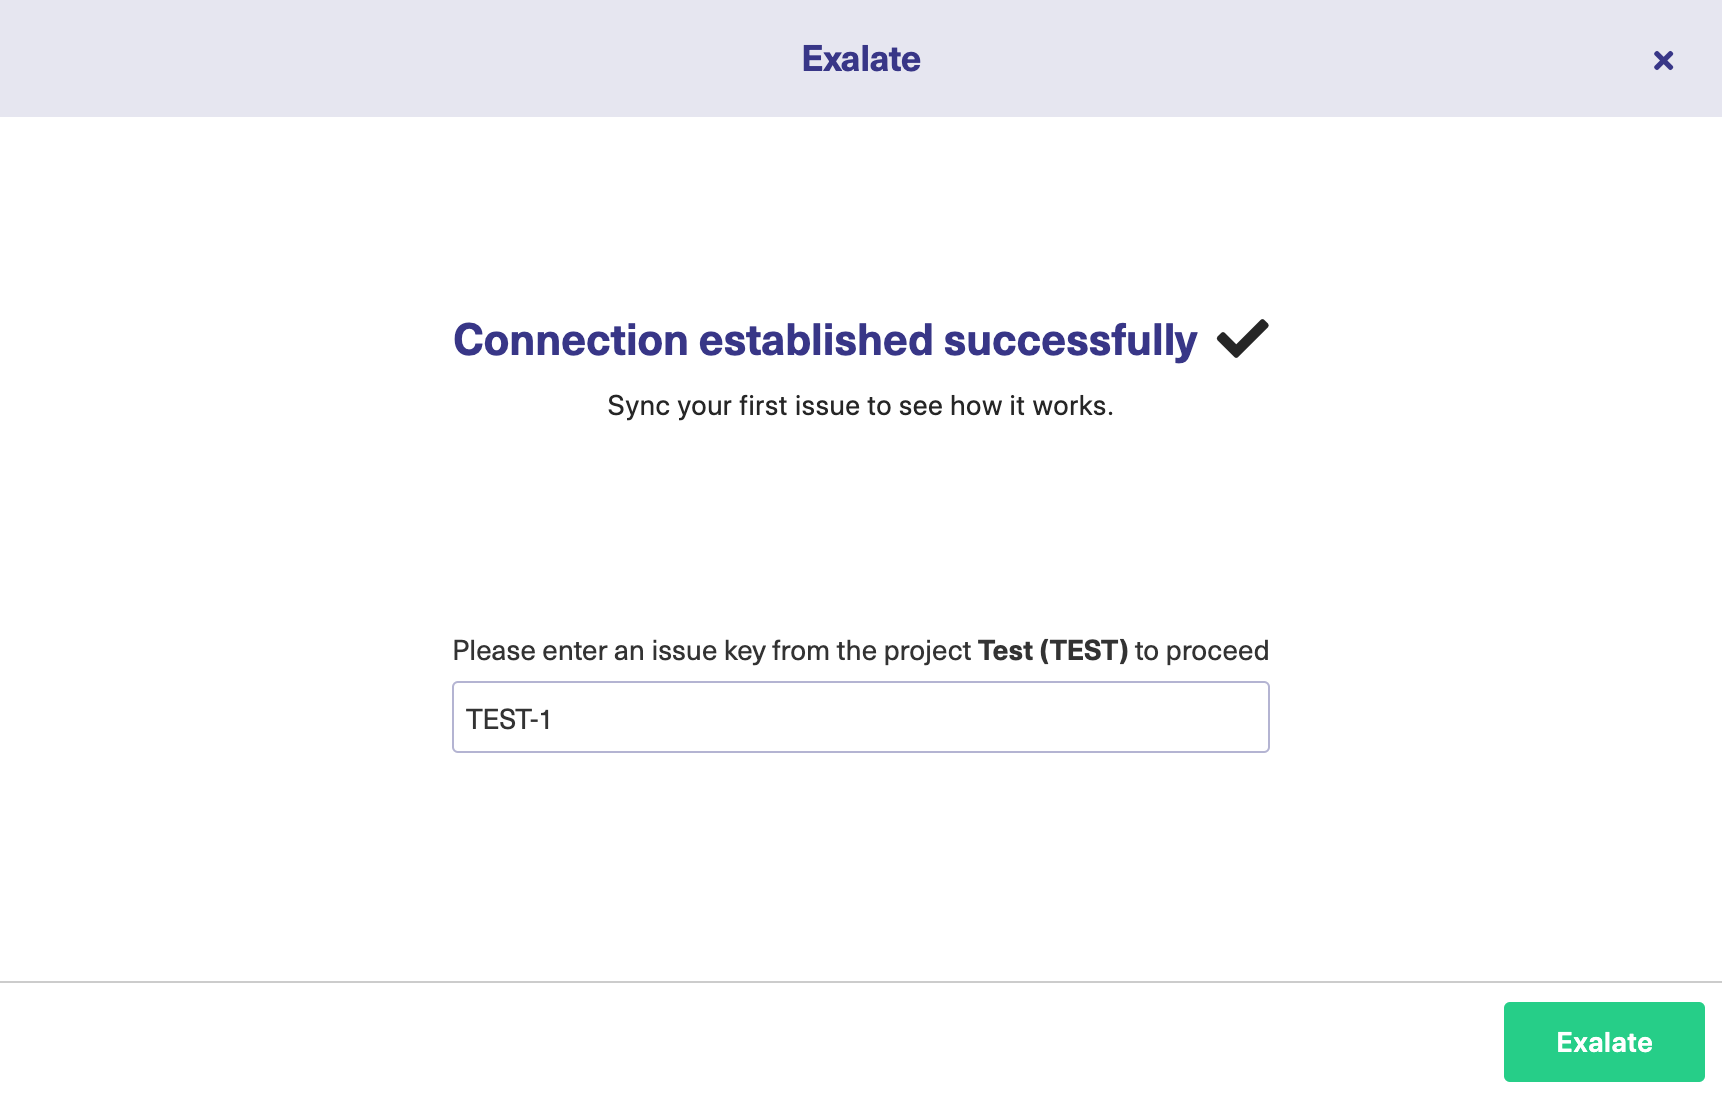
After establishing the connection, you can sync your first issue in Exalate to see how it works: enter an issue key and click Exalate. Or you can click ![]() to close the window and sync an issue on your own:
to close the window and sync an issue on your own:
- By Connecting an issue.
- By Syncing issues in bulk.
- By creating a trigger.
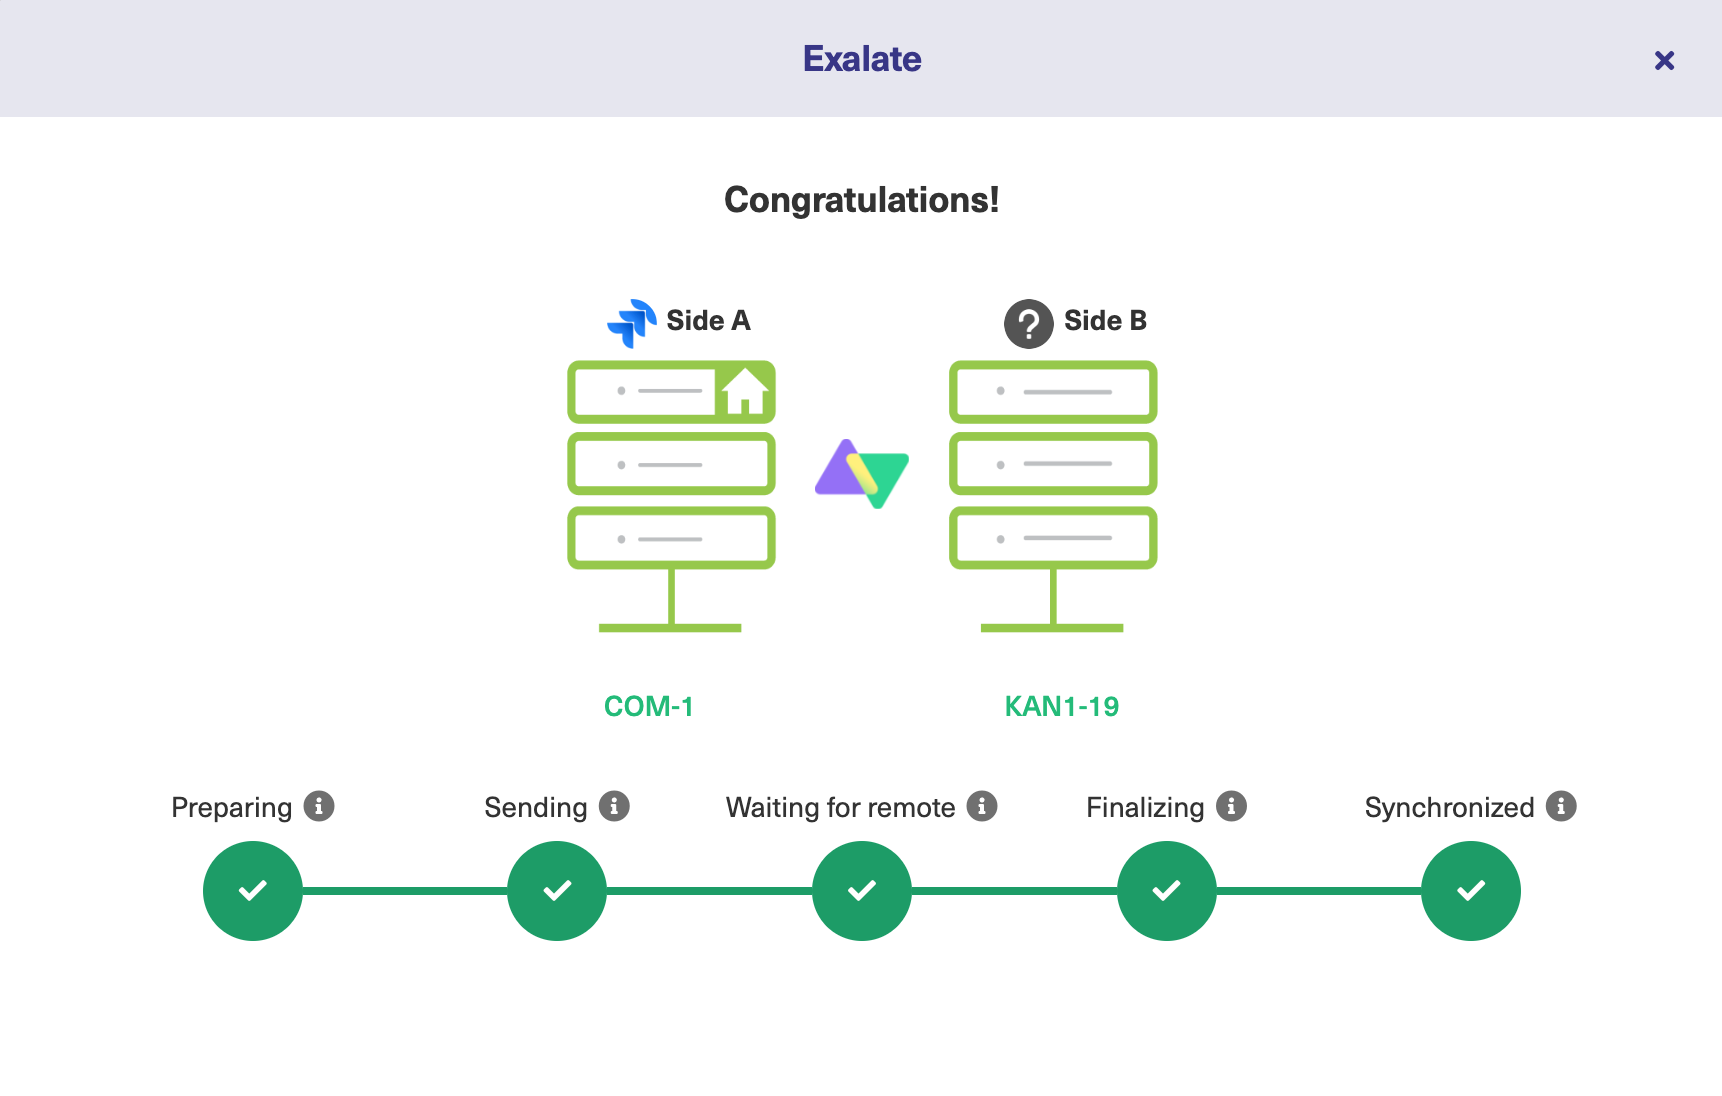
When syncing your first issue, you see the status of your sync.
If You Don't have Admin Access to the Destination Instance
6. Click Initiate
7. Click Copy Invitation code.
You can send the invitation code to the destination instance admin.

8. Click Done.
Note: Complete the following steps on the destination instance.
9. Click Accept Invitation.

10. Paste the invitation code.
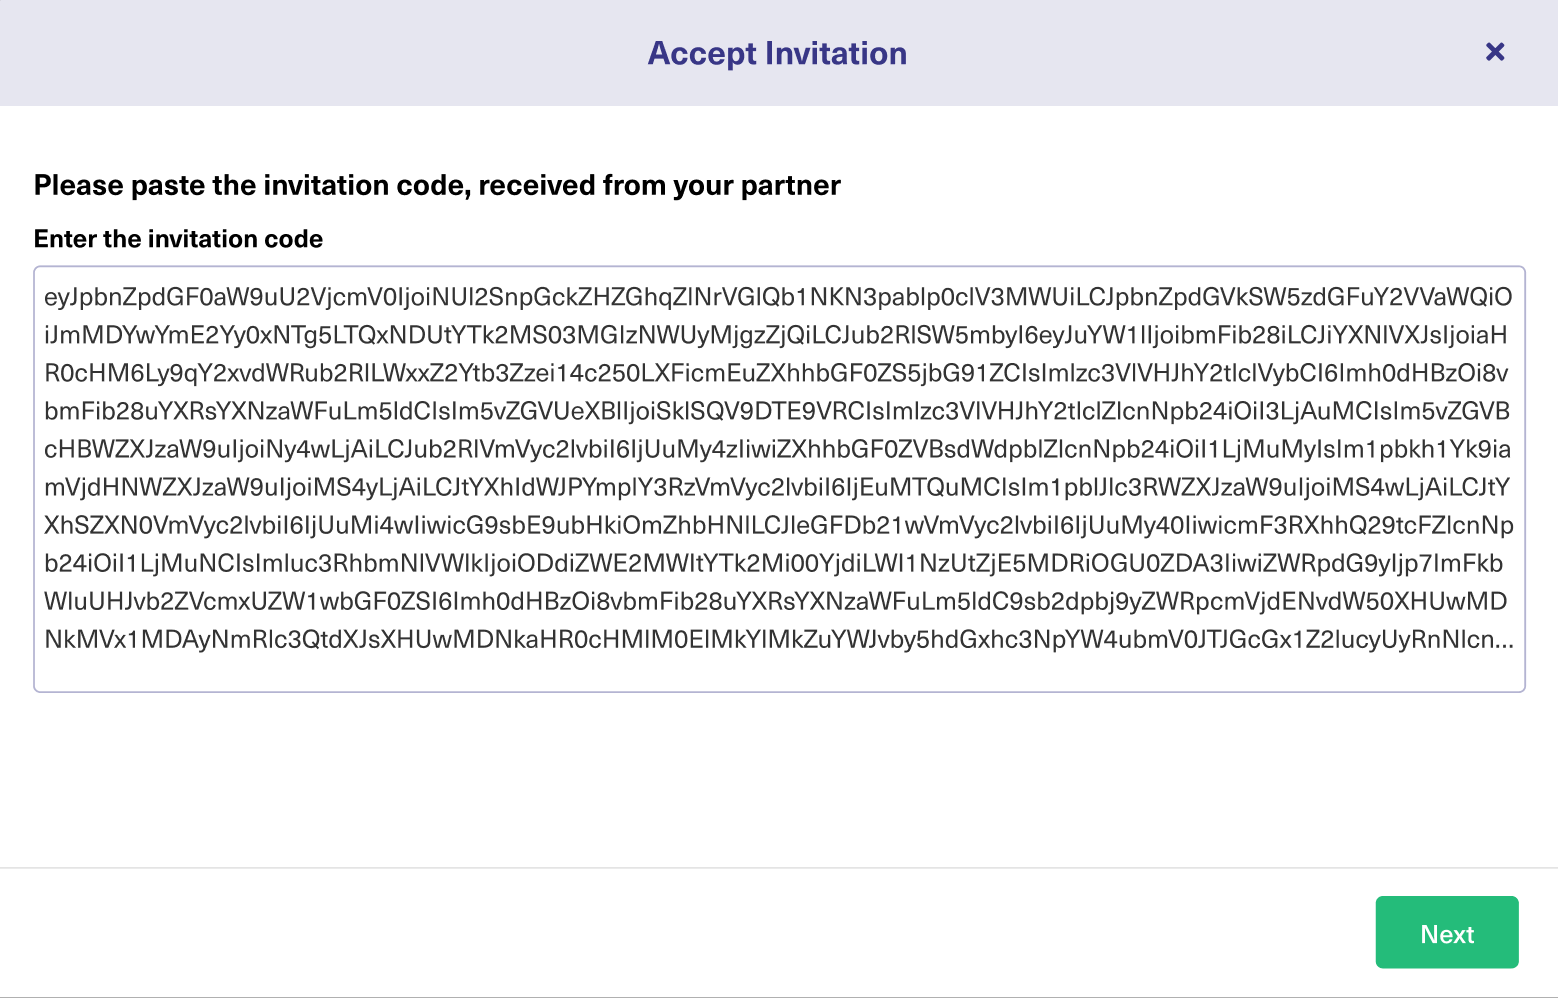
11. Click Next.
11. Select a project for the incoming sync.
12. Click Confirm.
After establishing the connection, you can sync your first issue in Exalate to see how it works: enter an issue key and click Exalate. Or you can click ![]() to close the window and sync an issue on your own:
to close the window and sync an issue on your own:
- By Connecting an issue.
- By Syncing issues in bulk.
- By creating a trigger.
When syncing your first issue, you see the status of your sync.
The Destination Instance URL is Not Known
4. Click Initiate
You can still set up a connection and send an invitation to connect to the destination instance administrator.
5. Click Copy Invitation code.
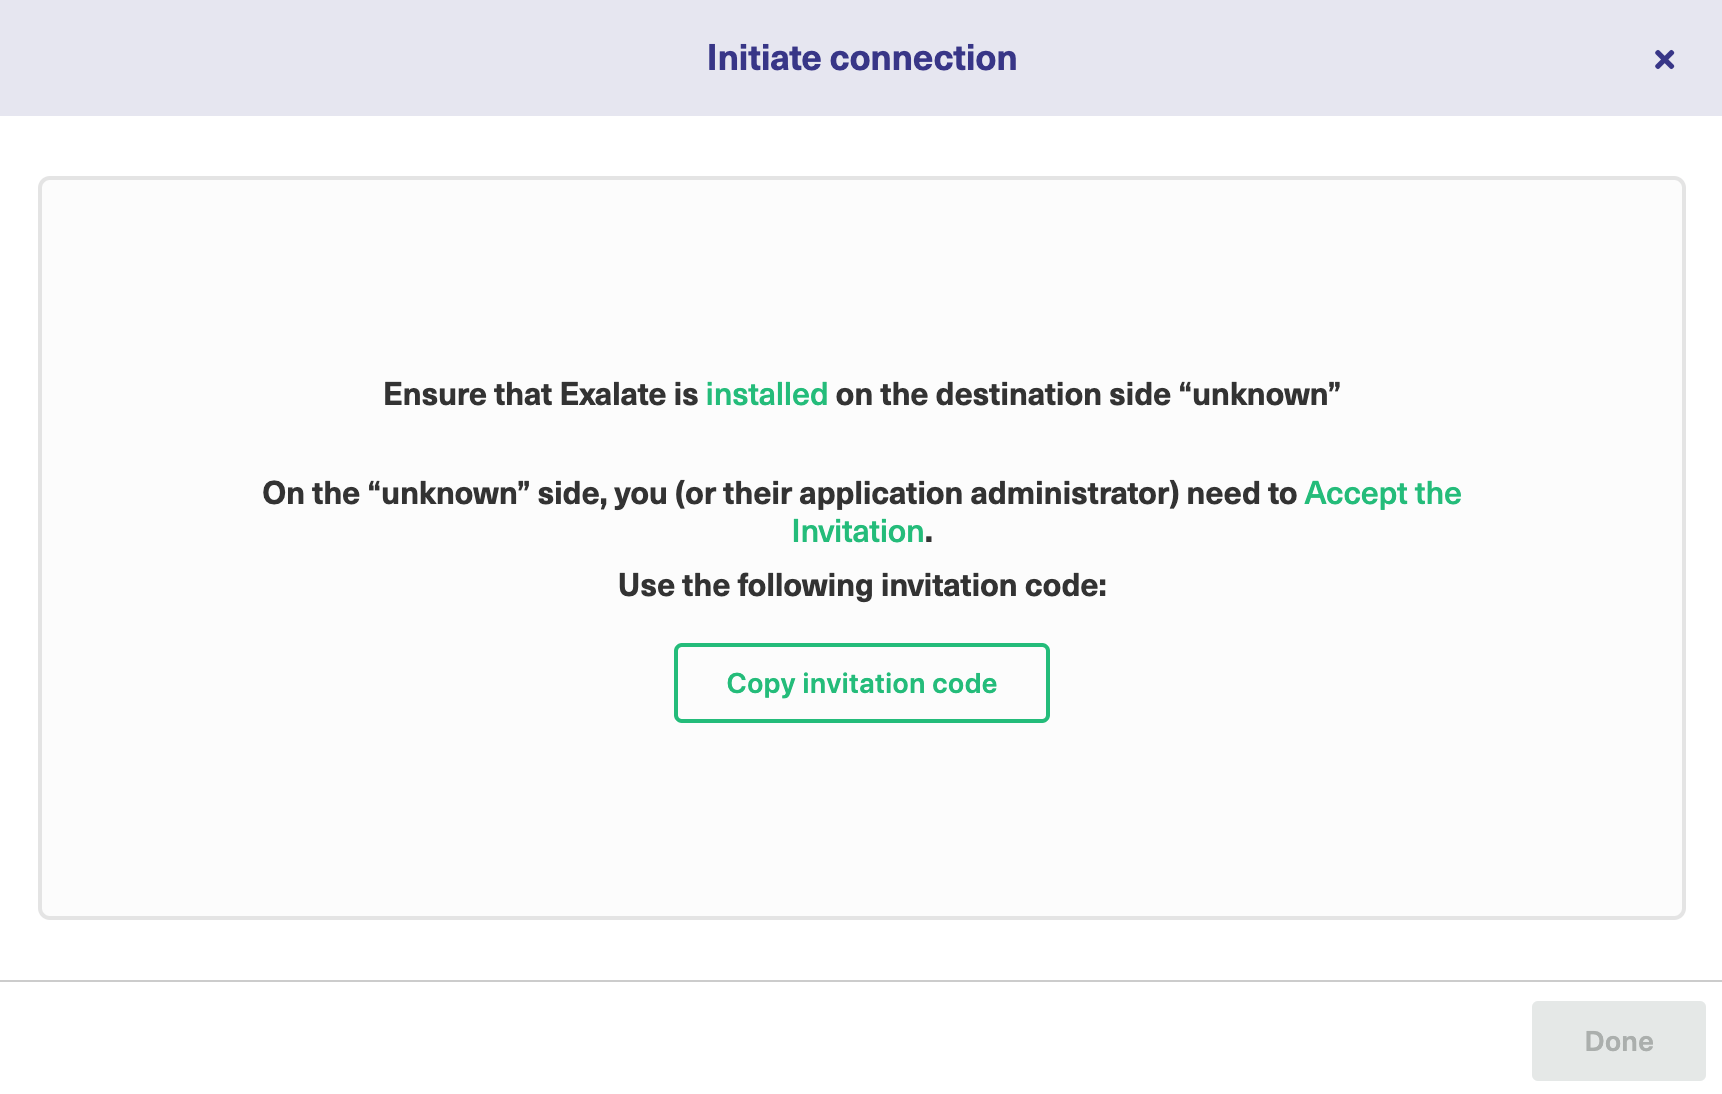
6. Click Done.
Note: Complete the following steps on the destination instance.
7. Click Accept Invitation.
8. Paste the invitation code.
9. Click Next.
10. Select a project for the incoming sync.
11. Click Confirm.
After establishing the connection, you can sync your first issue in Exalate to see how it works: enter an issue key and click Exalate. Or you can click ![]() to close the window and sync an issue on your own:
to close the window and sync an issue on your own:
- By Connecting an issue.
- By Syncing issues in bulk.
- By creating a trigger.
When syncing your first issue, you can see the status of your sync:
Have more questions? Ask the community
Note: Complete the following steps on the destination instance.