How to Upgrade a Free Plan License in Jira Cloud
Last Modified on 05/02/2024 6:19 am EDT
This article shows how to upgrade a Free plan license to a Paid license. You can buy the Paid license in the marketplace or within Exalate. With the Paid license you can use Visual and Script connections, which let you sync more issue fields and customize your connections.
To upgrade to a Paid license:
- Navigate to the License Details menu in the Exalate admin console.
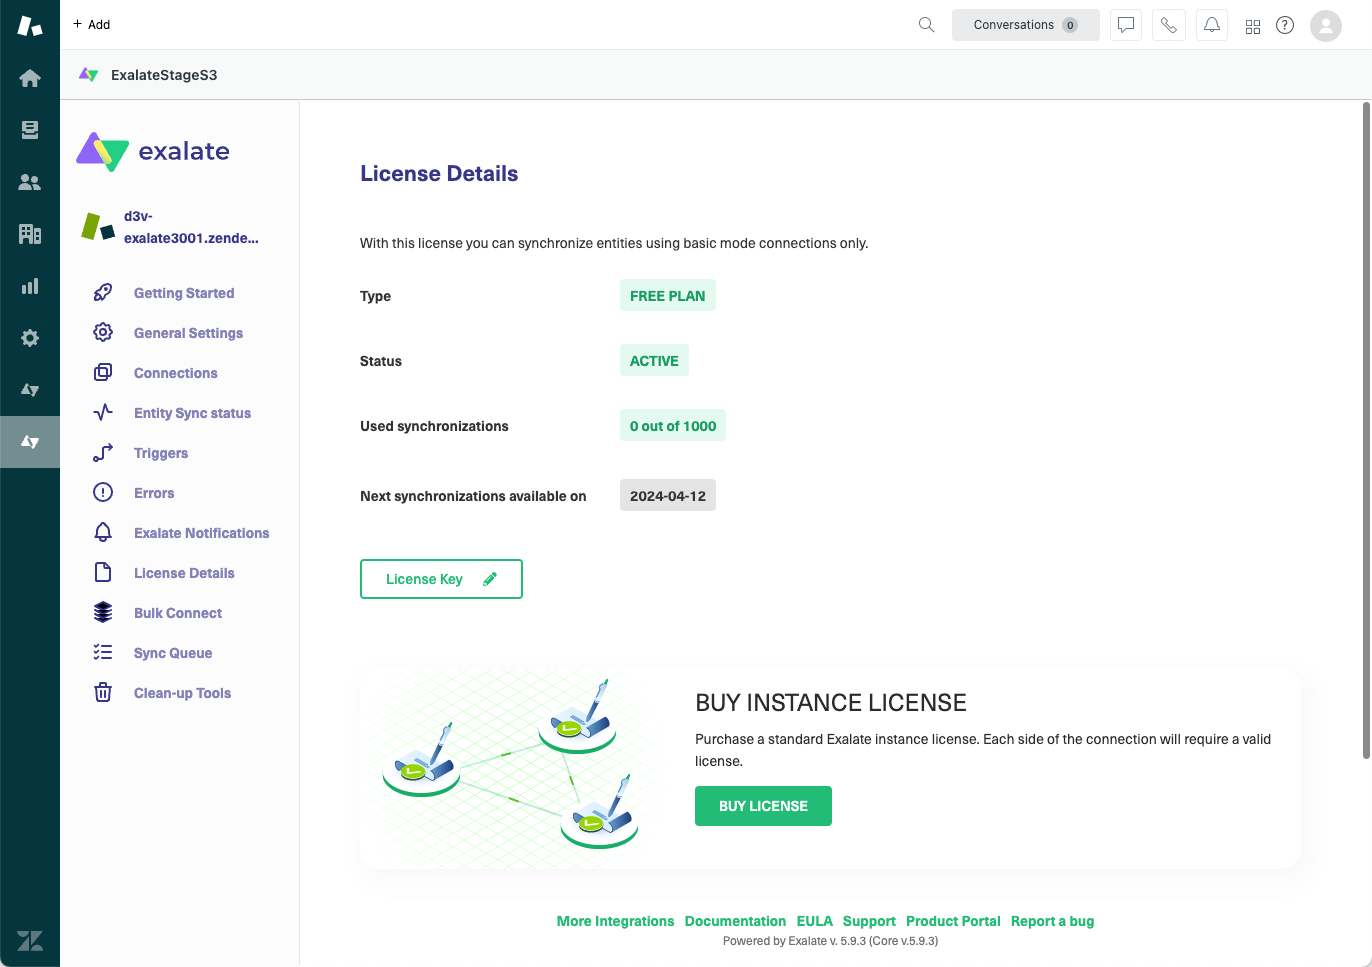
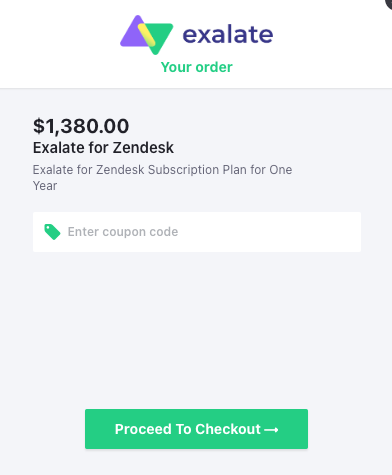
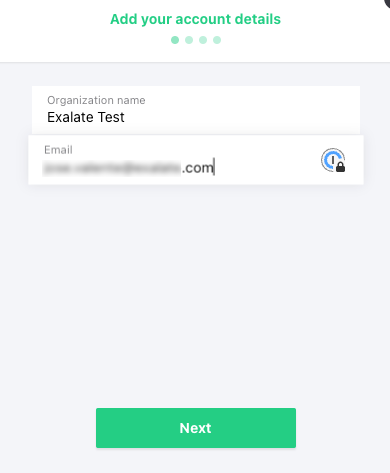
- Click Buy License. A summary of your order appears. Click Proceed to Checkout. In the following screen enter your organization's name and your email. Click Next.
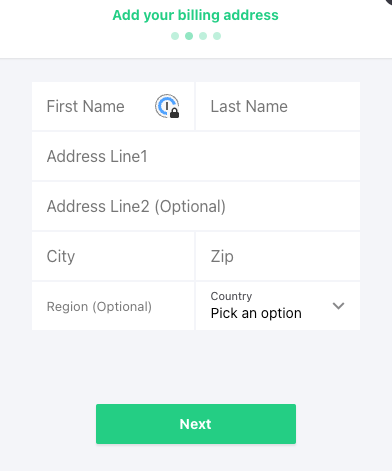
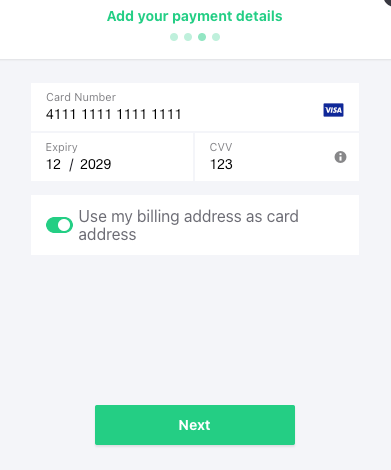
- Next, enter your billing information. Depending on your country, different fields and options may appear. For instance, for European countries you are prompted for your VAT number; if you are in the United States, you can select your state and zip code, etc. Enter your payment details in the next screen.
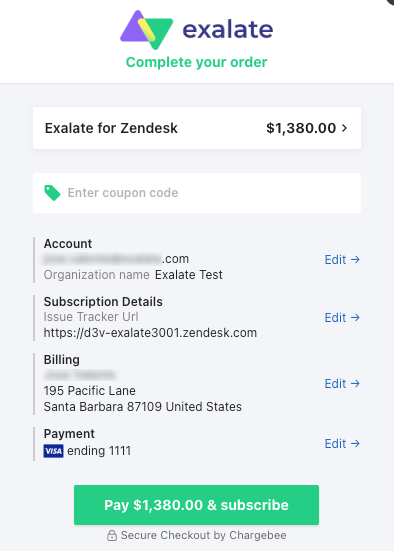
- The next screen provides you with a summary of your order details. If everything is correct, click the Pay button. A confirmation screen displays to indicate the process was successful.
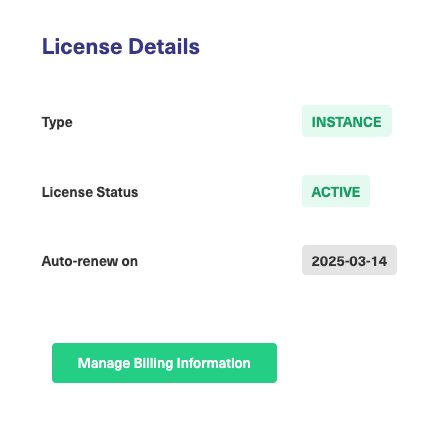
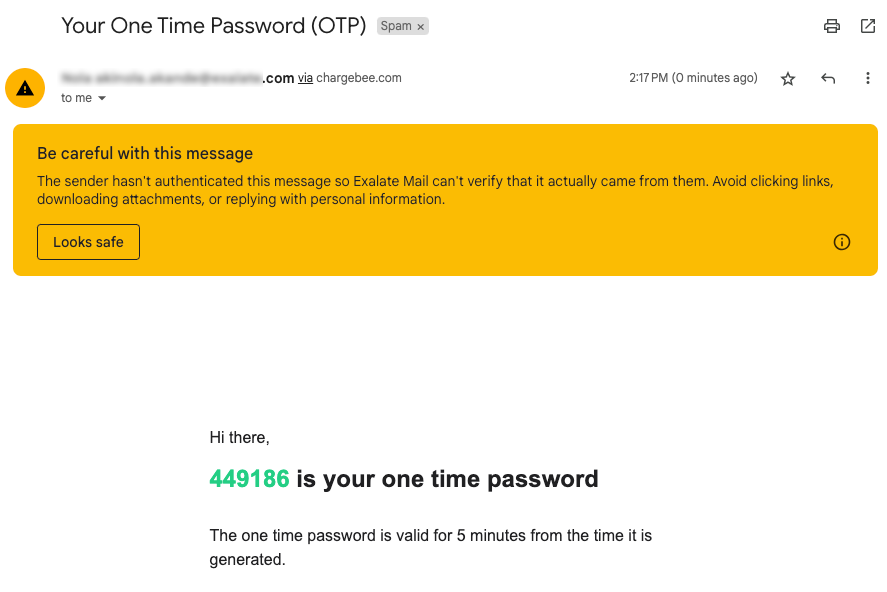
- Going back to the Exalate console, you can see that the your paid subscription is active. You also receive an email with a one time password, which you need to login and manage your account.
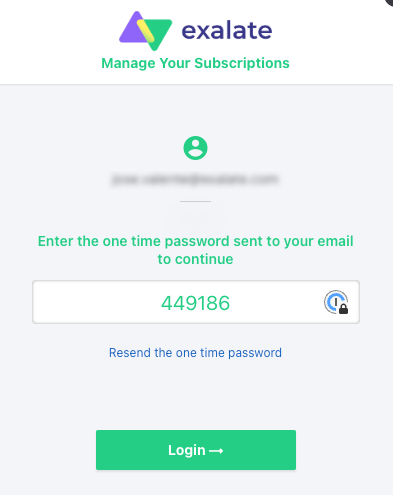
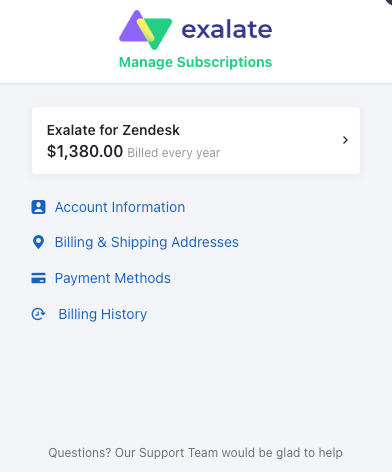
- From License Details, click on Manage Billing Information and enter the one time password you received in the email. You can then manage your subscription, check your account information, check and make changes to your billing and shipping address, payment methods, and billing history, where you can also download a copy of your invoice.